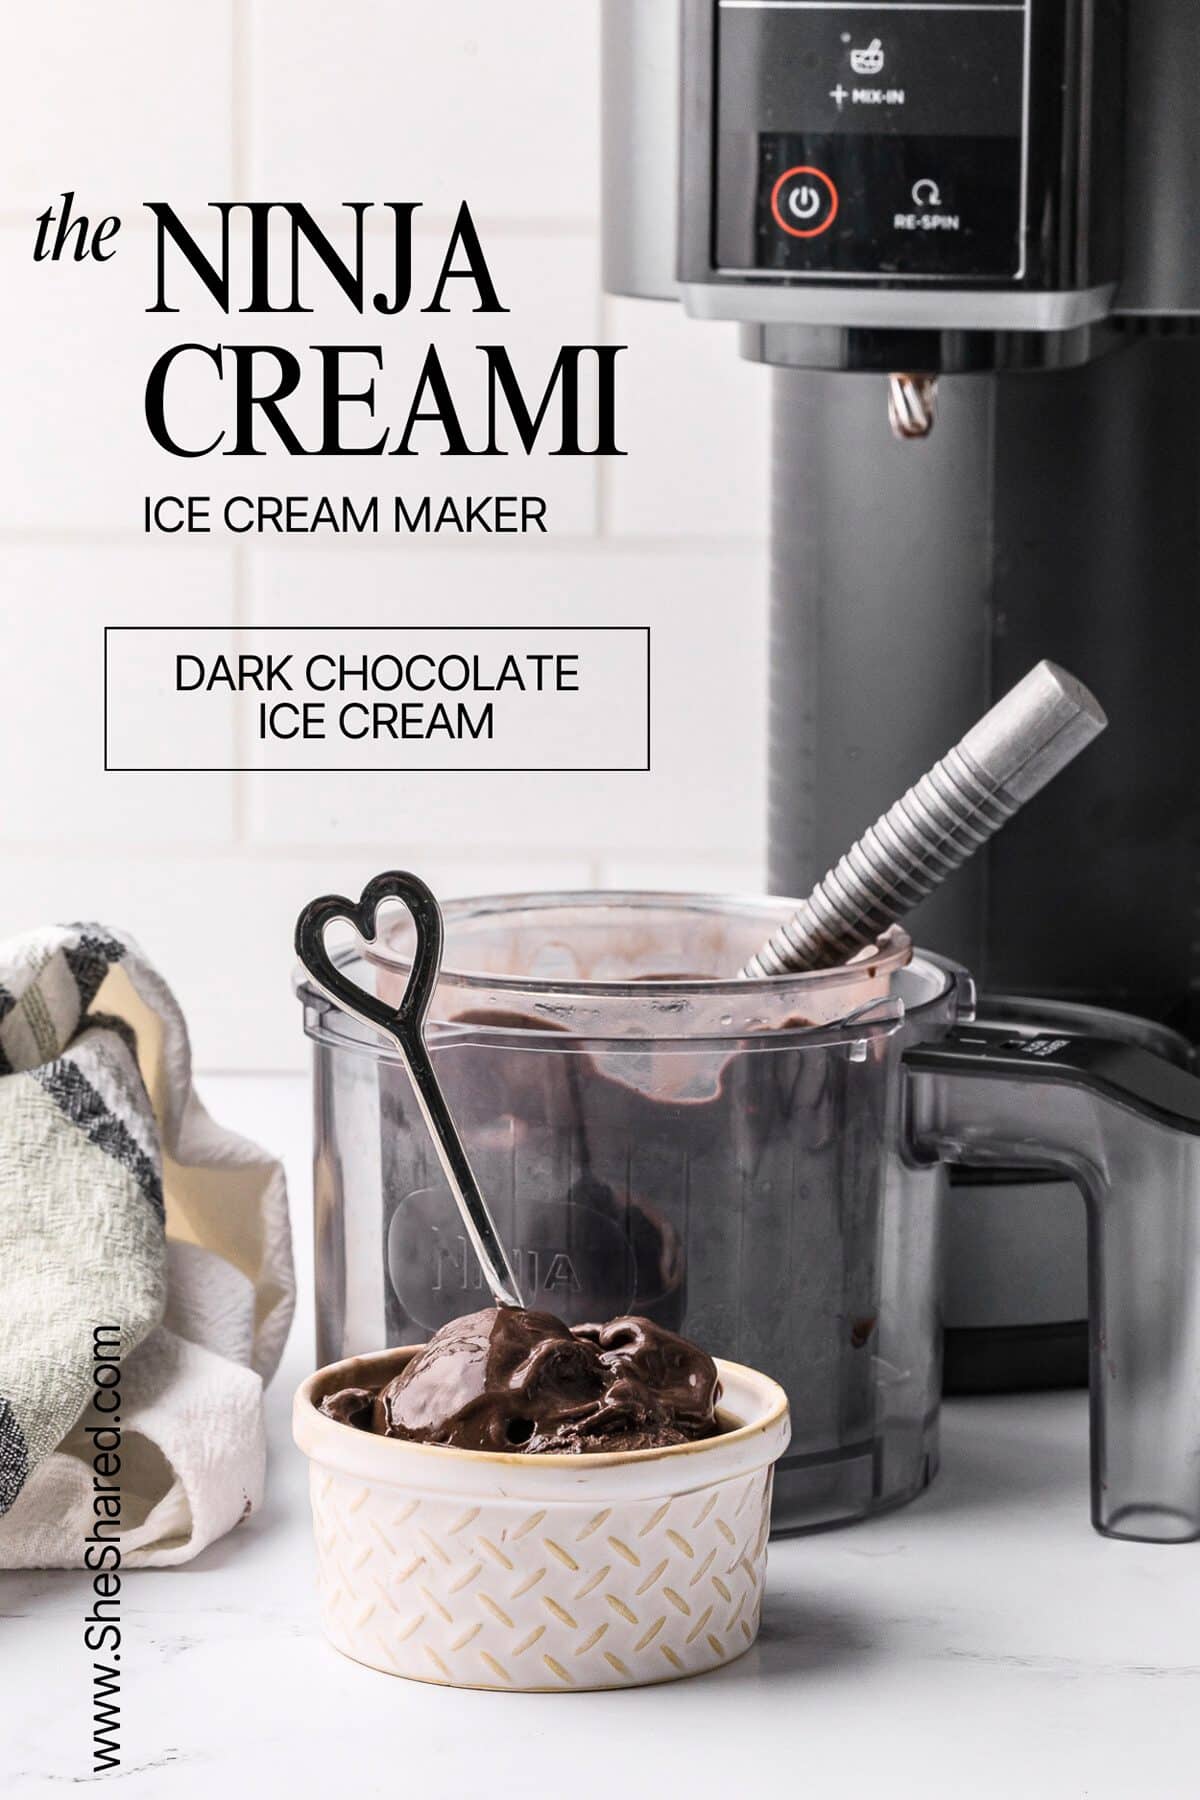
Ninja Creami Dark Chocolate Ice Cream
This post may contain affiliate links. See our disclosure policy for more details.
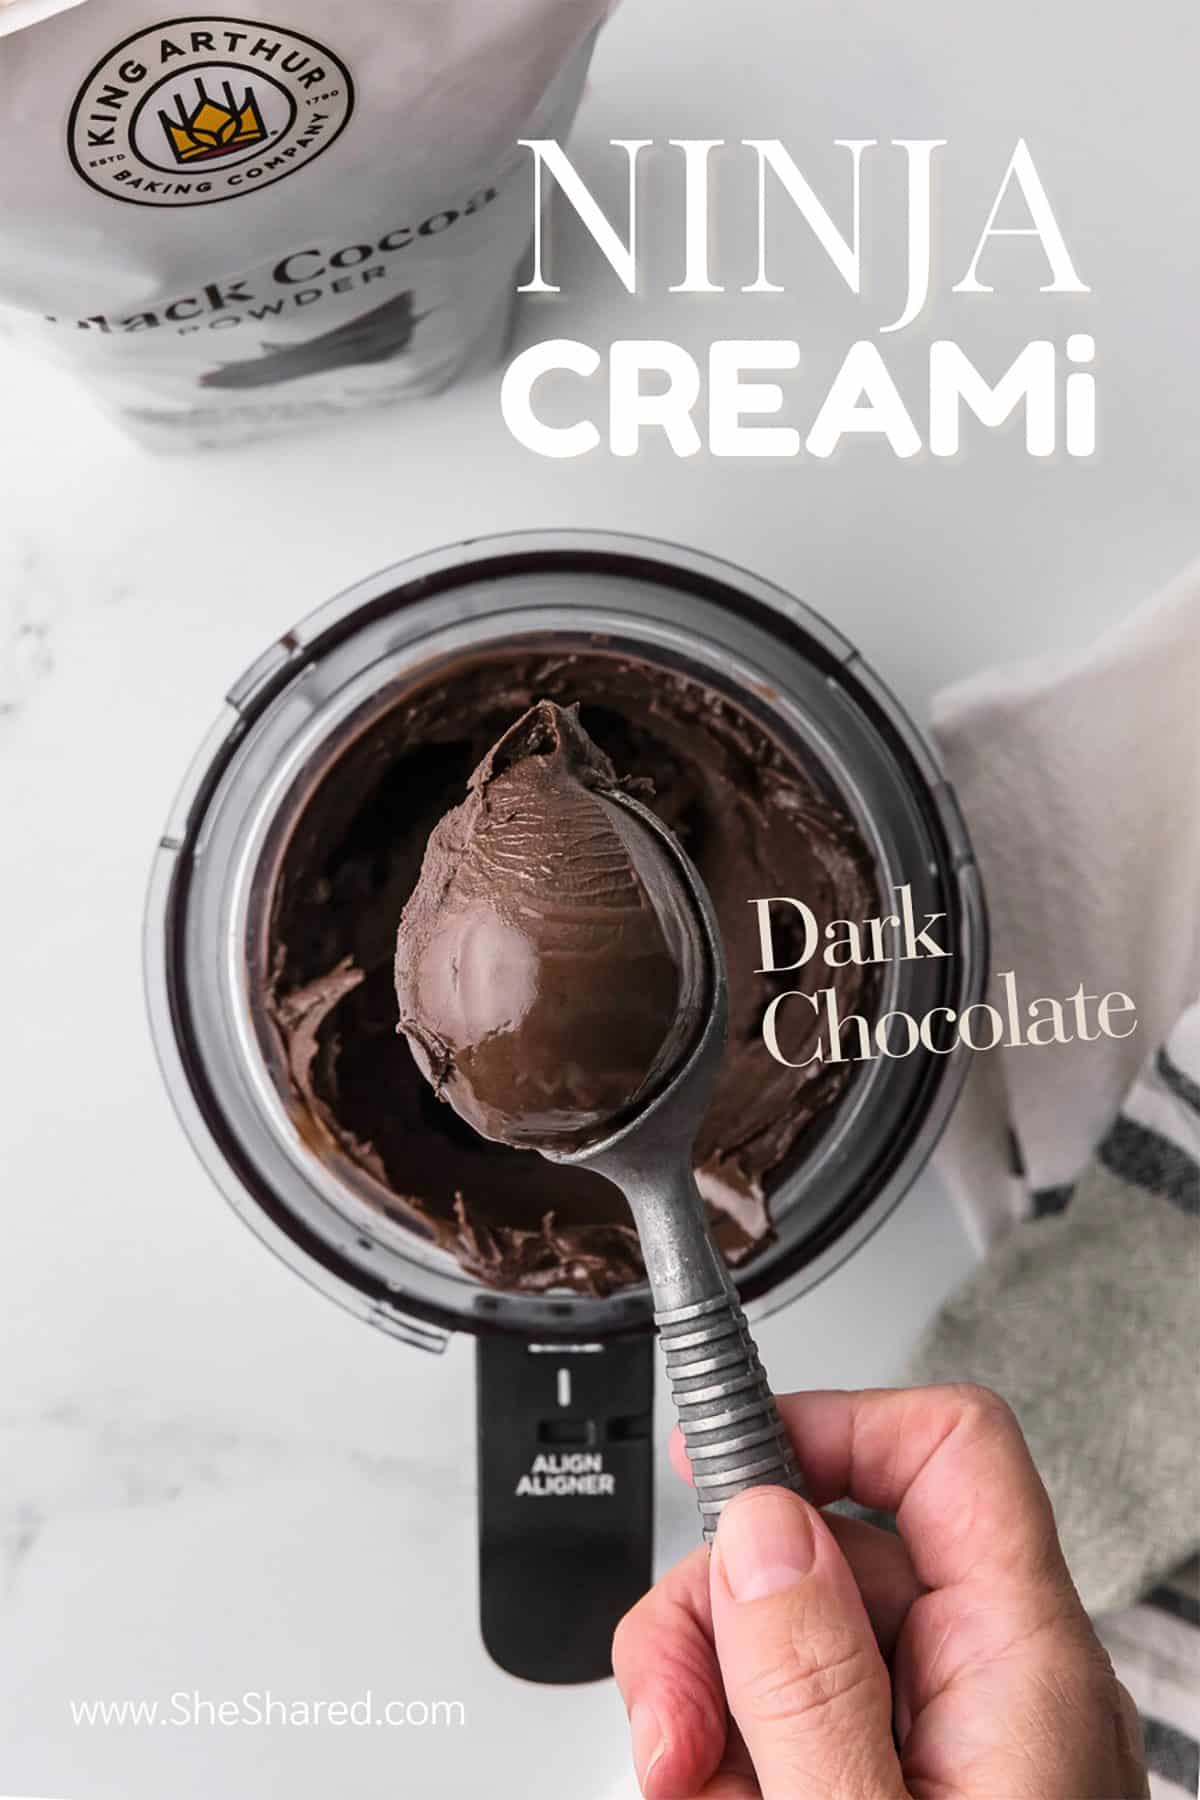
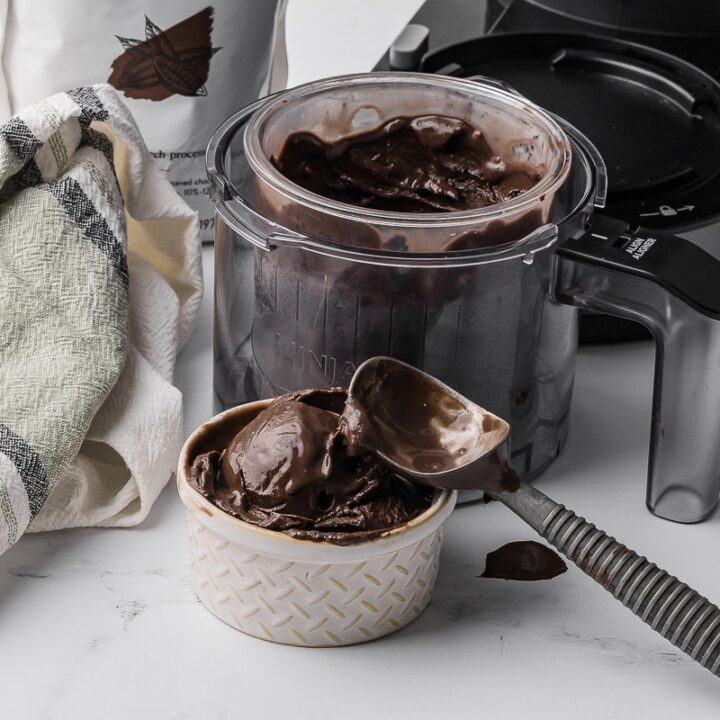
Love chocolate? This Ninja Creami dark chocolate ice cream is creamy, dreamy, and SO easy to make at home with simple ingredients.
Craving creamy dark chocolate ice cream? This Ninja Creami recipe is your shortcut to homemade deliciousness with minimal effort and simple ingredients.
Listen, moms, I know the struggle. Sweet tooth calling, but who has time for complicated homemade ice cream recipes? Not us! That’s why this Ninja Creami Dark Chocolate Ice Cream is a lifesaver. With just a handful of simple ingredients and your trusty Ninja Creami machine, you’ll be indulging in rich, velvety ice cream faster than you can say “chocolate chips.”
Supplies Needed:
Let’s make your Ninja Creami chocolate ice cream recipe:
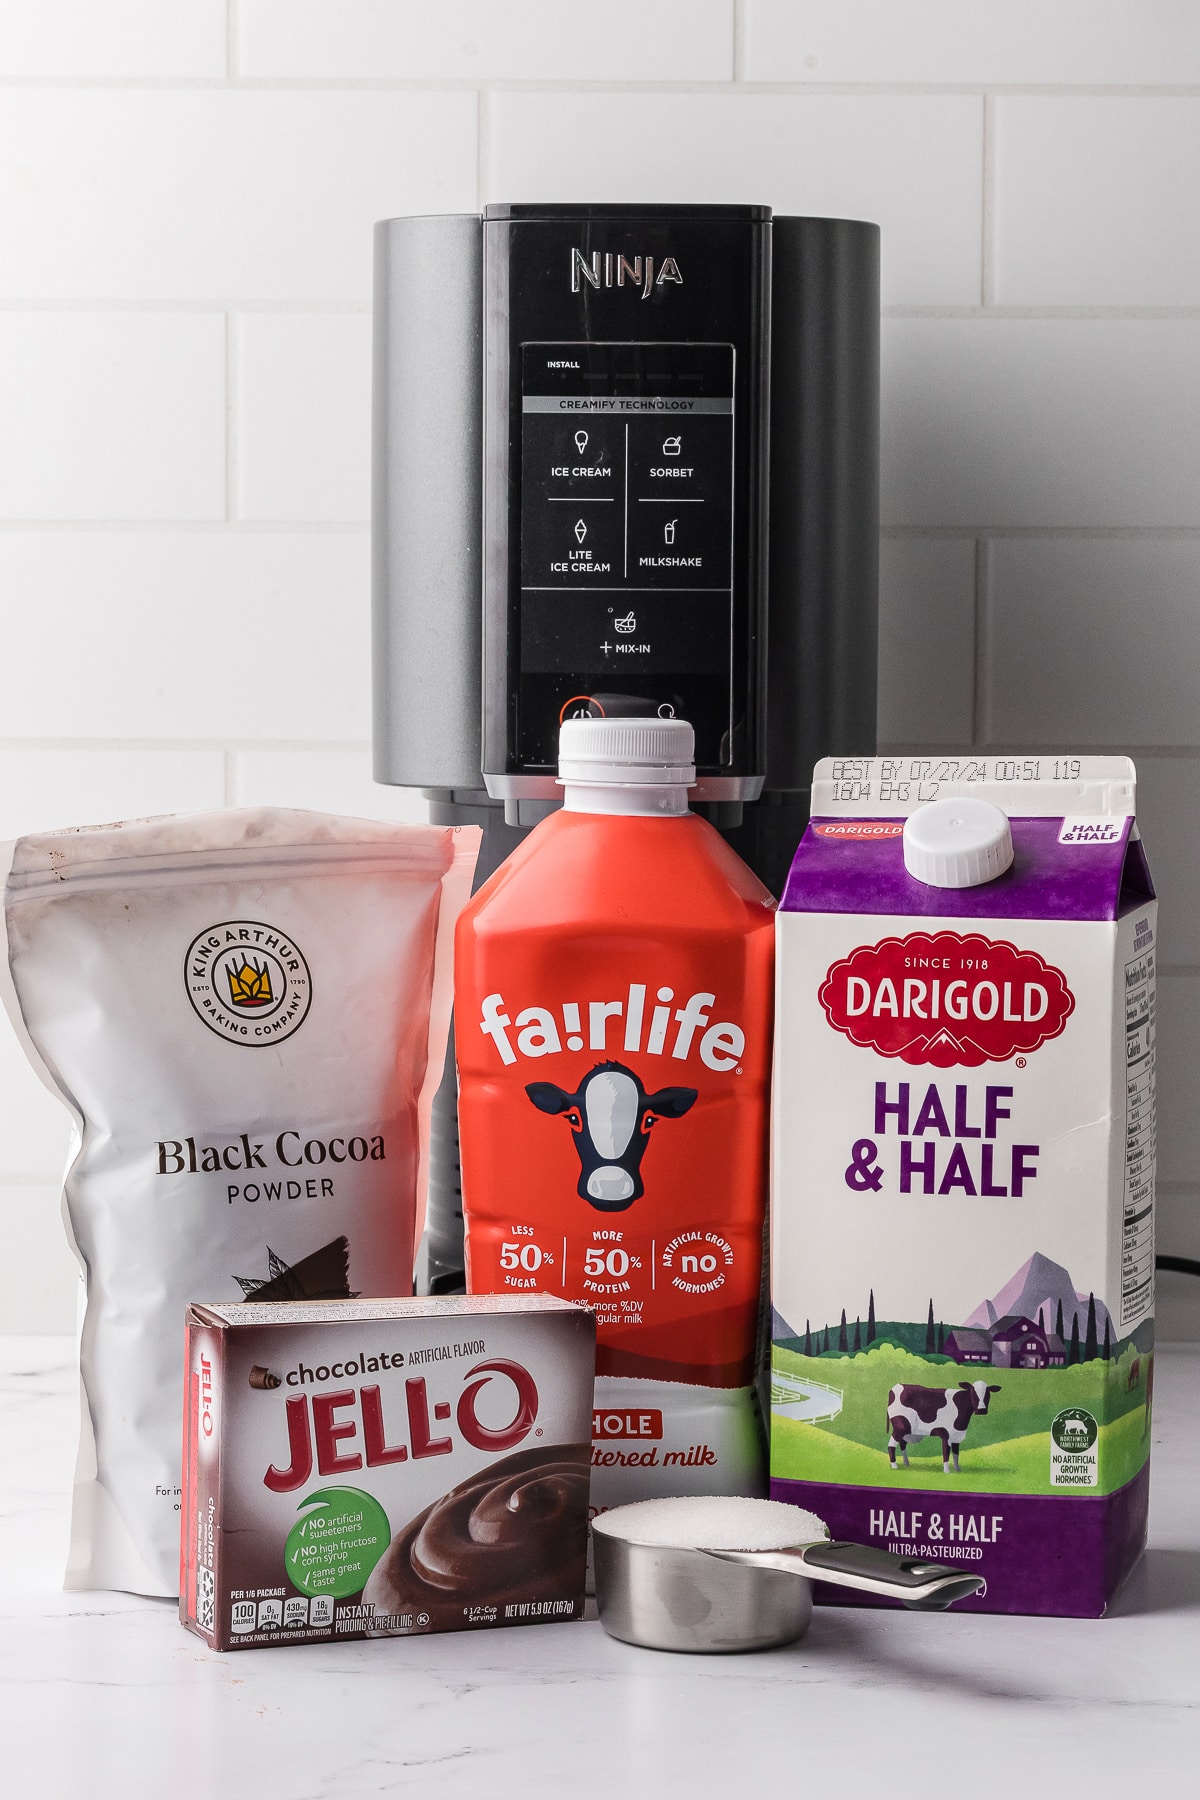
Ingredients:
- ¾ cup whole milk
- ⅔ cup half & half
- ⅓ cup sugar
- 2 tablespoons chocolate pudding mix (instant)
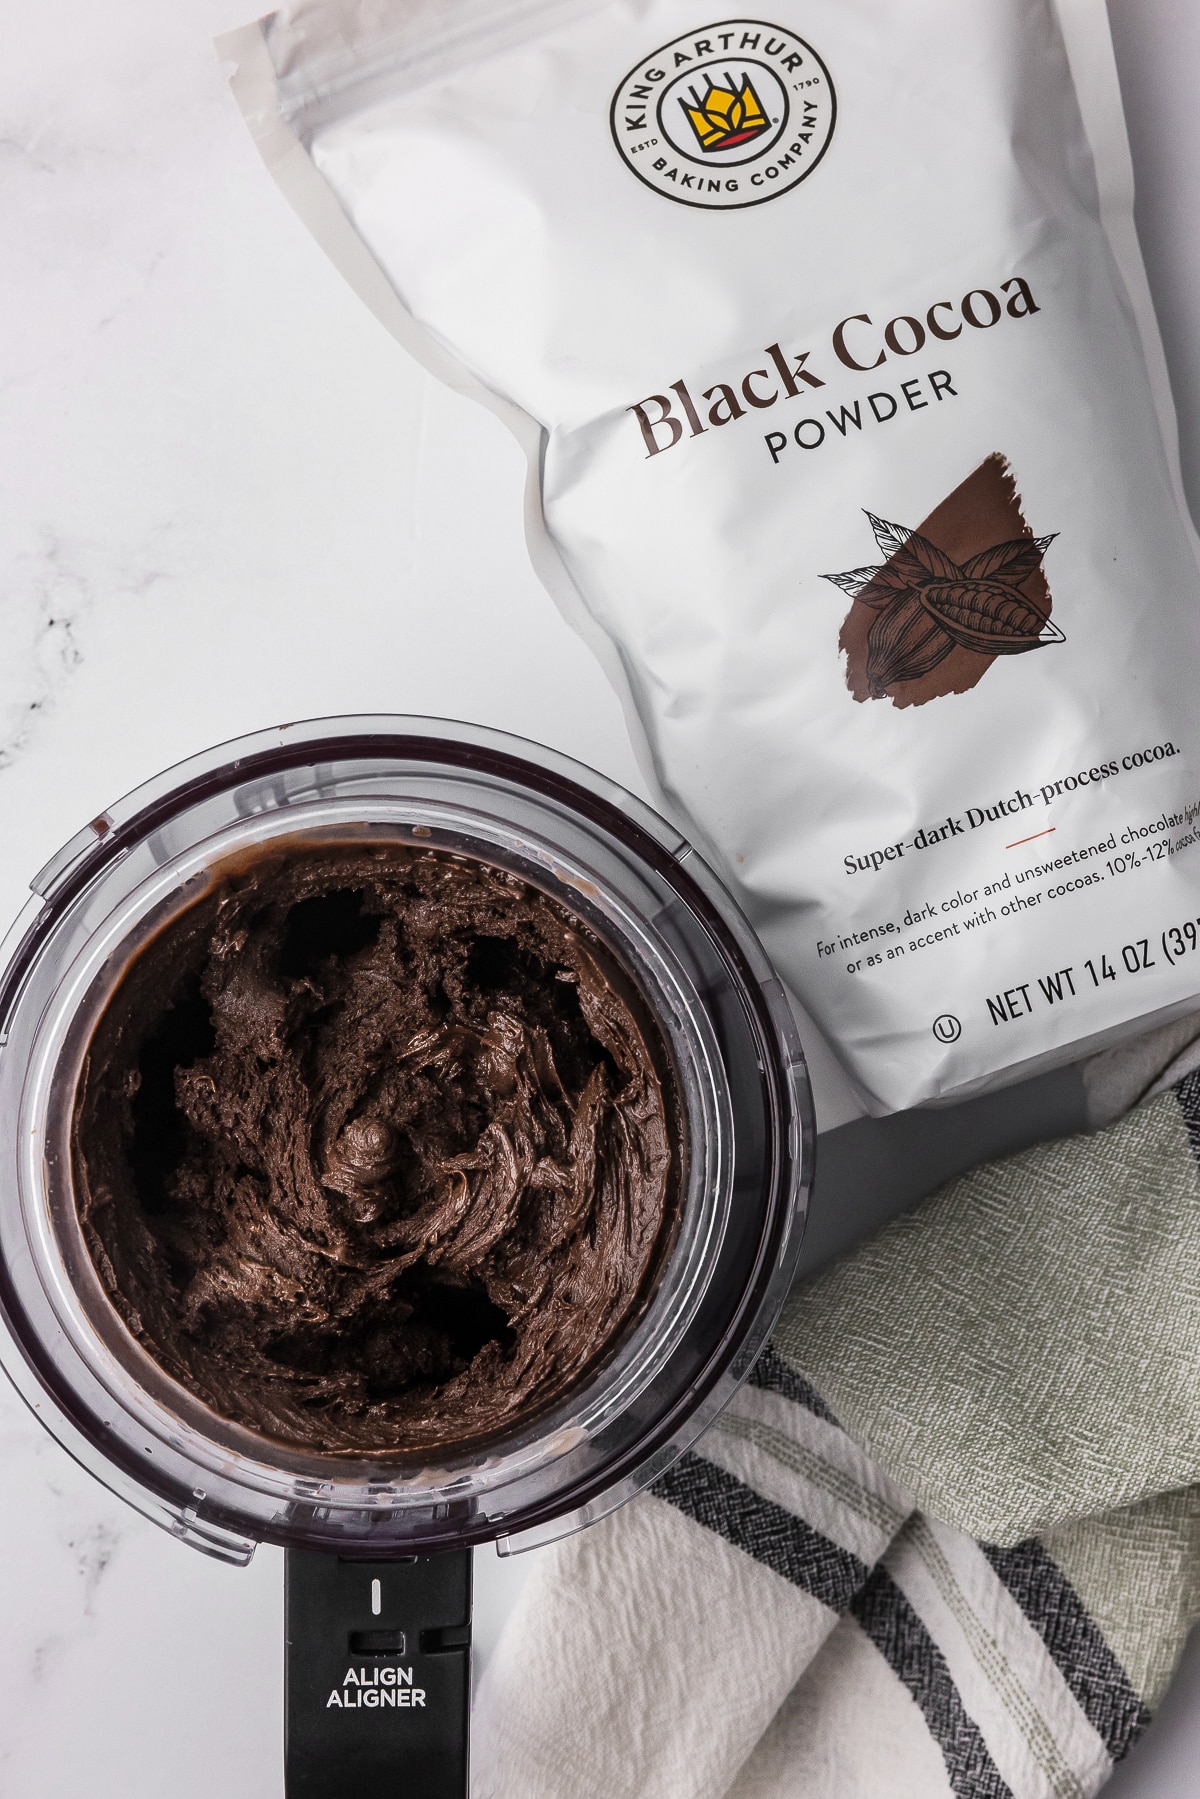
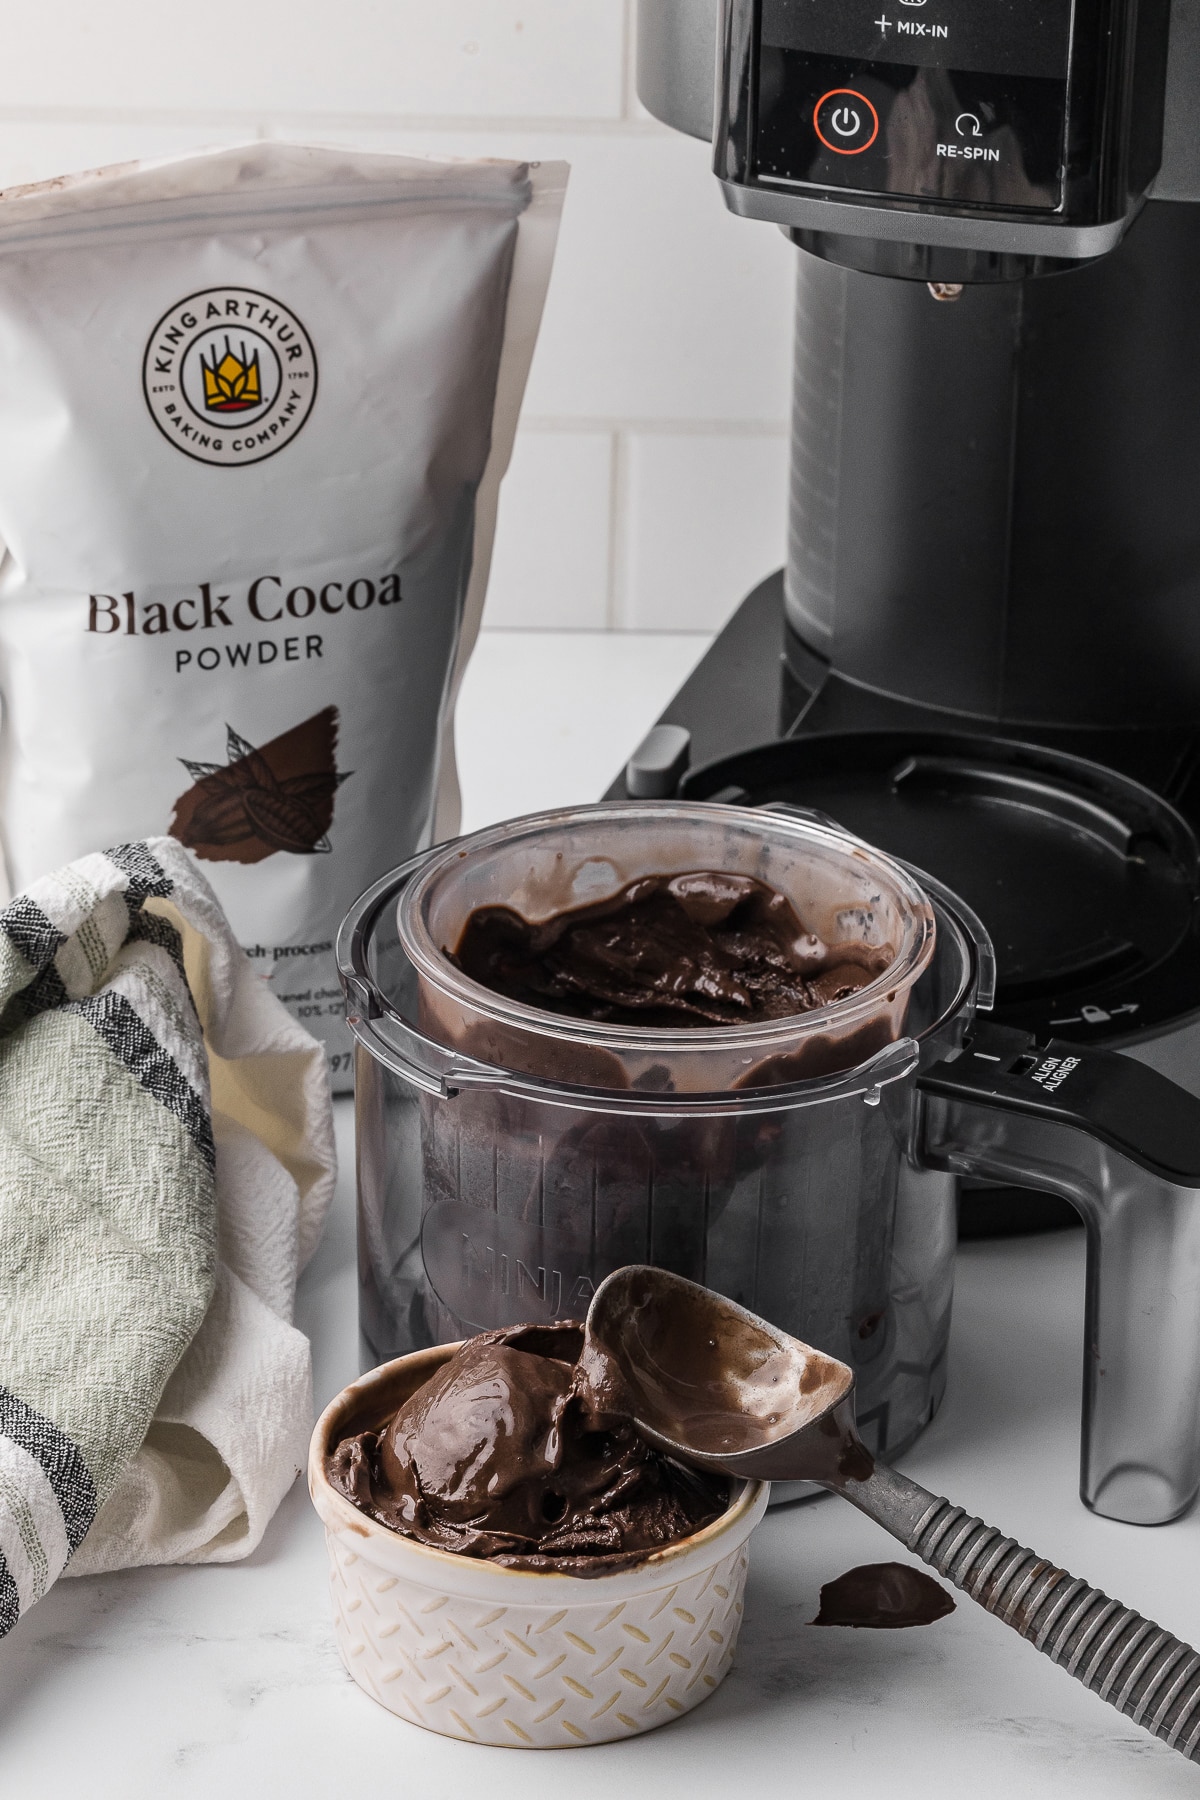
- 2 tablespoons black cocoa powder
Directions:
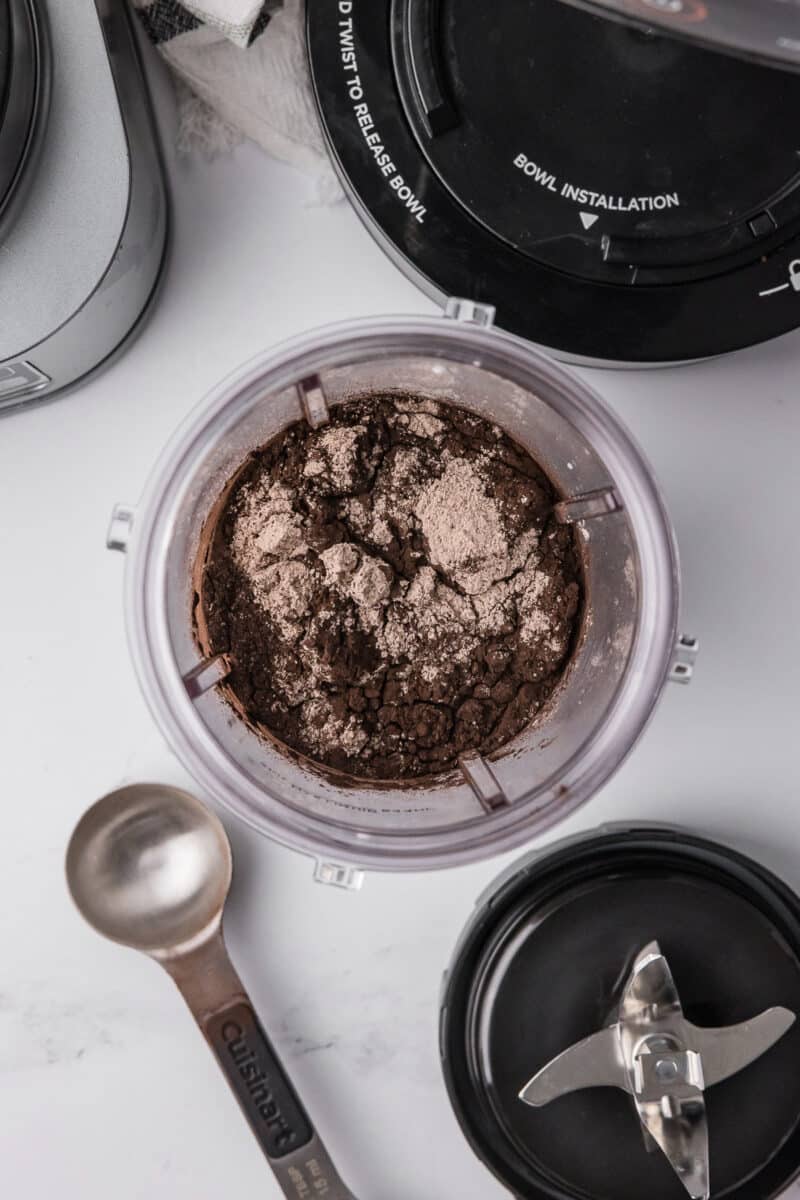
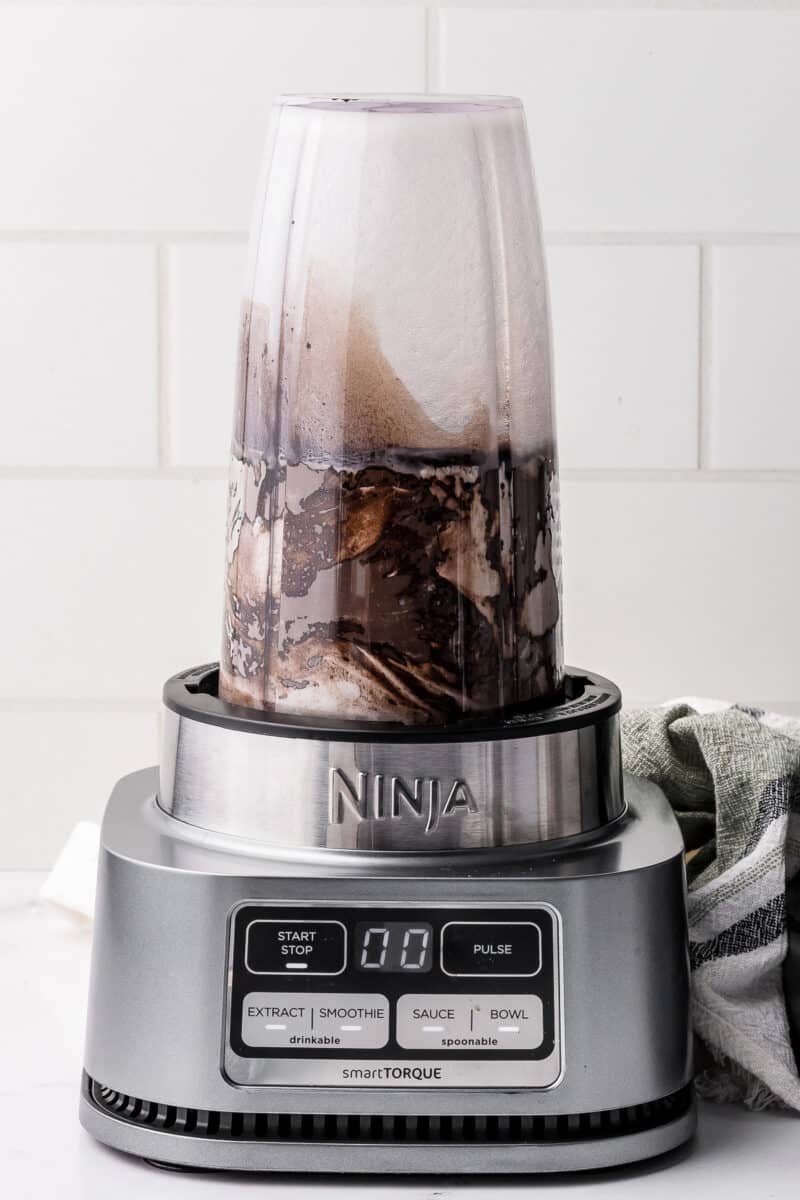
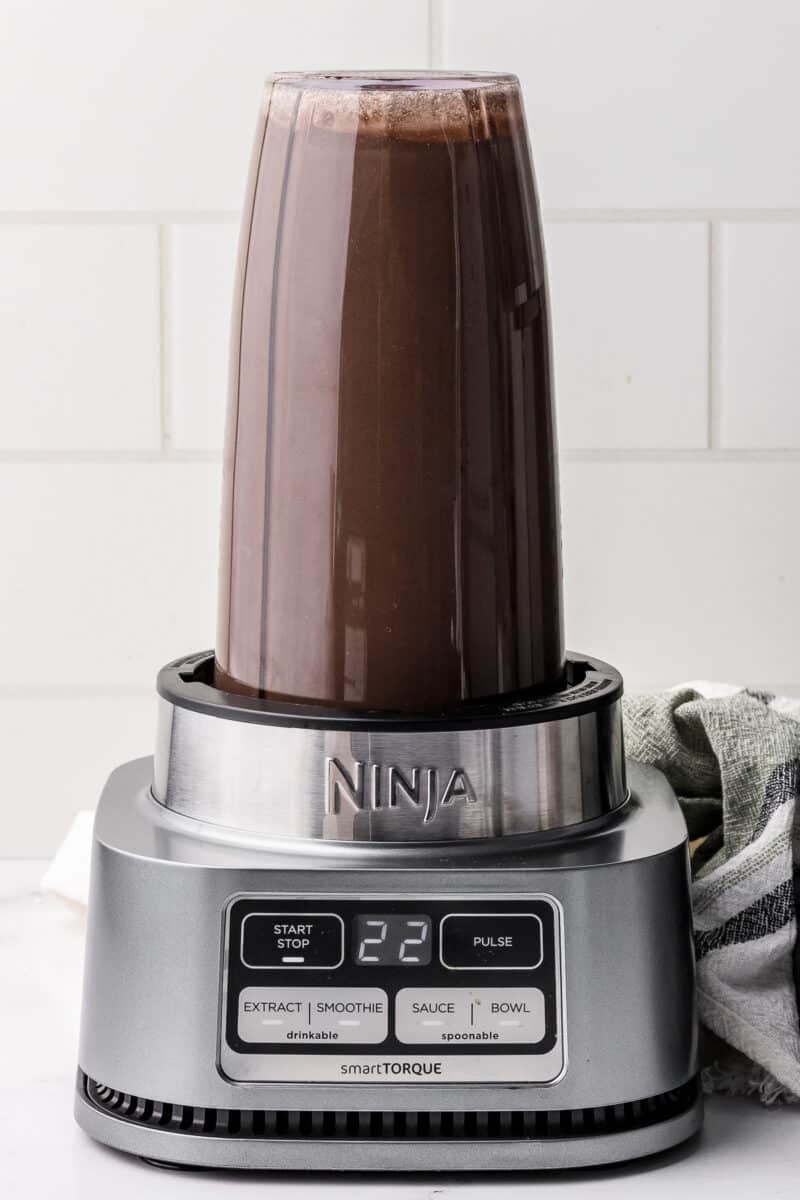
1. Combine all ingredients in your blender. Give it a good whirl for about 30 seconds, ensuring that luscious dark cocoa powder is fully incorporated.
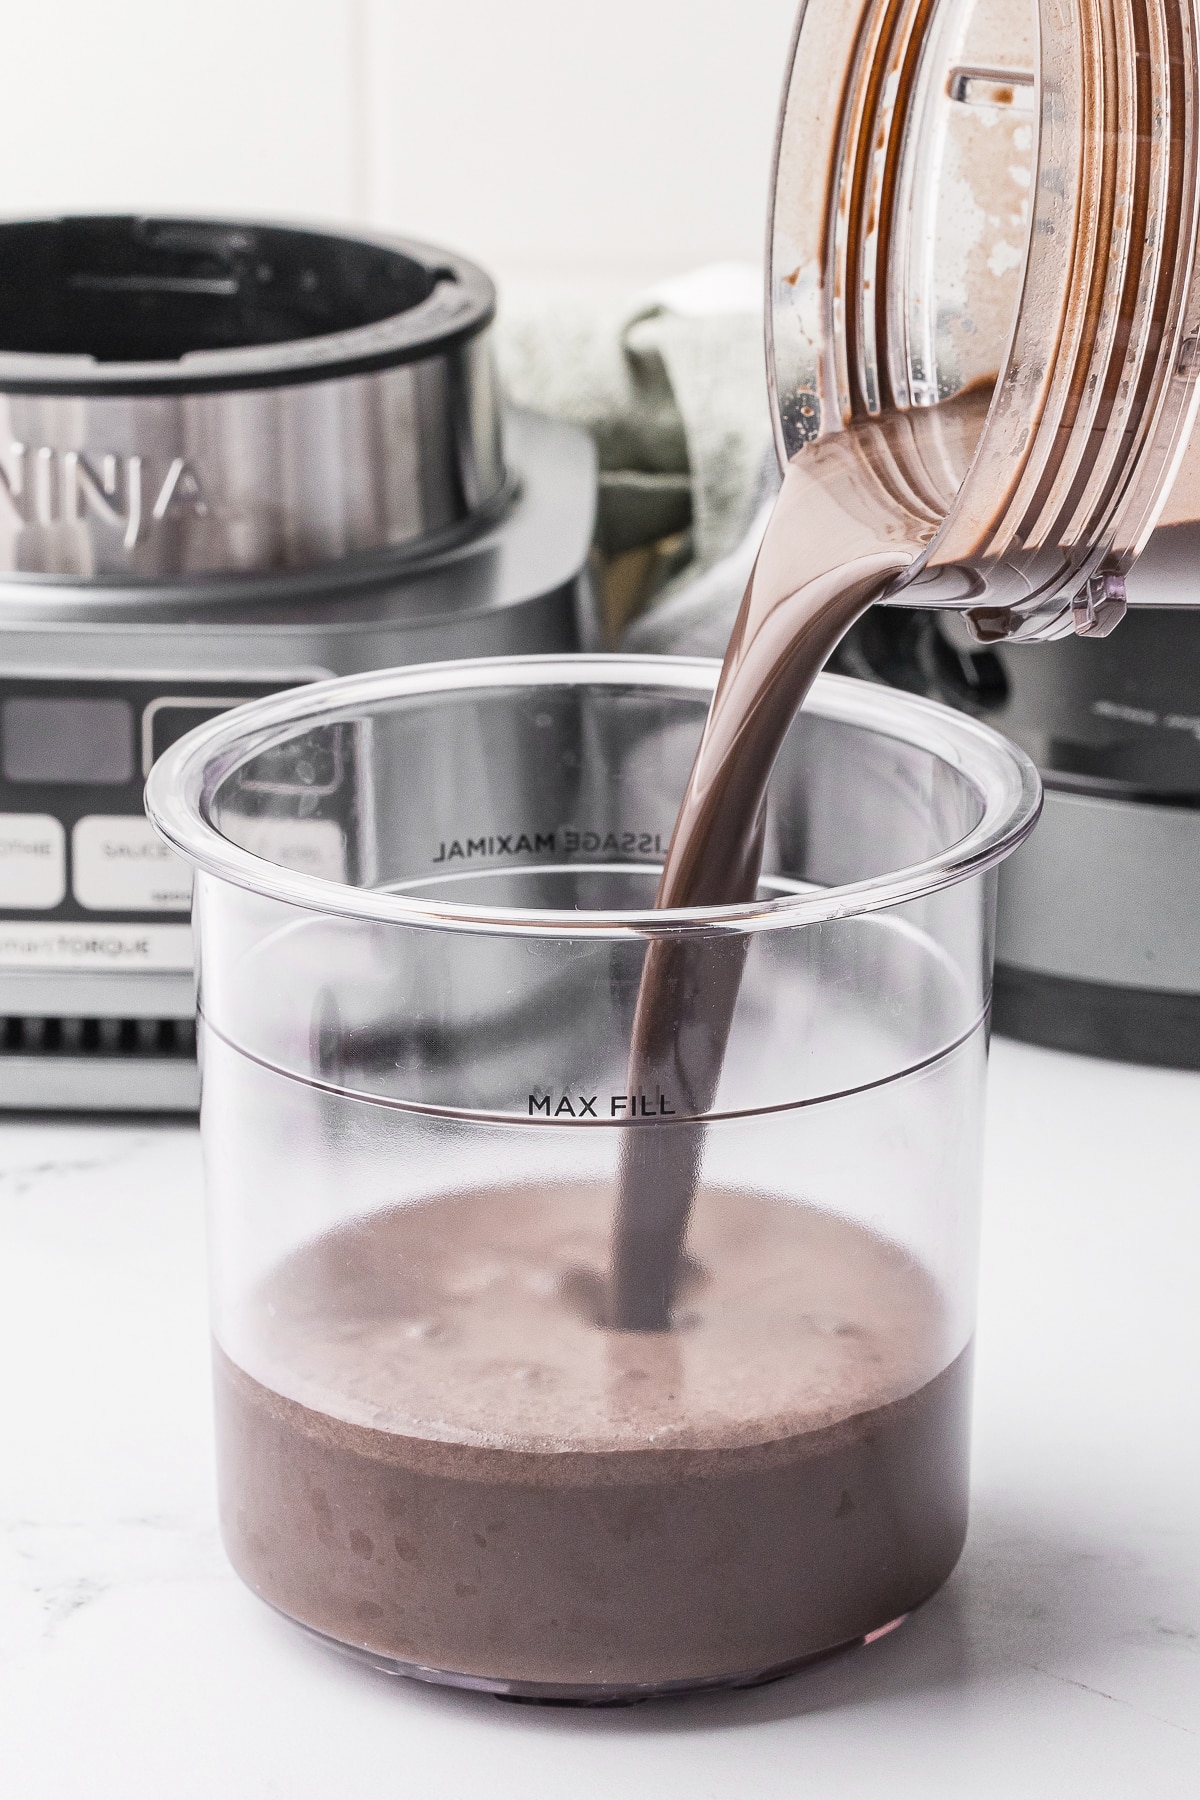
2. Pour your creamy chocolate ice cream mixture into your Ninja Creami pint container, filling it to the max fill line. Pop on the lid and place it in your freezer for at least 24 hours.
3. Before churning, let your frozen pint sit on the counter for about 5 minutes. This helps soften it up a bit for the perfect creamy texture.
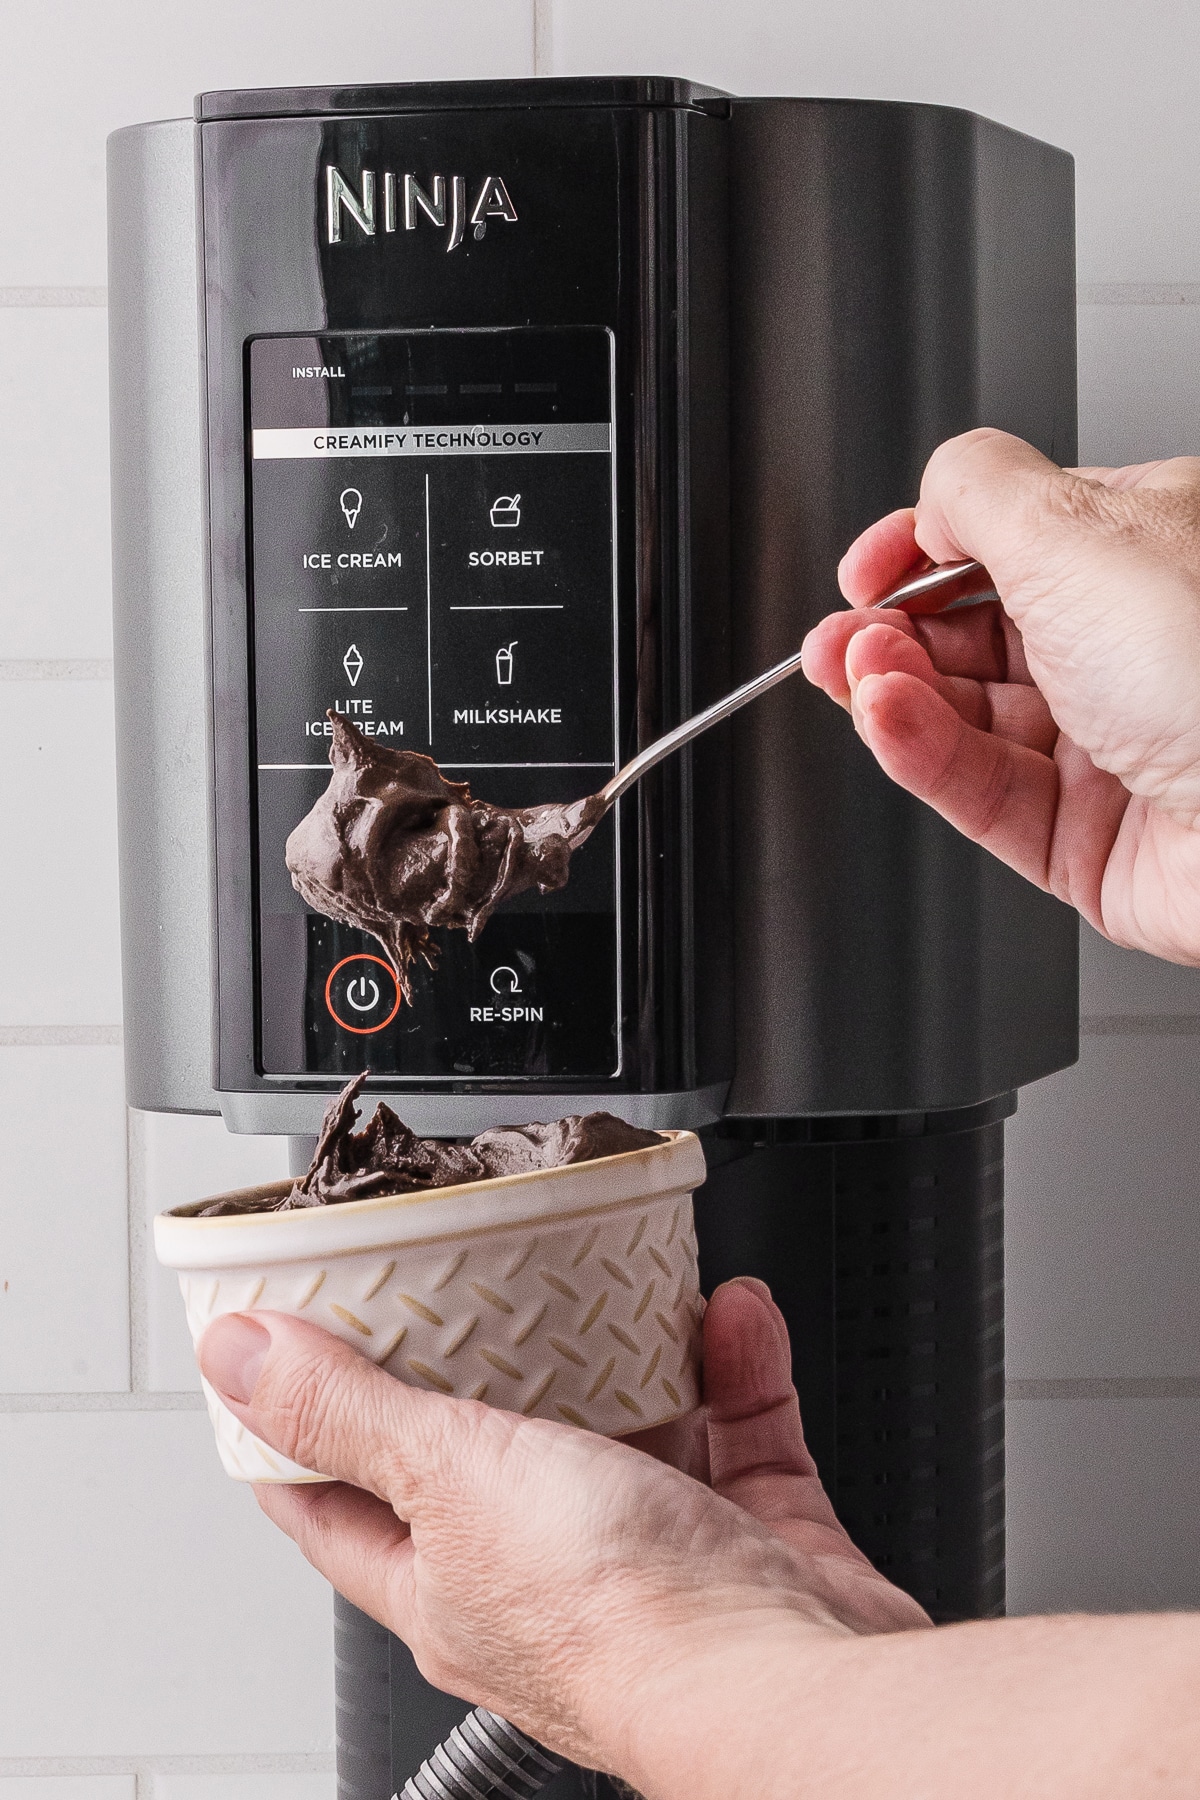
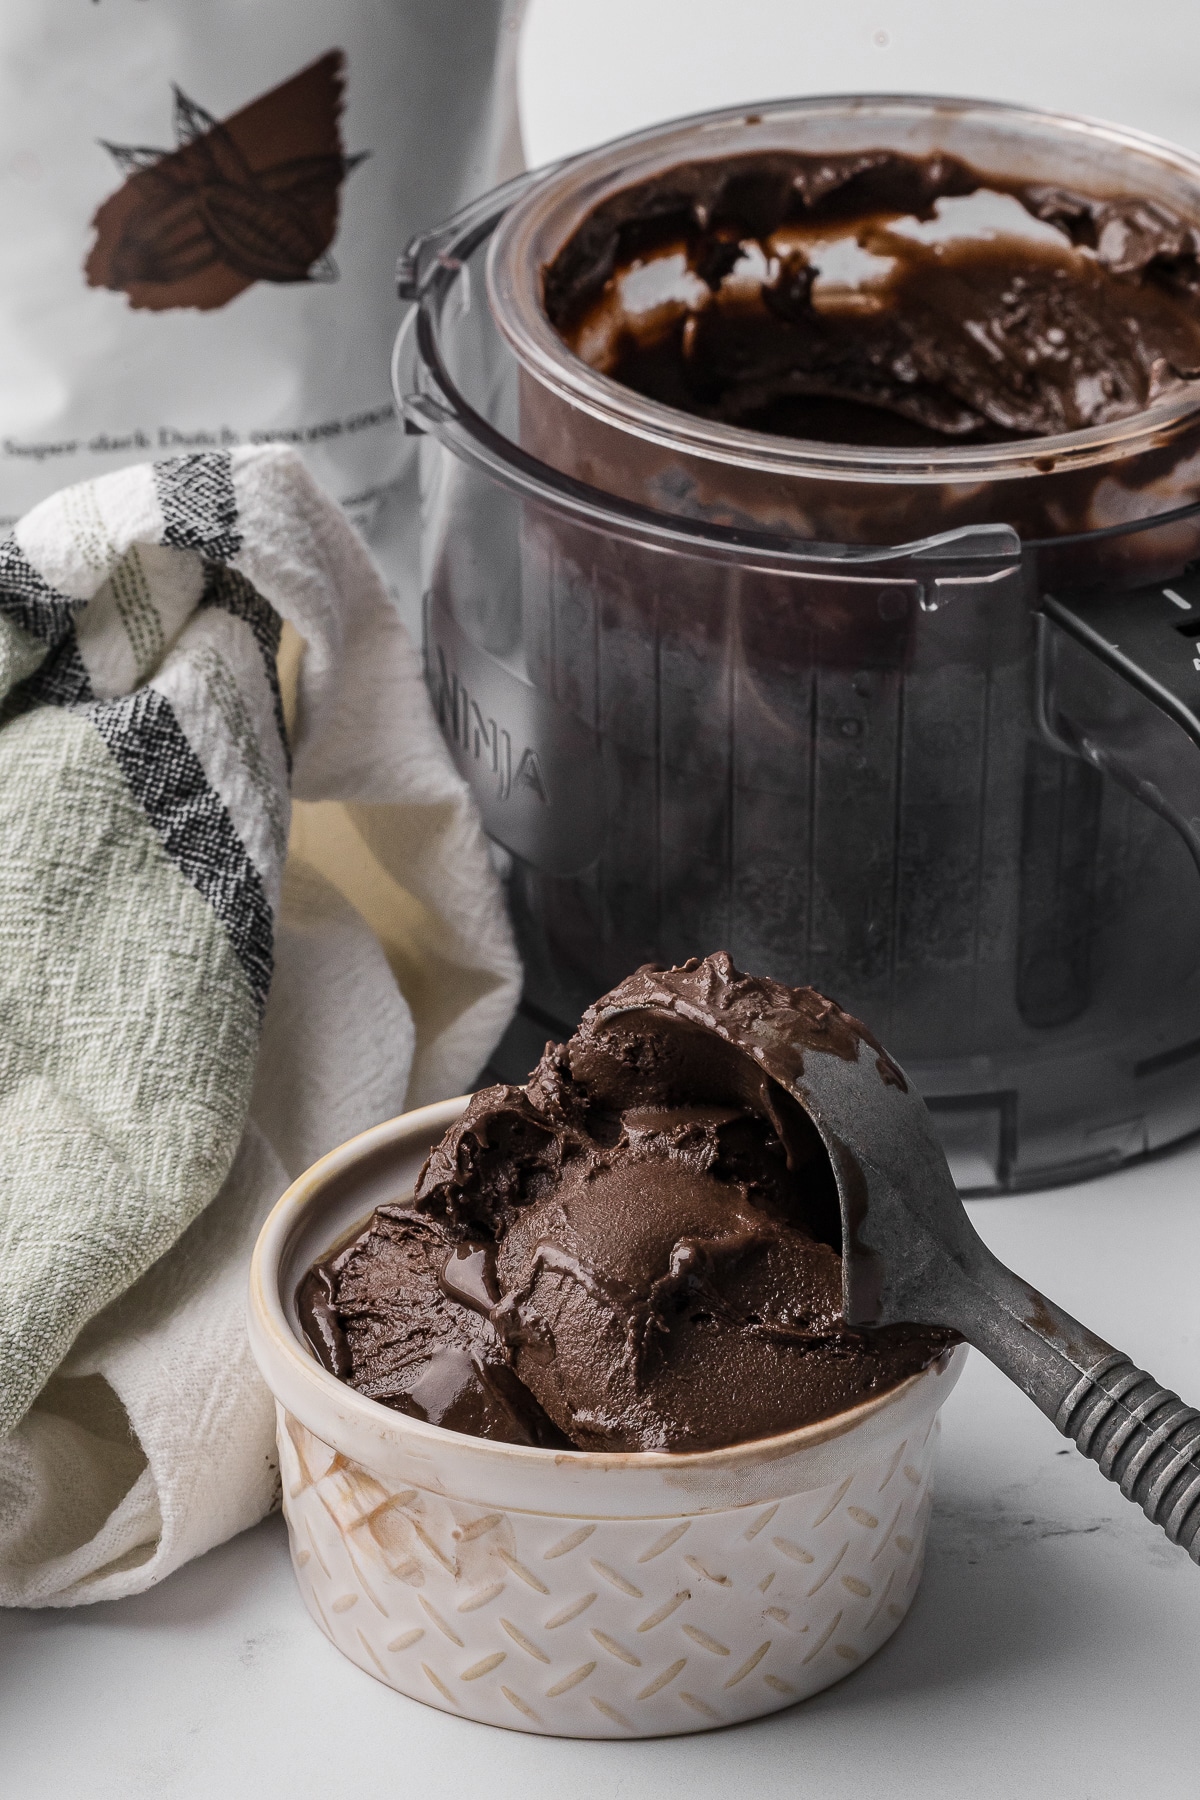
4. Secure your pint in the outer bowl, fasten the outer bowl lid, place it in your Ninja Creami machine, and process on the ice cream setting. (Note: If after the first spin it’s not quite creamy enough, hit that re-spin button once or twice for good measure.)
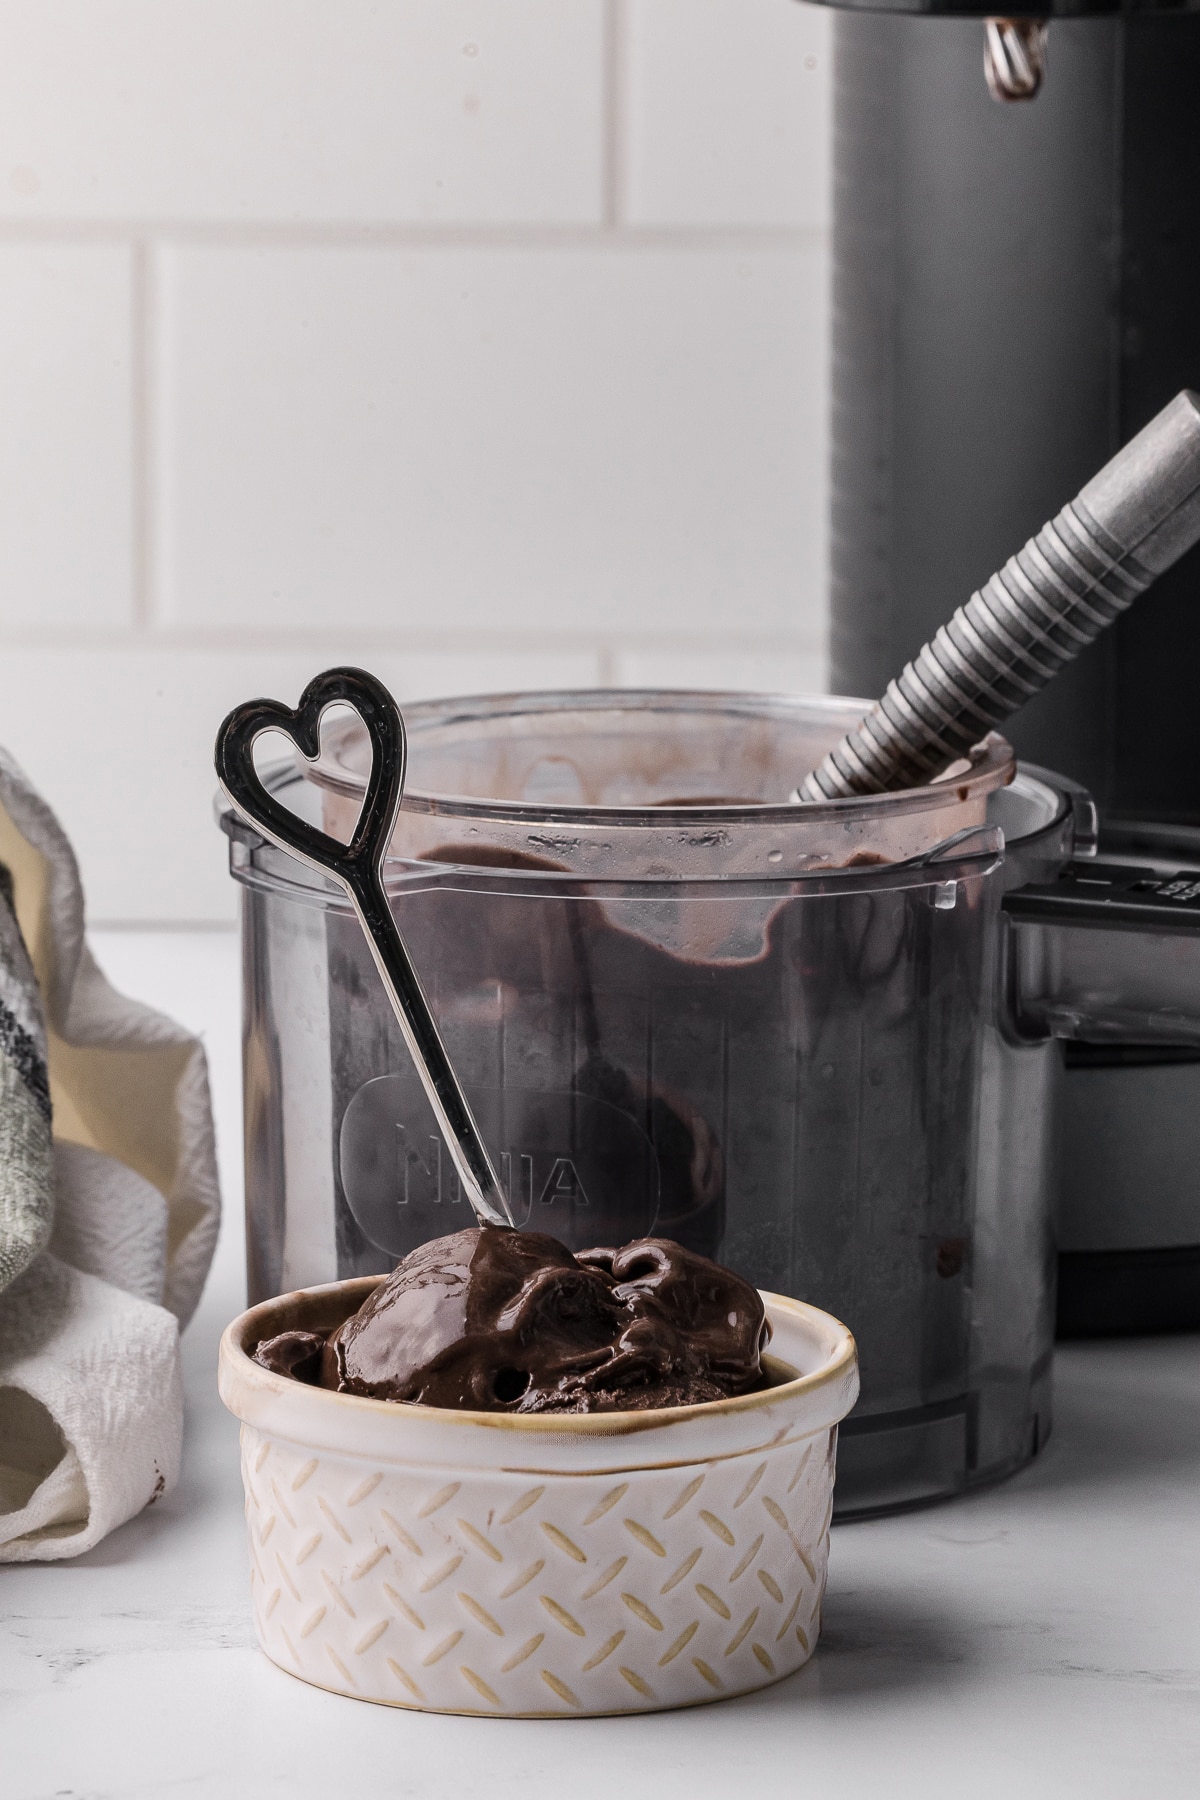
5. Scoop, enjoy, and savor the sweet victory of homemade dark chocolate ice cream made easy!
“Stretch it” Tip:
Don’t stop at just ice cream! This dark chocolate base is amazing drizzled over pancakes, waffles, or brownies. You can even use it to make a decadent chocolate milkshake.
Tips and Tricks:
- For the ultimate creamy ice cream, it is very important to use a blender for this recipe to fully incorporate the chocolate mixture.
- For extra richness, try using heavy cream instead of half & half.
- Don’t have black cocoa powder? Use and unprocessed dark cocoa powder. Regular cocoa powder works too, but the flavor won’t be as intense.
- Want to add mix-ins? After the first spin in the Ninja Creami, fold in chocolate chips, chopped nuts, or even a swirl of peanut butter into your ice cream base. Then, use the mix-in setting to incorporate.
Storage & Serving:
Store any leftover ice cream in the Ninja Creami pint in the freezer. Be sure to flatten out the top so that there are no bumps, which can cause your machine to malfunction. For best results, enjoy within a week. Let it soften on the counter for a few minutes before scooping.
FAQs:
- Can I use a different type of milk?
Absolutely! Almond milk, oat milk, or even coconut milk work well. - Can I make this dairy-free?
Yep! Use your favorite dairy-free milk and a dairy-free pudding mix. - My ice cream isn’t creamy enough. Help! Try adding a 1/4 teaspoon of xanthan gum to the mixture before blending. It helps create a smoother, creamier texture.
- Can I use this recipe for other Ninja Creami desserts?
Definitely! It’s a great base for gelato or sorbet, too. - How can I make this recipe lower in sugar? Use a sugar substitute like stevia or monk fruit. You could also reduce the sugar to ¼ cup and add a tablespoon of maple syrup for sweetness and flavor.
If you’ve got chocolate lovers, this is one of our favorite chocolate ice creams that will have them begging for more!
The great thing about this – and our other – favorite and best Ninja Creami recipes is that you can prepare them in advance and then make them at a moments notice! I mean, who doesn’t love a wonderful homemade chocolate ice cream recipe that you can whip up on the fly!? In fact, if you get good at the whole Ninja Creami thing, you’ll also become well known for having pints of ice cream right in the fridge for those fun family gatherings!
Don’t forget to pin this recipe and share your creamy creations with the Ninja Creami community!
Have you tried this recipe? Let me know how it turned out in the comments below! And don’t forget to share your delicious Ninja Creami creations on social media.
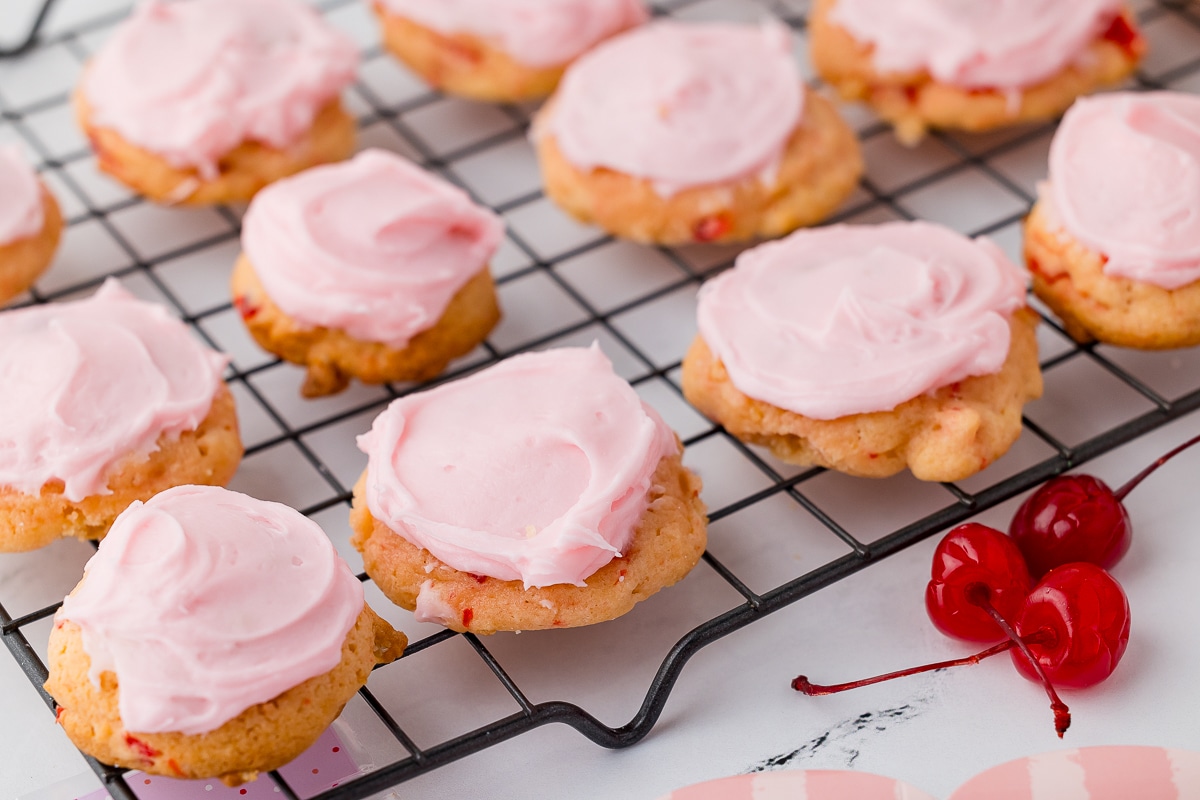
To see more of your soon to be favorite Ninja Creami recipes check out Cherry Ice Cream, Strawberry Cheesecake Ice Cream, Dole Whip, and Vanilla Ice Cream.
Ninja Creami Dark Chocolate Ice Cream
Craving creamy dark chocolate ice cream? This Ninja Creami recipe is your shortcut to homemade deliciousness with minimal effort and simple ingredients.
Listen, moms, I know the struggle. Sweet tooth calling, but who has time for complicated homemade ice cream recipes? Not us! That's why this Ninja Creami Dark Chocolate Ice Cream is a lifesaver. With just a handful of simple ingredients and your trusty Ninja Creami machine, you'll be indulging in rich, velvety ice cream faster than you can say "chocolate chips."
Ingredients
- ¾ cup whole milk
- ⅔ cup half & half
- ⅓ cup sugar
- 2 tablespoons chocolate pudding mix (instant)
- 2 tablespoons black cocoa powder
Instructions
1. Combine all ingredients in your blender. Give it a good whirl for about 30 seconds, ensuring that luscious dark cocoa powder is fully incorporated.
2. Pour your creamy chocolate ice cream mixture into your Ninja Creami pint container, filling it to the max fill line. Pop on the lid and place it in your freezer for at least 24 hours.
3. Before churning, let your frozen pint sit on the counter for about 5 minutes. This helps soften it up a bit for the perfect creamy texture.
4. Secure your pint in the outer bowl, fasten the outer bowl lid, place it in your Ninja Creami machine, and process on the ice cream setting. (Note: If after the first spin it's not quite creamy enough, hit that re-spin button once or twice for good measure.)
5. Scoop, enjoy, and savor the sweet victory of homemade dark chocolate ice cream made easy!
Notes
Tips and Tricks:
- For the ultimate creamy ice cream, it is very important to use a blender for this recipe to fully incorporate the chocolate mixture.
- For extra richness, try using heavy cream instead of half & half.
- Don't have black cocoa powder? Use and unprocessed dark cocoa powder. Regular cocoa powder works too, but the flavor won't be as intense.
- Want to add mix-ins? After the first spin in the Ninja Creami, fold in chocolate chips, chopped nuts, or even a swirl of peanut butter into your ice cream base. Then, use the mix-in setting to incorporate.
Storage & Serving:
Store any leftover ice cream in the Ninja Creami pint in the freezer. Be sure to flatten out the top so that there are no bumps, which can cause your machine to malfunction. For best results, enjoy within a week. Let it soften on the counter for a few minutes before scooping.
Nutrition Information:
Yield: 3 Serving Size: 3Amount Per Serving: Calories: 206Total Fat: 8gSaturated Fat: 5gTrans Fat: 0gUnsaturated Fat: 3gCholesterol: 25mgSodium: 78mgCarbohydrates: 30gFiber: 1gSugar: 28gProtein: 4g
*This calculation is just an estimate ~ results may vary!

One Comment