Ninja Creami Strawberry Banana Ice Cream
This post may contain affiliate links. See our disclosure policy for more details.
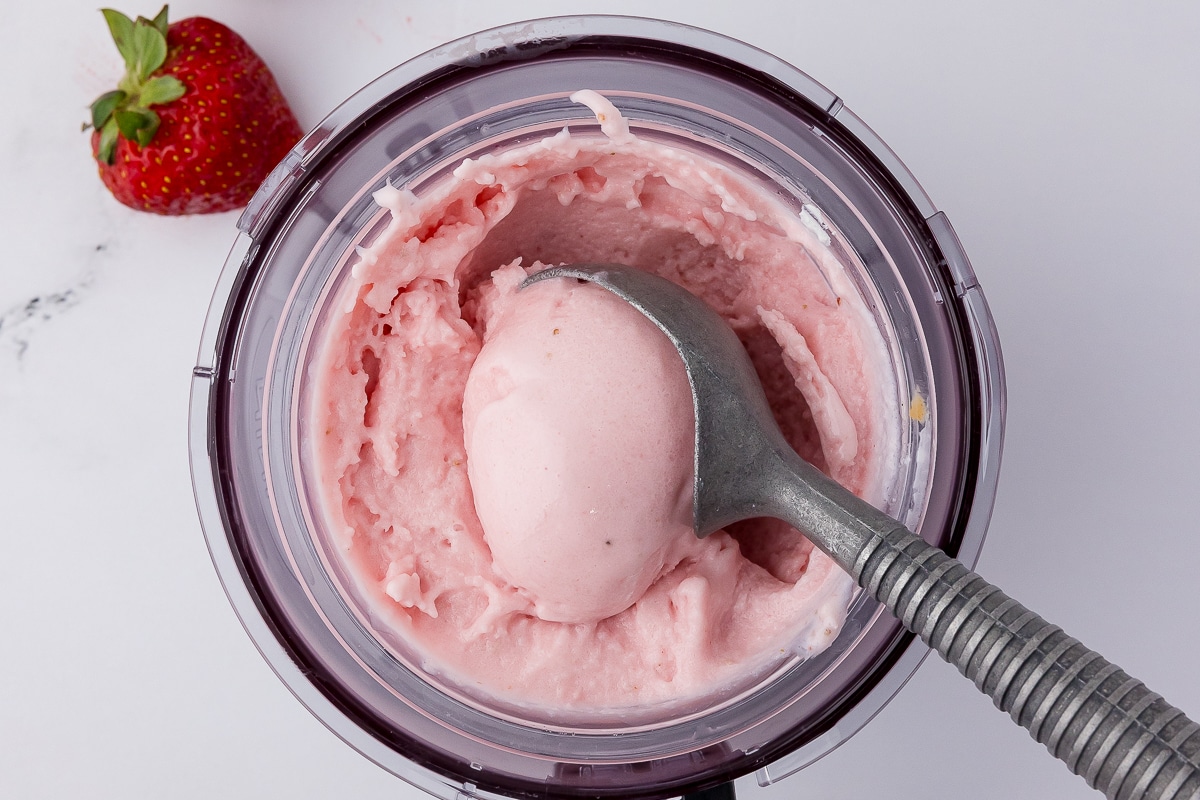
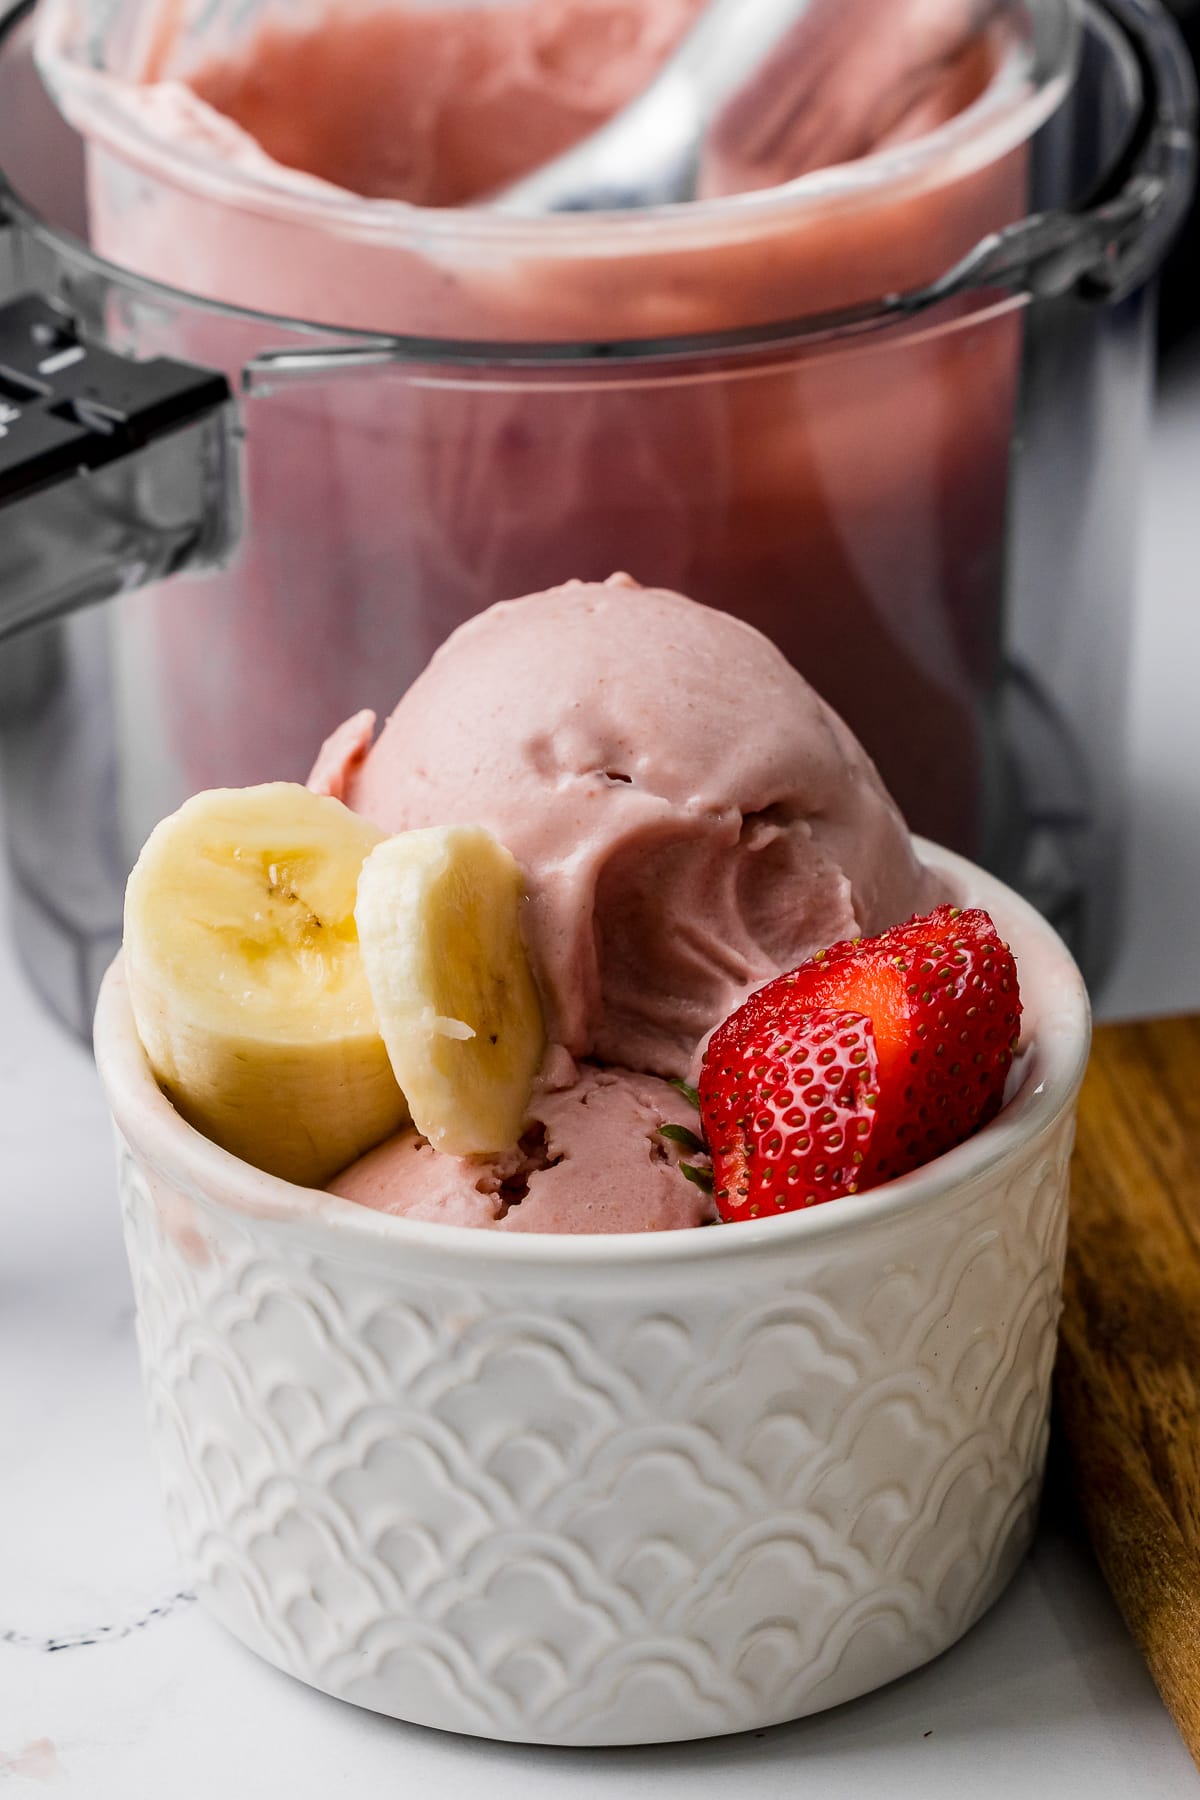
Whip up our Ninja Creami strawberry banana ice cream in 5 minutes! This simple recipe uses frozen fruit and minimal ingredients for a guilt-free, refreshing treat.
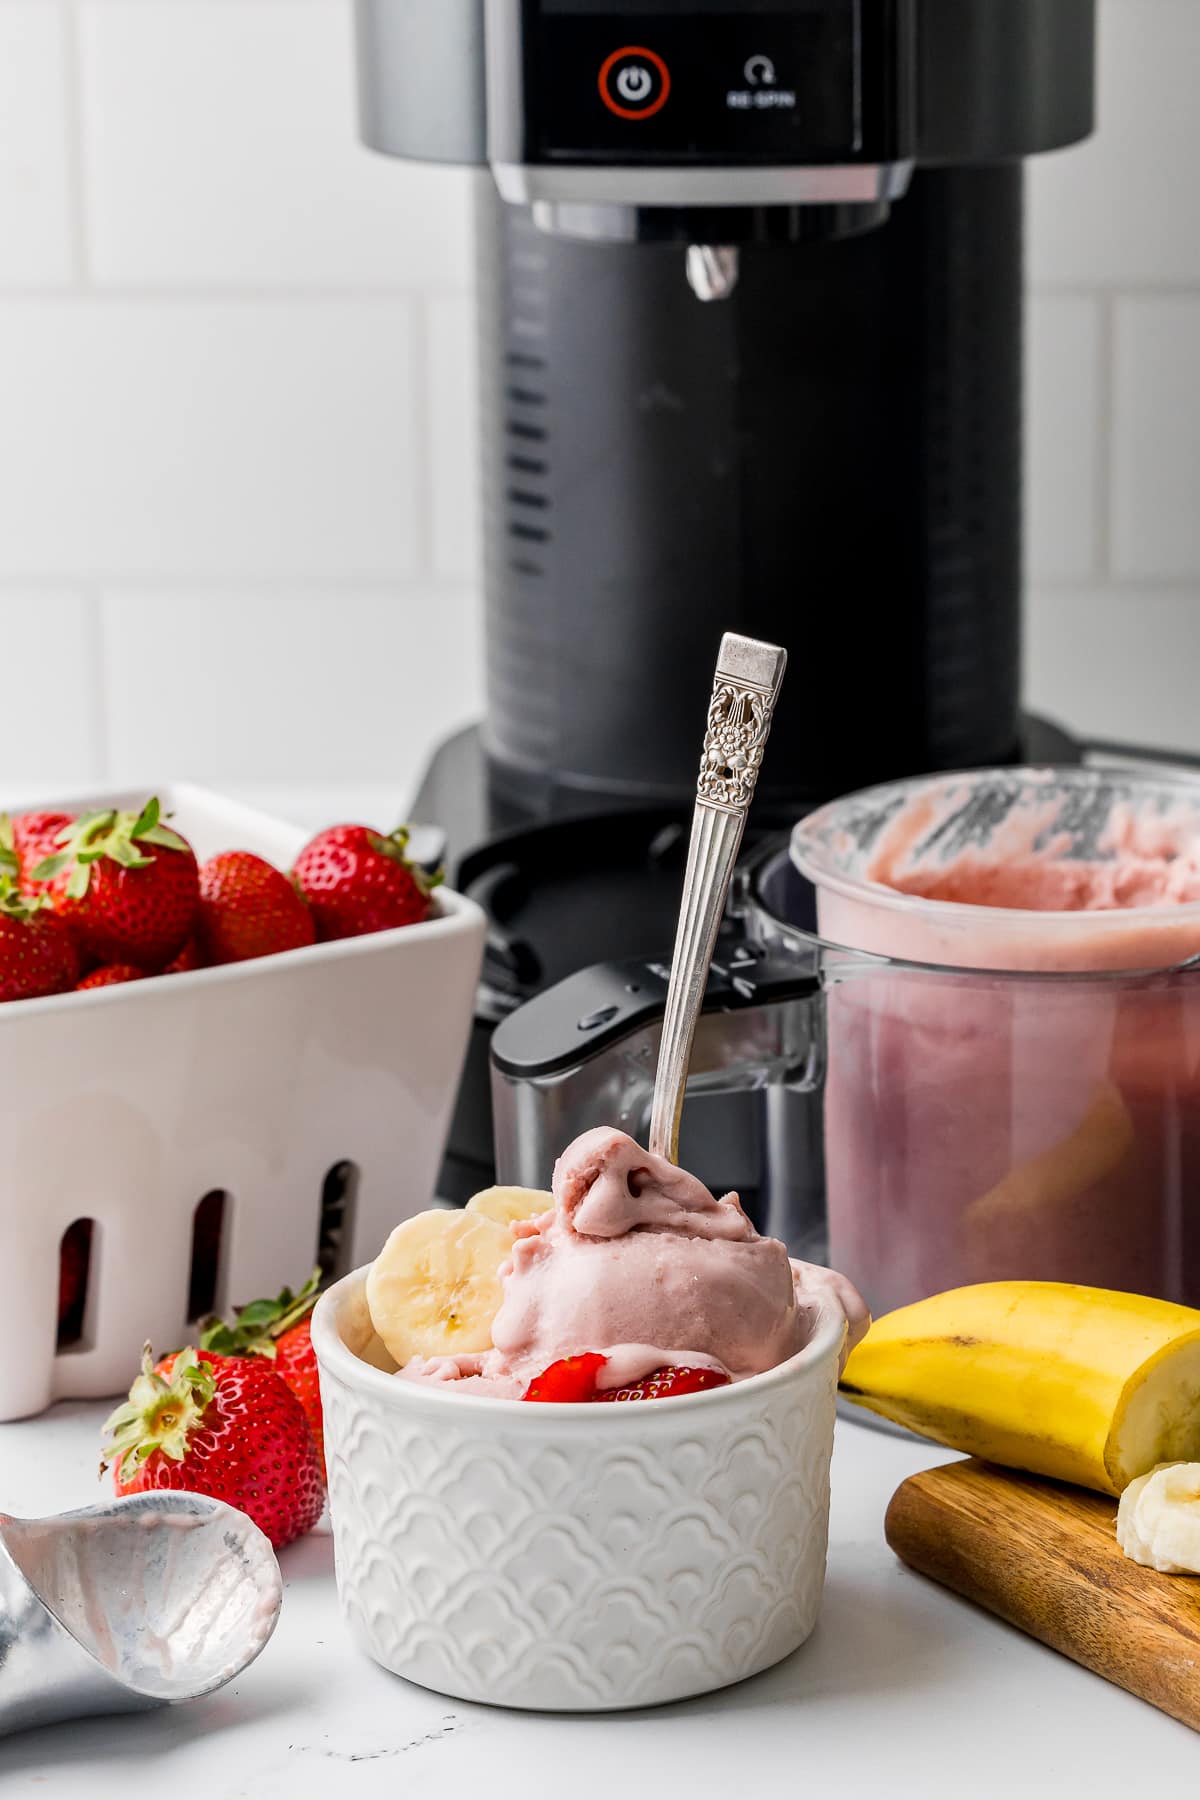
We love making ice cream together, and I found the easiest way to make creamy, dreamy ice cream at home with just a few simple ingredients and your Ninja Creami! This strawberry banana flavor is a perfect treat on a hot summer day, and you can even add your favorite mix-ins like peanut butter or chocolate chips.
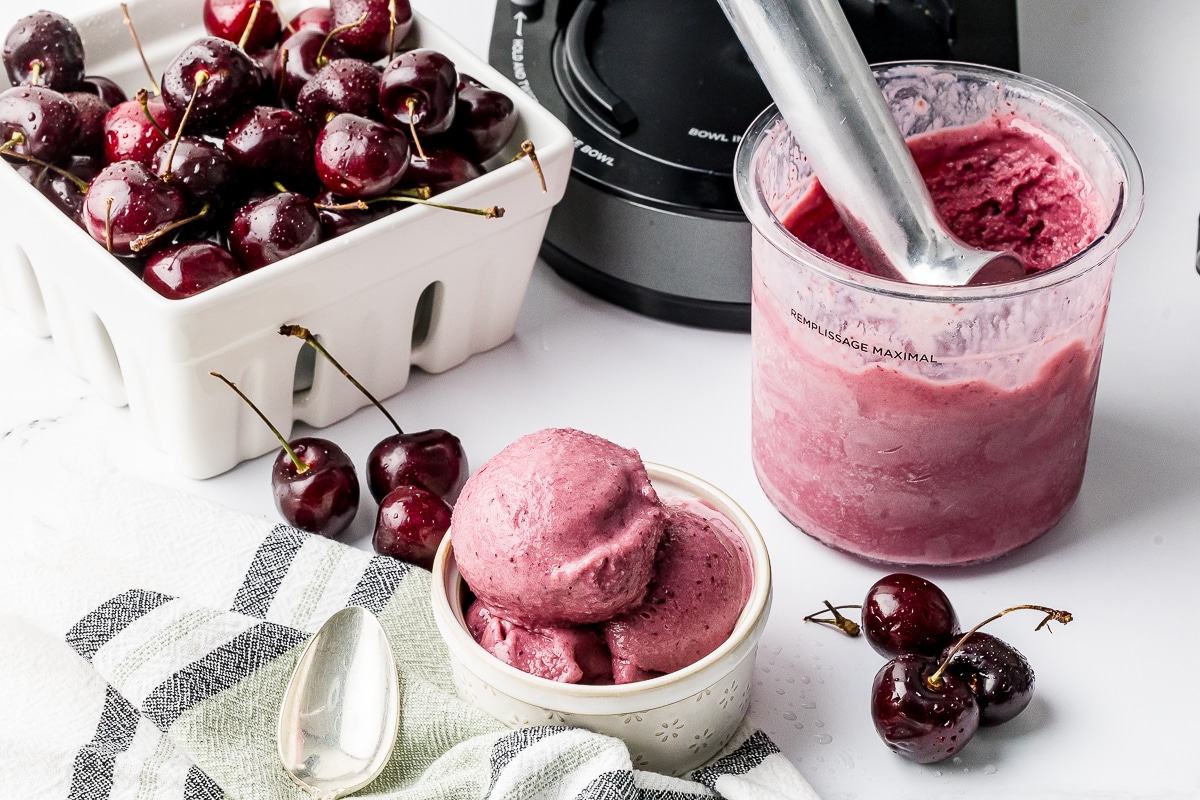
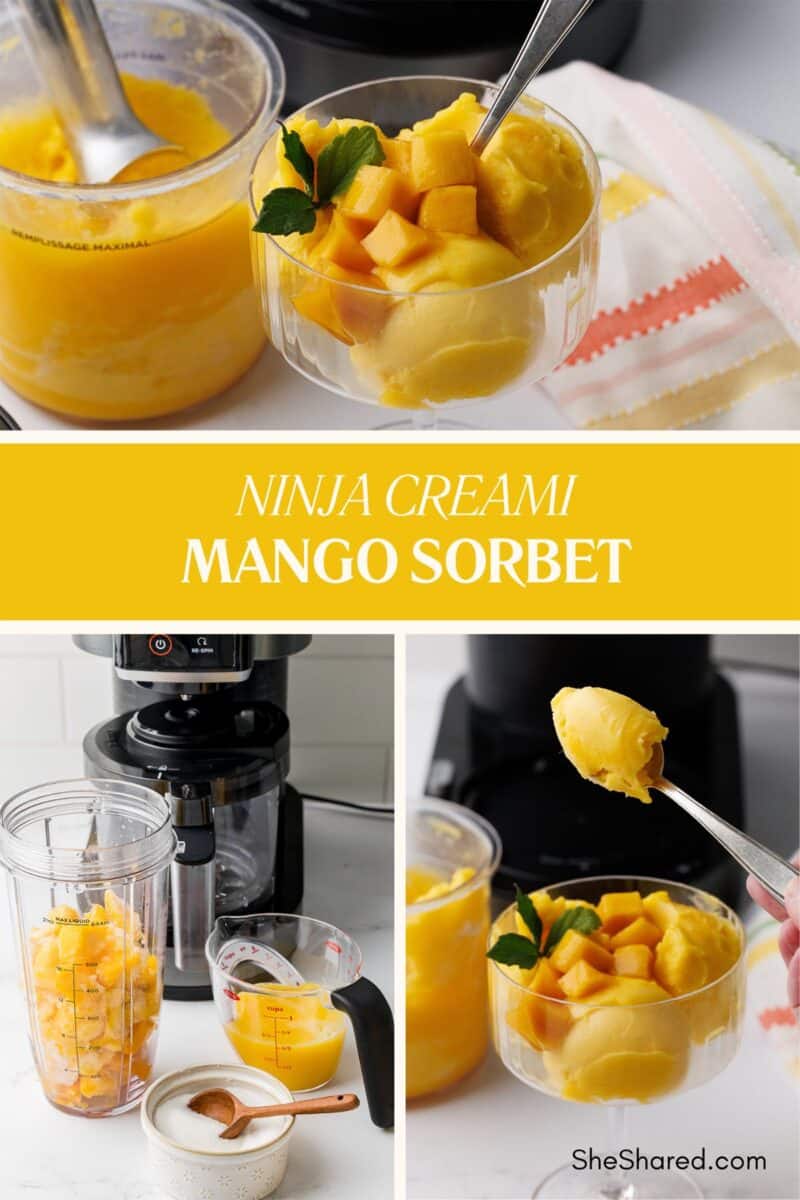
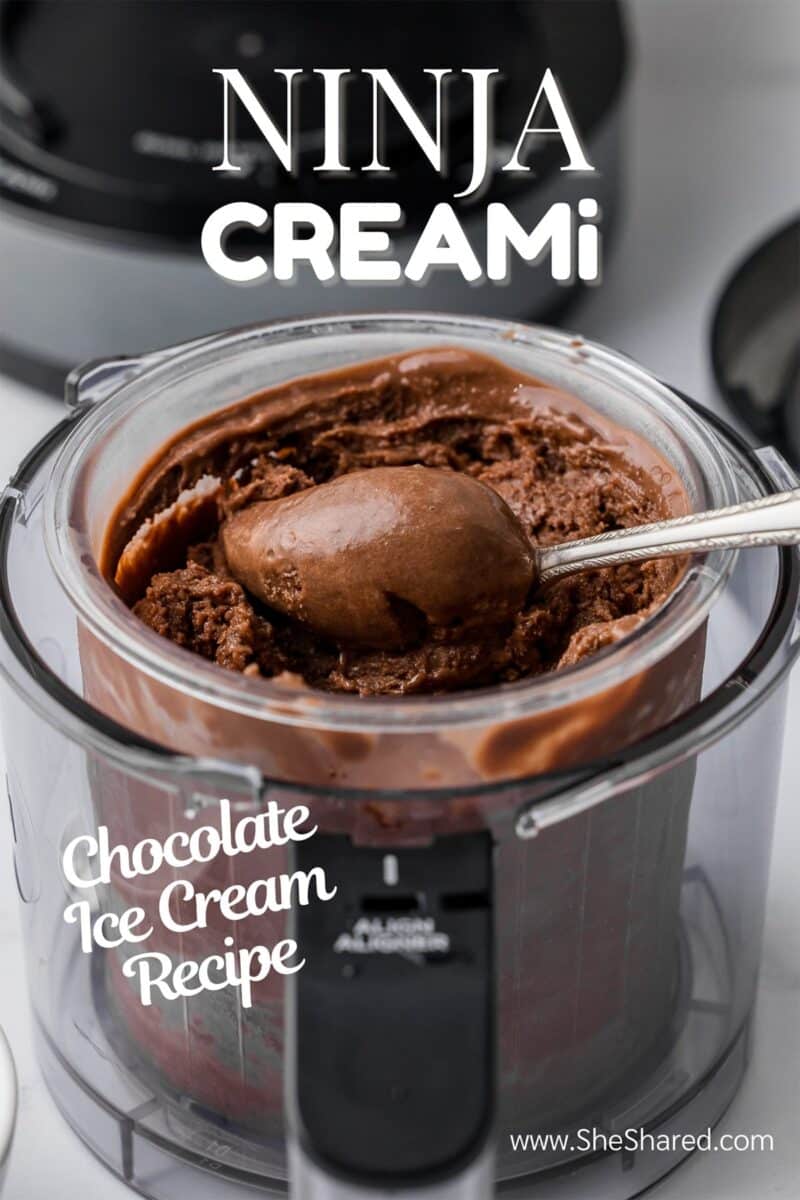
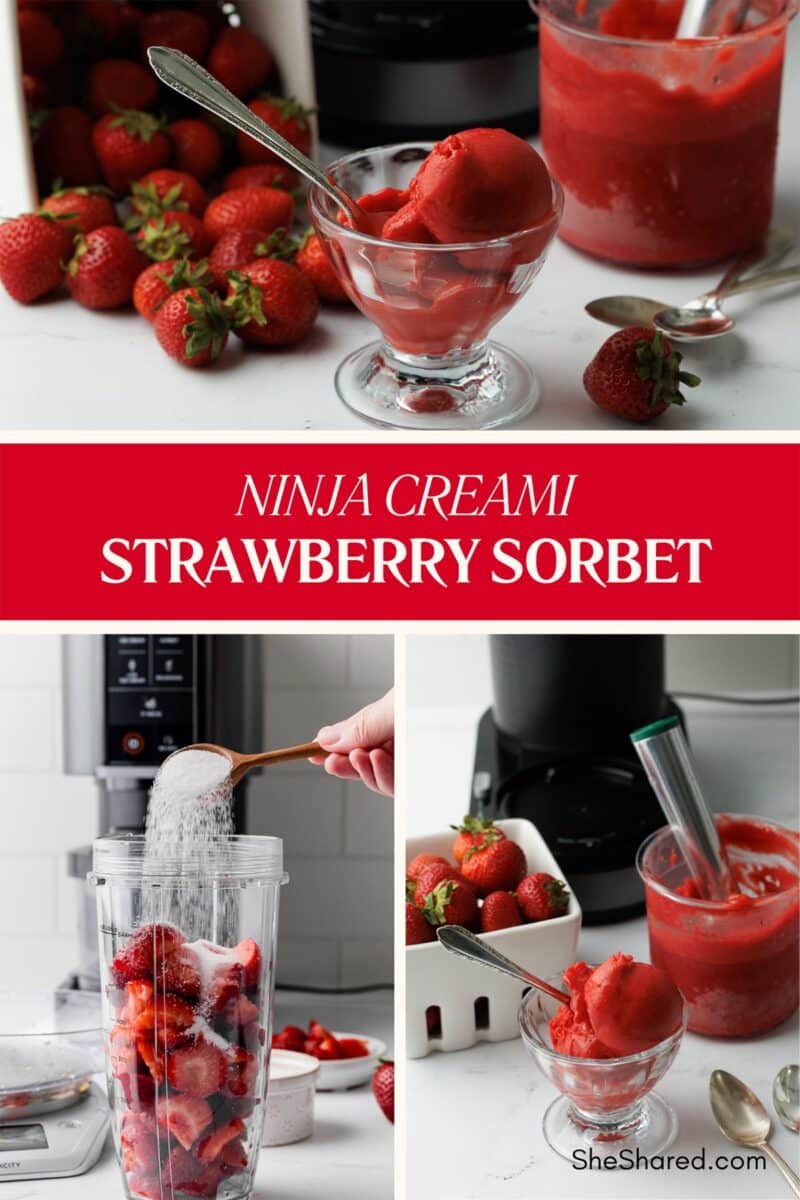
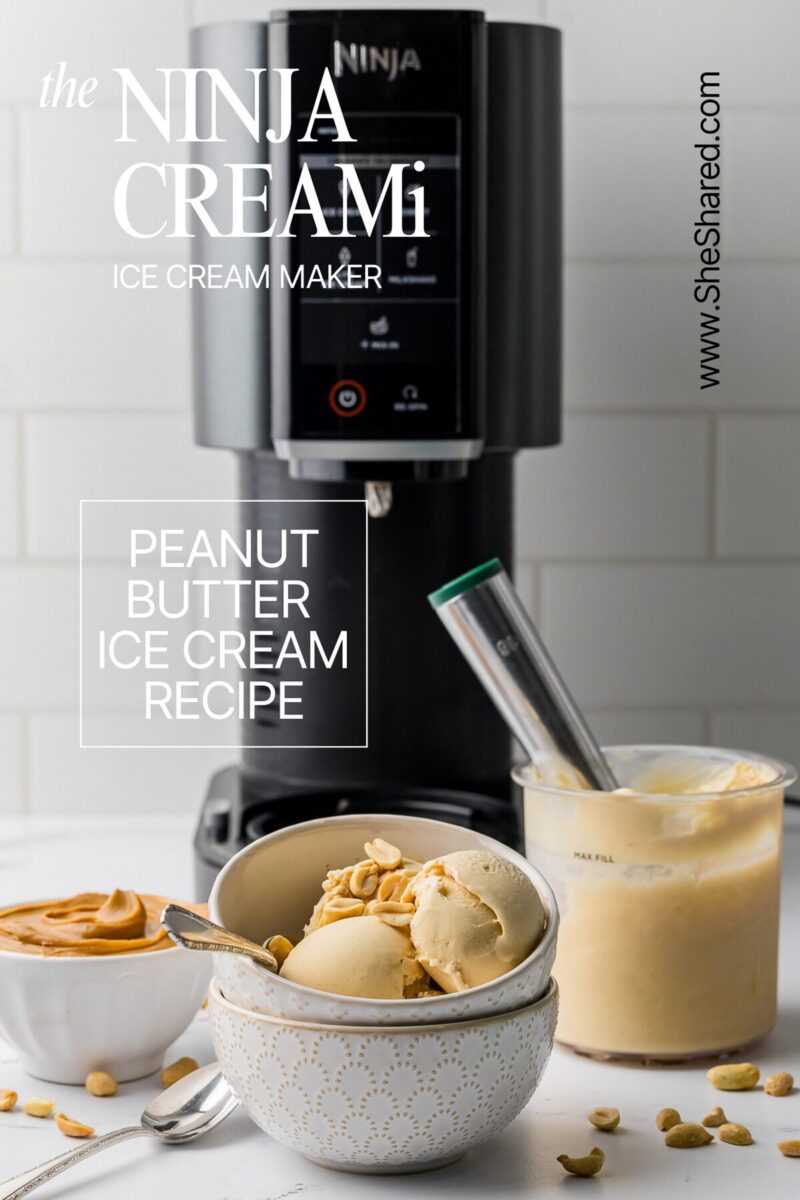
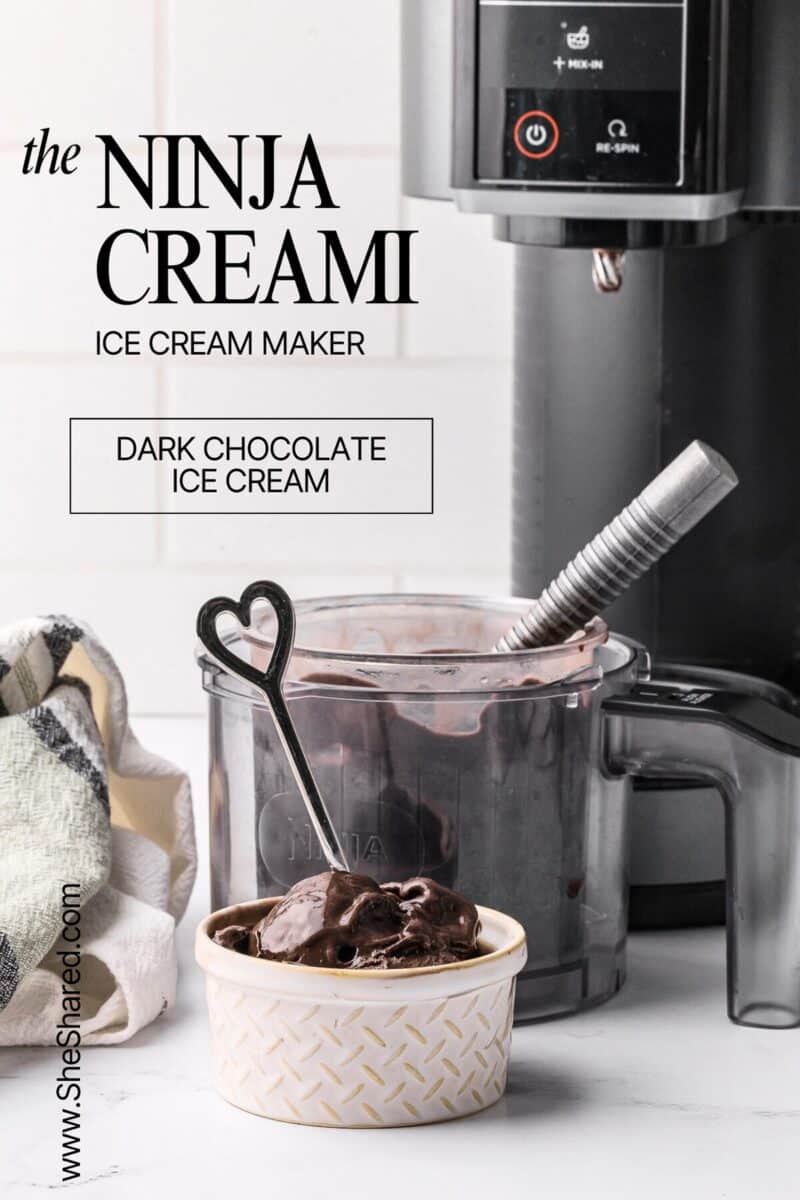
And, if you love ice cream and sorbet as much as we do, check out some of our other Ninja Creami recipes!
Supplies Needed for our fruity ice cream:
- Ninja Creami ice cream maker
- Ninja Creami pint container (we have 15, so that we can keep the freezer stocked and never run out of ice cream)
- High powered blender, immersion blender, or food processor
- Measuring cups and spoons
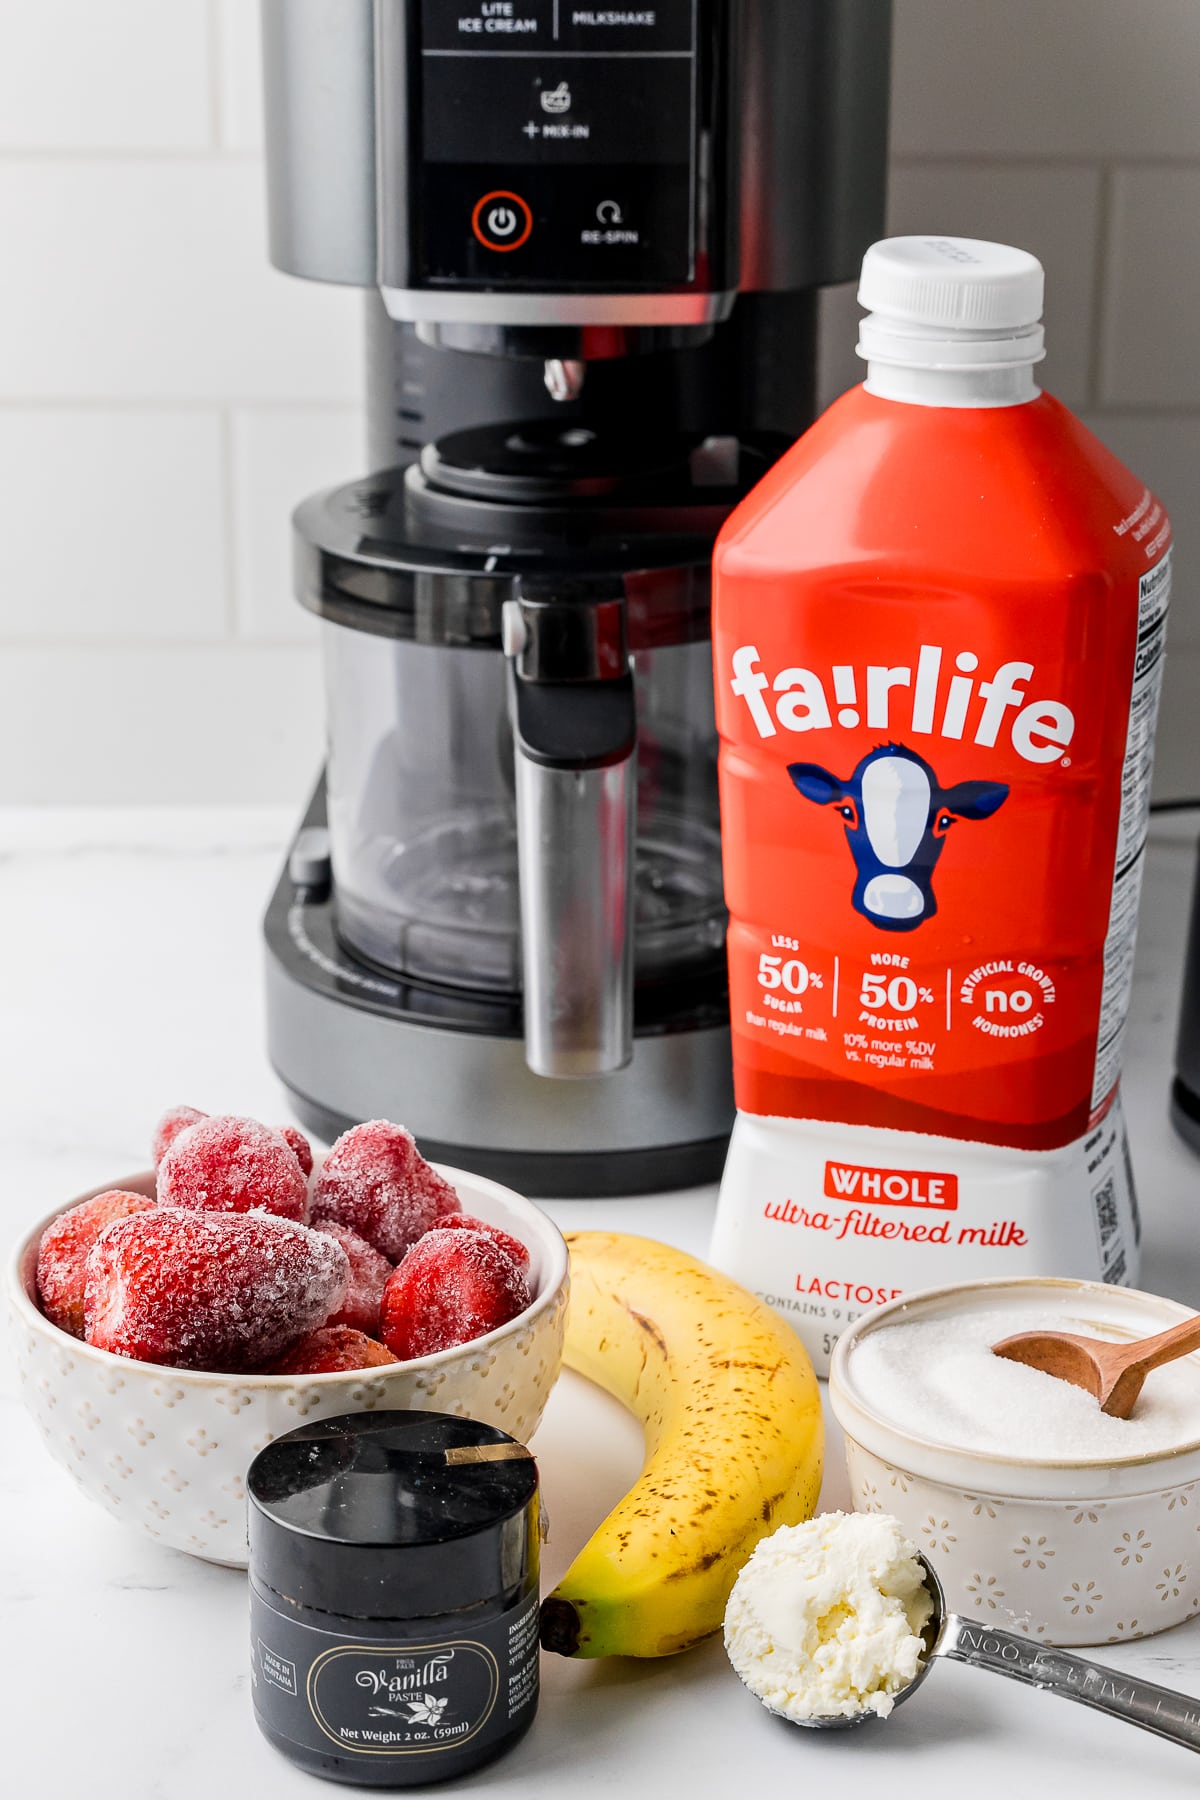
Ingredients & Why They Work:
- Frozen strawberries: These will be the star of the show, bringing that bright, sweet, and slightly tart strawberry flavor, and the frozen texture will help create that perfect creamy consistency in the Ninja Creami.
- Ripe banana, frozen & sliced: This adds natural sweetness and creaminess to the ice cream.
- Whole fairlife milk: The milk creates a smooth base for the ice cream. (You can also try almond milk or coconut milk for a dairy-free option)
- sugar: Just a touch of sugar enhances the sweetness of the fruit.
- Strawberry jam: This intensifies the strawberry flavor and adds a beautiful swirl to the ice cream.
- Cream cheese: A little bit of cream cheese adds richness and helps create a smooth texture.
- Vanilla bean paste: Pure vanilla extract works too, but the vanilla bean paste adds those beautiful little flecks.
Directions:
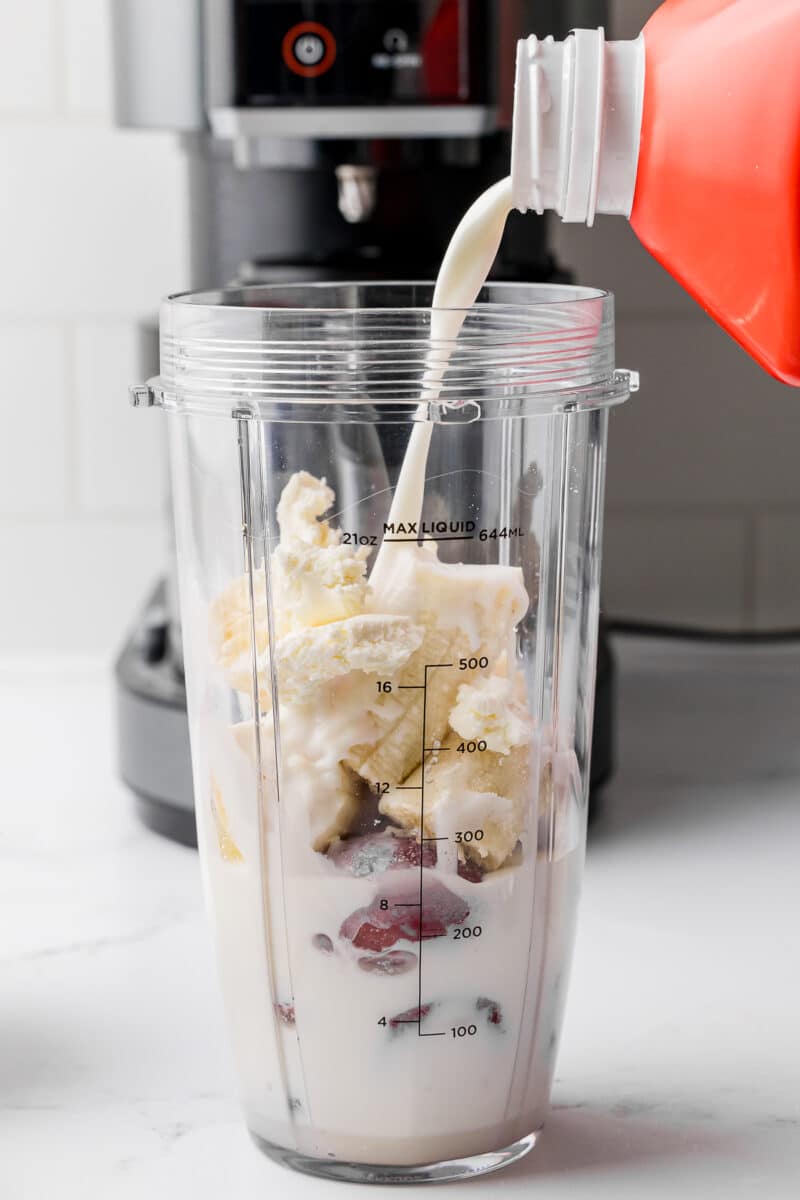
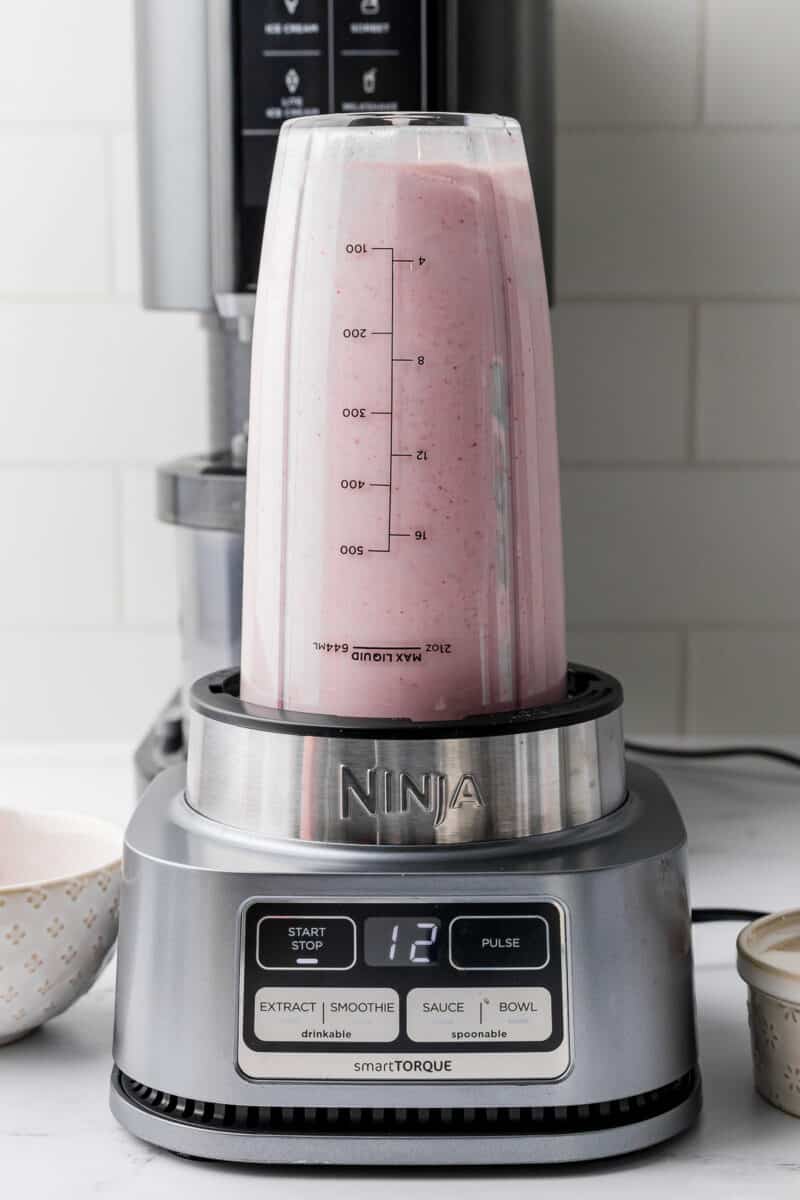
- Blend it Up: In a blender, combine the frozen strawberries, sliced banana, milk, sugar, strawberry jam, cream cheese, and vanilla bean paste. Blend until smooth and creamy.
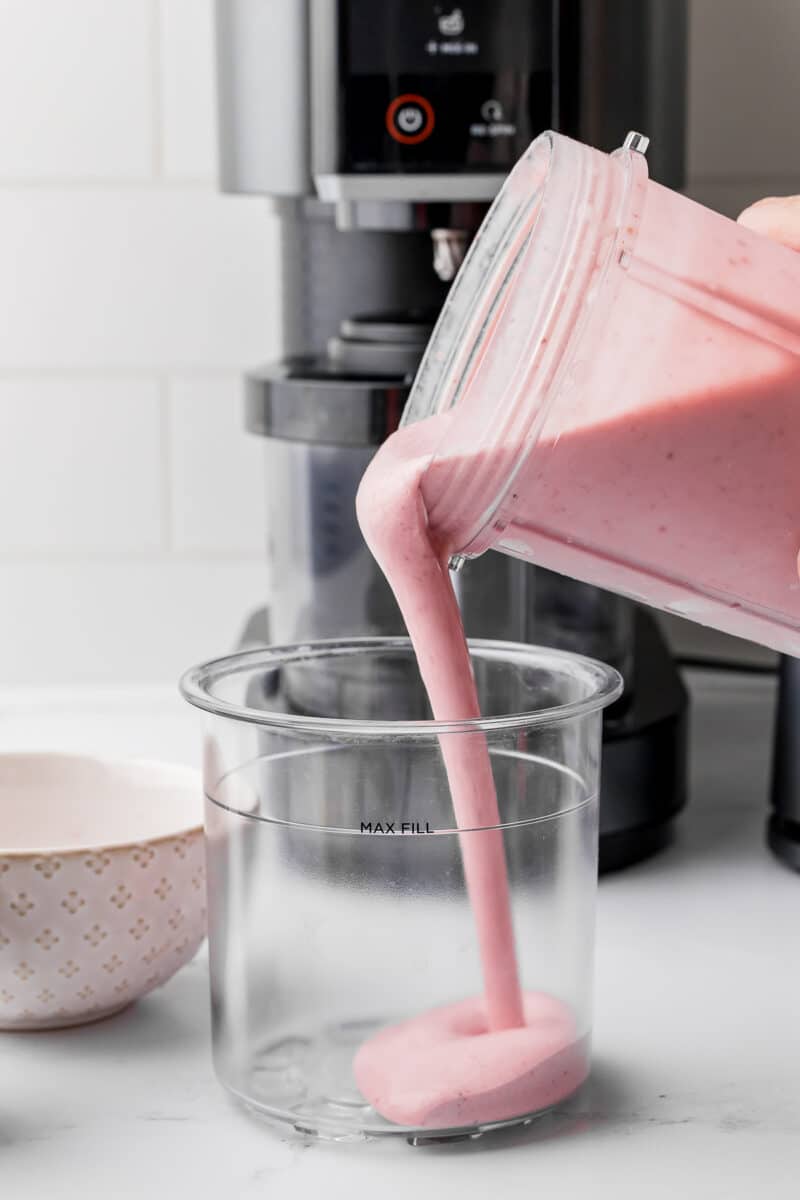
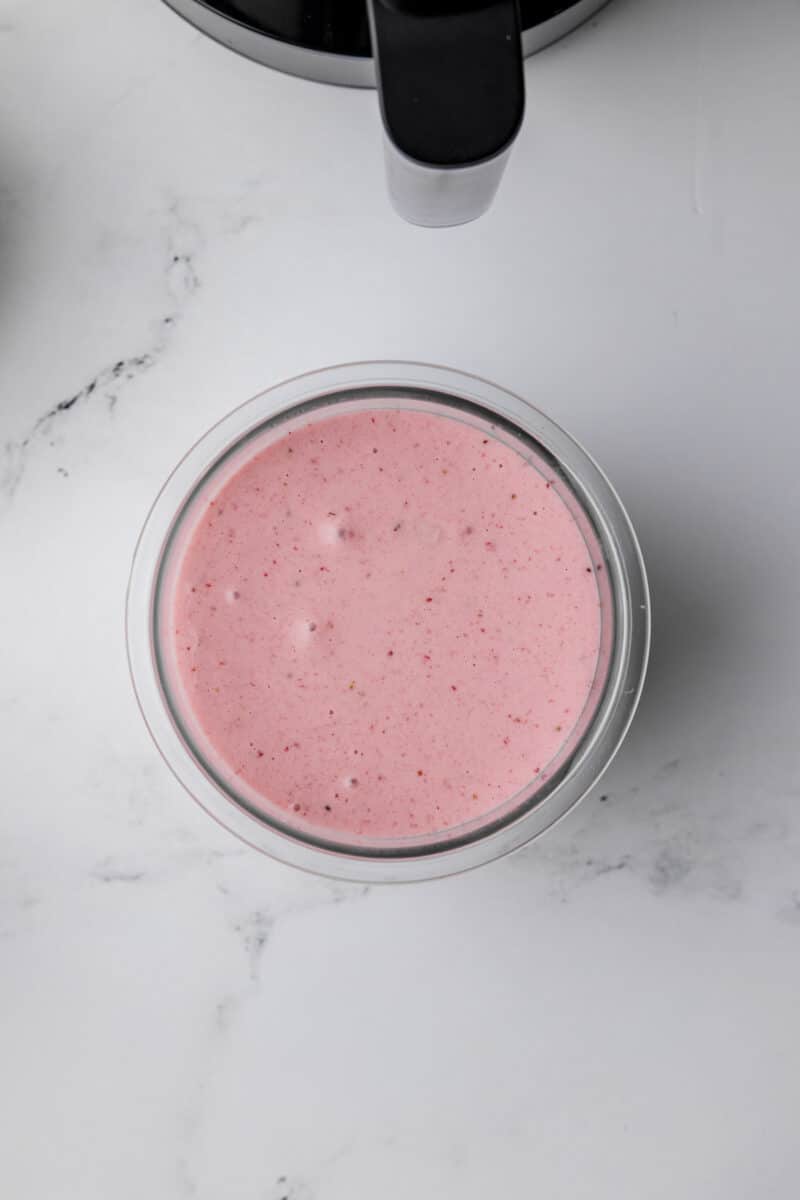
- Pour and Freeze: Pour the mixture into the Ninja Creami pint container, ensuring it’s filled to the fill line. Cover with the lid and freeze for at least 24 hours or until solid.
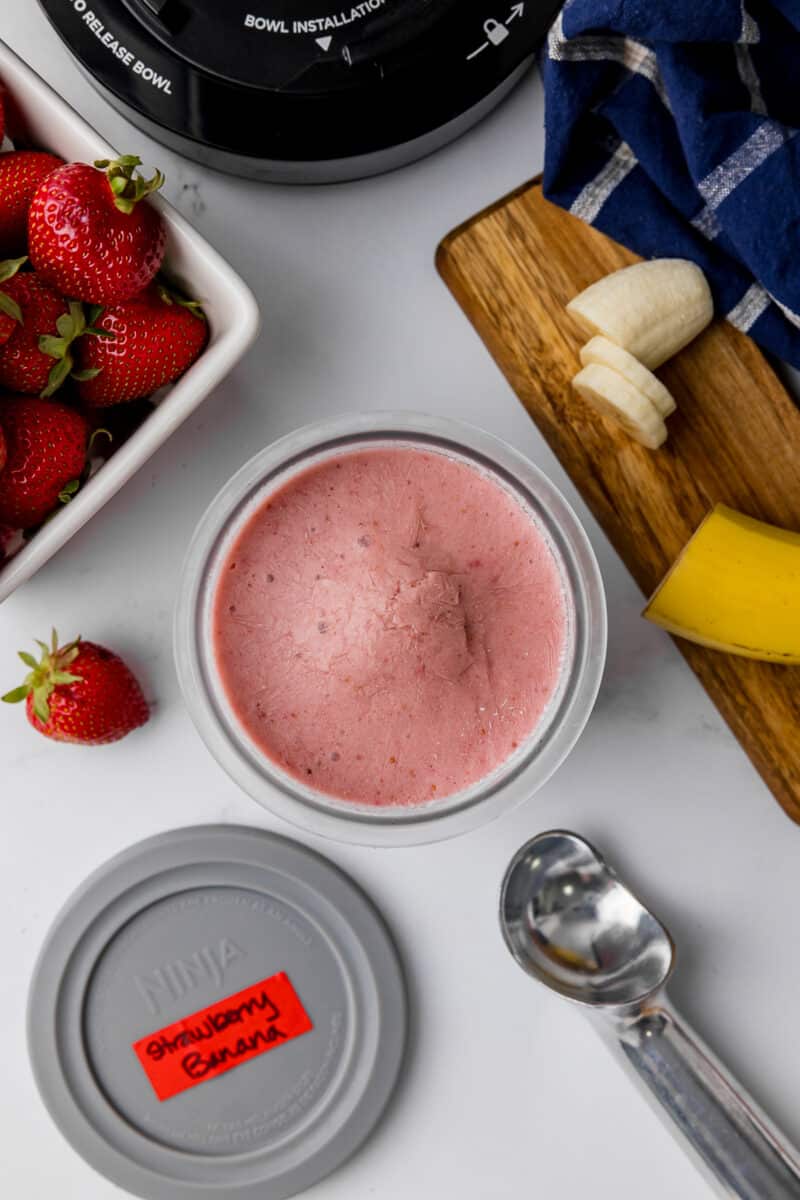
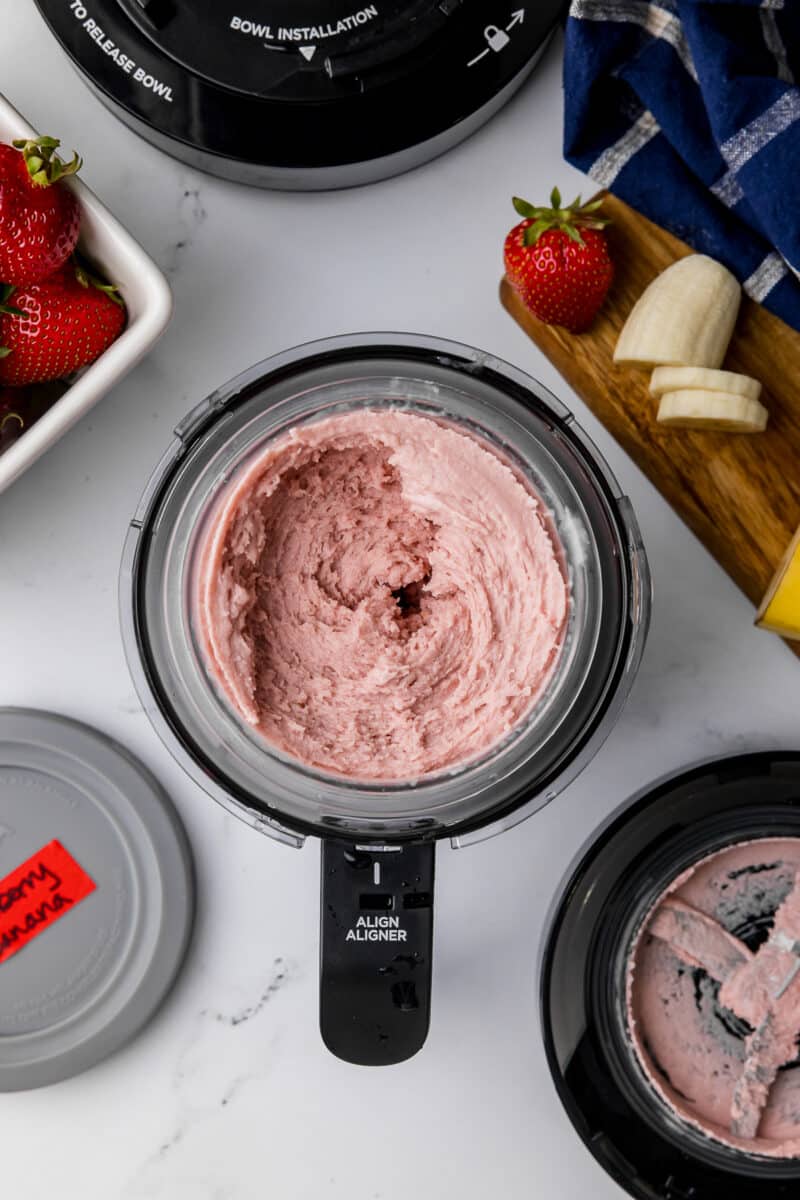
- Spin it: Once frozen, remove the pint container from the freezer and let it sit at room temperature for a few minutes to soften slightly. Then, process in your Ninja Creami according to the manufacturer’s instructions for ice cream.
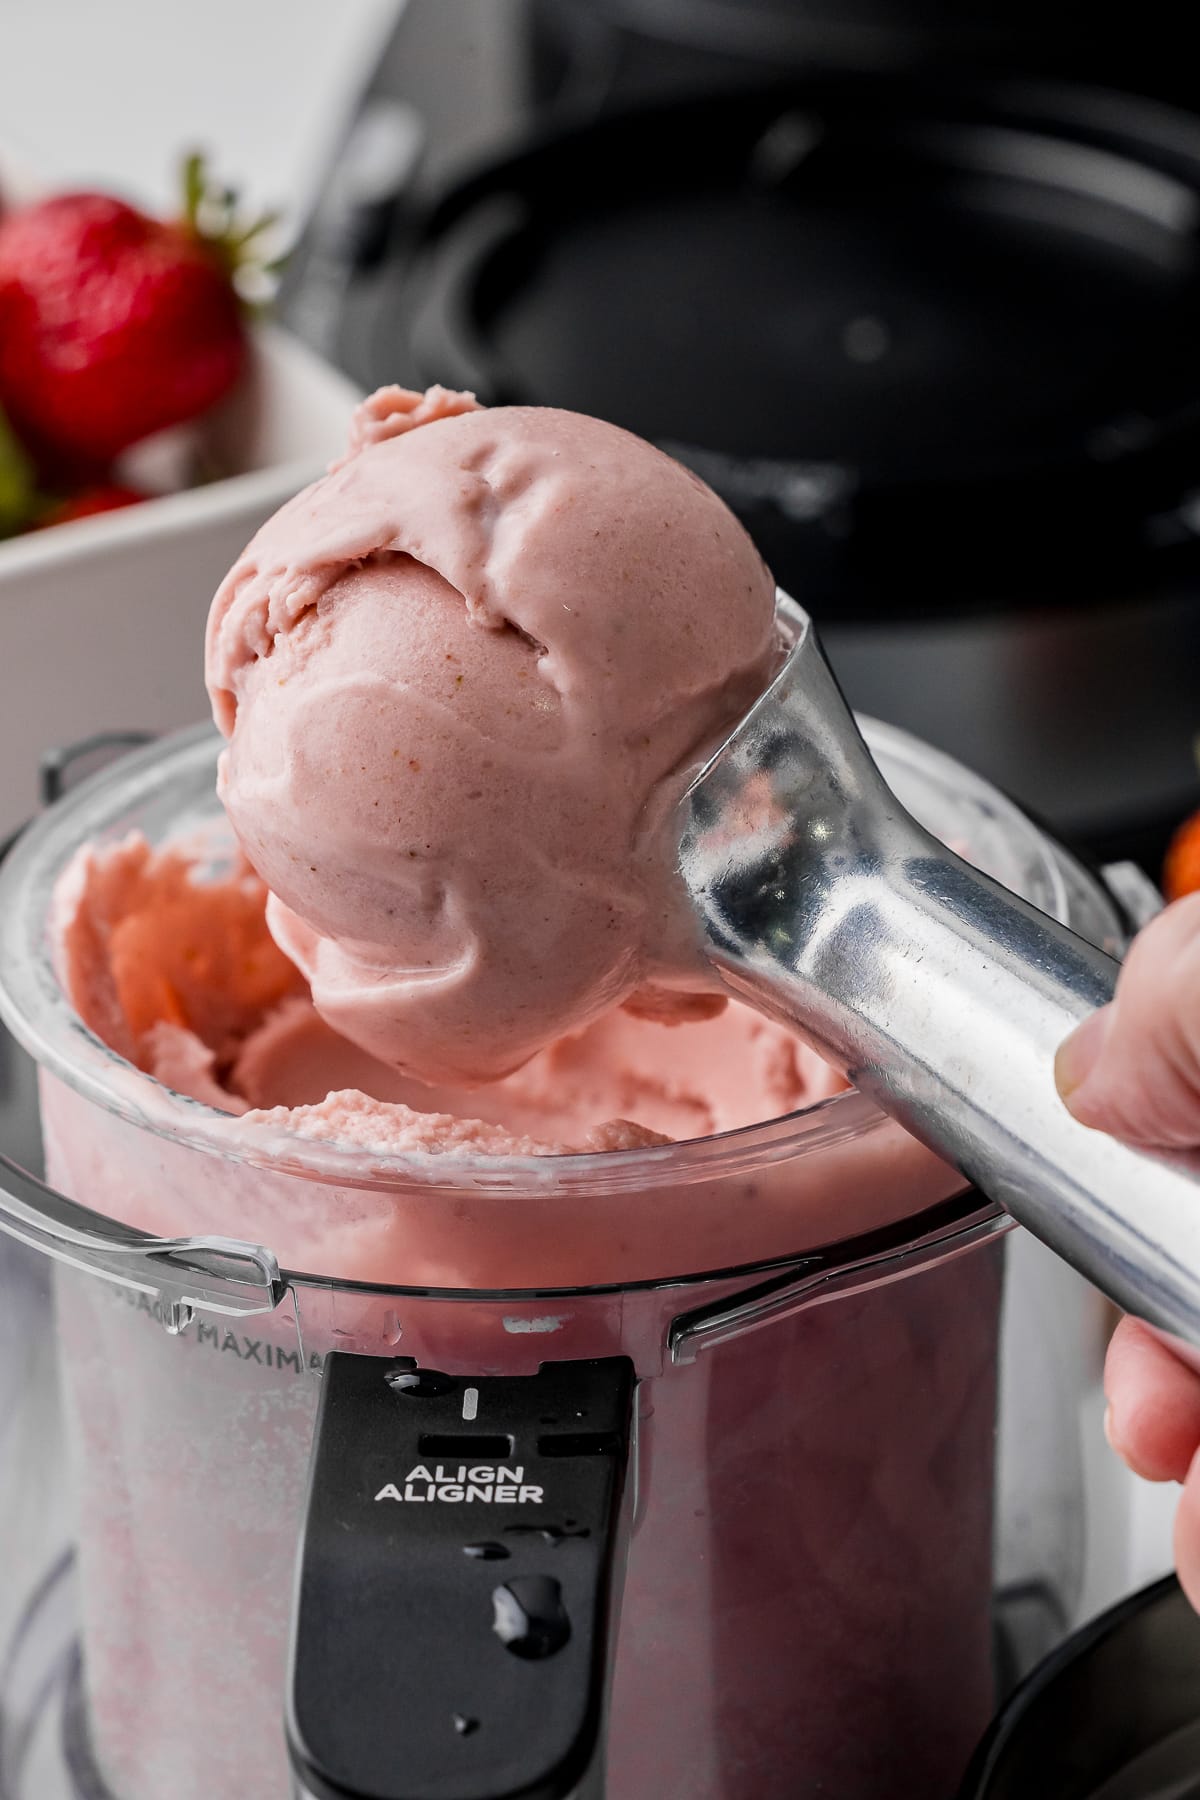
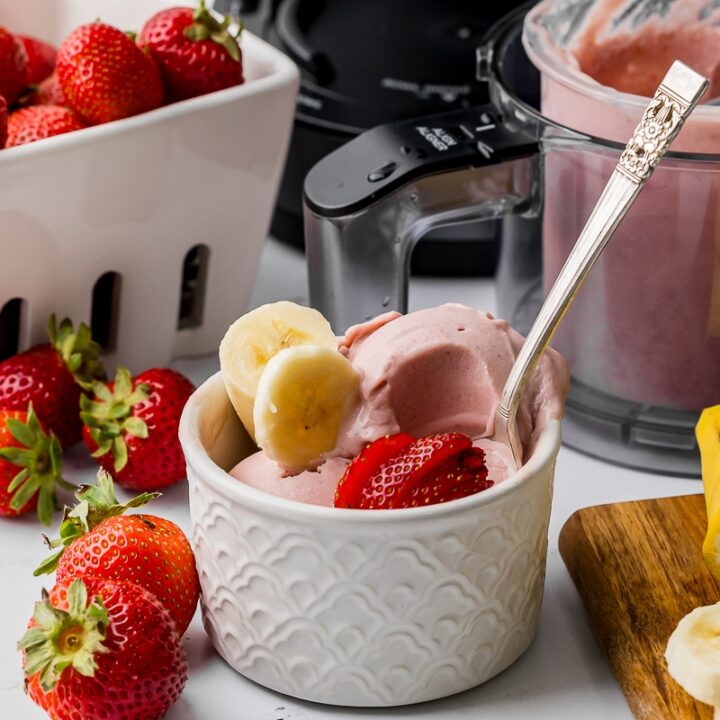
- Enjoy! Once the ice cream is done, scoop it into bowls and enjoy immediately.
“Stretch it” Tip:
- Leftover ice cream? No problem! Use it as a base for smoothie bowls. Top with fresh fruit, granola, and a drizzle of honey for a healthy breakfast or snack.
Tips and Tricks for our homemade ice cream:
- For an even creamier ice cream, let the pint container sit on the counter for about 5 minutes before scooping.
- Don’t have a Ninja Creami? You can still make this recipe! Just blend all ingredients in a high-powered blender or food processor until smooth. Then, freeze the mixture in an airtight container for at least 2 hours, stirring every 30 minutes to prevent ice crystals from forming.
- Get creative with mix-ins! Try adding chopped nuts, chocolate chips, sprinkles, or even a swirl of peanut butter.
- This is a great recipe for using up those frozen bananas that you have saved in the freezer for banana bread.
Storage for your Strawberry Banana Ice Cream:
Store leftover ice cream in an airtight container in the freezer for up to 2 weeks. If it becomes too hard, let it sit at room temperature for a few minutes before scooping.
FAQs:
- Can I use fresh fruit instead of frozen?
While you can use fresh fruit, frozen fruit will create a creamier, thicker ice cream without the need for an ice cream maker. - Can I make this recipe without a Ninja Creami?
Absolutely! Check out the “Tips and Tricks” section for instructions on using a blender or food processor. - Can I use a different type of milk?
Yes, you can use any type of milk you prefer, including a plant-based milk like almond milk, coconut milk, or oat milk. - Do I have to use Fairlife milk?
No, feel free to use your favorite brand of whole milk. - Can I add other mix-ins to the ice cream?
Of course! Feel free to get creative and add your favorite mix-ins, such as chopped nuts, chocolate chips, or sprinkles. - How long does it take to make this ice cream?
With the Ninja Creami, it only takes about 5 minutes to process the ice cream!

I can’t wait for you to try this easy and delicious Ninja Creami strawberry banana ice cream recipe! Don’t forget to pin this recipe for later and leave a comment below, letting me know how it turned out. Happy scooping!
Ninja Creami Strawberry Banana Ice Cream
Whip up creamy strawberry banana ice cream in 5 minutes with your Ninja Creami! This simple recipe uses frozen fruit and minimal ingredients for a guilt-free, refreshing treat.
We love making ice cream together, and I found the easiest way to make creamy, dreamy ice cream at home with just a few simple ingredients and your Ninja Creami! This strawberry banana flavor is a perfect treat on a hot summer day, and you can even add your favorite mix-ins like peanut butter or chocolate chips. Let's get started!
Ingredients
- 1 1/2 cups frozen strawberries
- 1 ripe banana, frozen & sliced
- Whole fairlife milk to the pint jar fill line
- 4 tablespoons sugar
- 1 tablespoon strawberry jam
- 1 tablespoon cream cheese, softened
- 1 teaspoon vanilla bean paste
Instructions
- Blend it Up: In a blender, combine the frozen strawberries, sliced banana, milk, sugar, strawberry jam, cream cheese, and vanilla bean paste. Blend until smooth and creamy.
- Pour and Freeze: Pour the mixture into the Ninja Creami pint container, ensuring it's filled to the fill line. Cover with the lid and freeze for at least 24 hours or until solid.
- Spin it: Once frozen, remove the pint container from the freezer and let it sit at room temperature for a few minutes to soften slightly. Then, process in your Ninja Creami according to the manufacturer's instructions for ice cream.
- Enjoy! Once the ice cream is done, scoop it into bowls and enjoy immediately.
Notes
Supplies needed:
- Ninja Creami ice cream maker
- Ninja Creami pint container
- Blender, food processor, or immersion blender
- Measuring cups and spoons
Tips and Tricks for your homemade ice cream:
- For an even creamier ice cream, let the pint container sit on the counter for about 5 minutes before scooping.
- Don’t have a Ninja Creami? You can still make this recipe! Just blend all ingredients in a high-powered blender or food processor until smooth. Then, freeze the mixture in an airtight container for at least 2 hours, stirring every 30 minutes to prevent ice crystals from forming.
- Get creative with mix-ins! Try adding chopped nuts, chocolate chips, sprinkles, or even a swirl of peanut butter.
- This is a great recipe for using up those frozen bananas that you have saved in the freezer for banana bread.
Nutrition Information:
Yield: 3 Serving Size: 1Amount Per Serving: Calories: 251Total Fat: 5gSaturated Fat: 3gTrans Fat: 0gUnsaturated Fat: 2gCholesterol: 18mgSodium: 95mgCarbohydrates: 47gFiber: 3gSugar: 38gProtein: 6g
*This calculation is just an estimate ~ results may vary!

