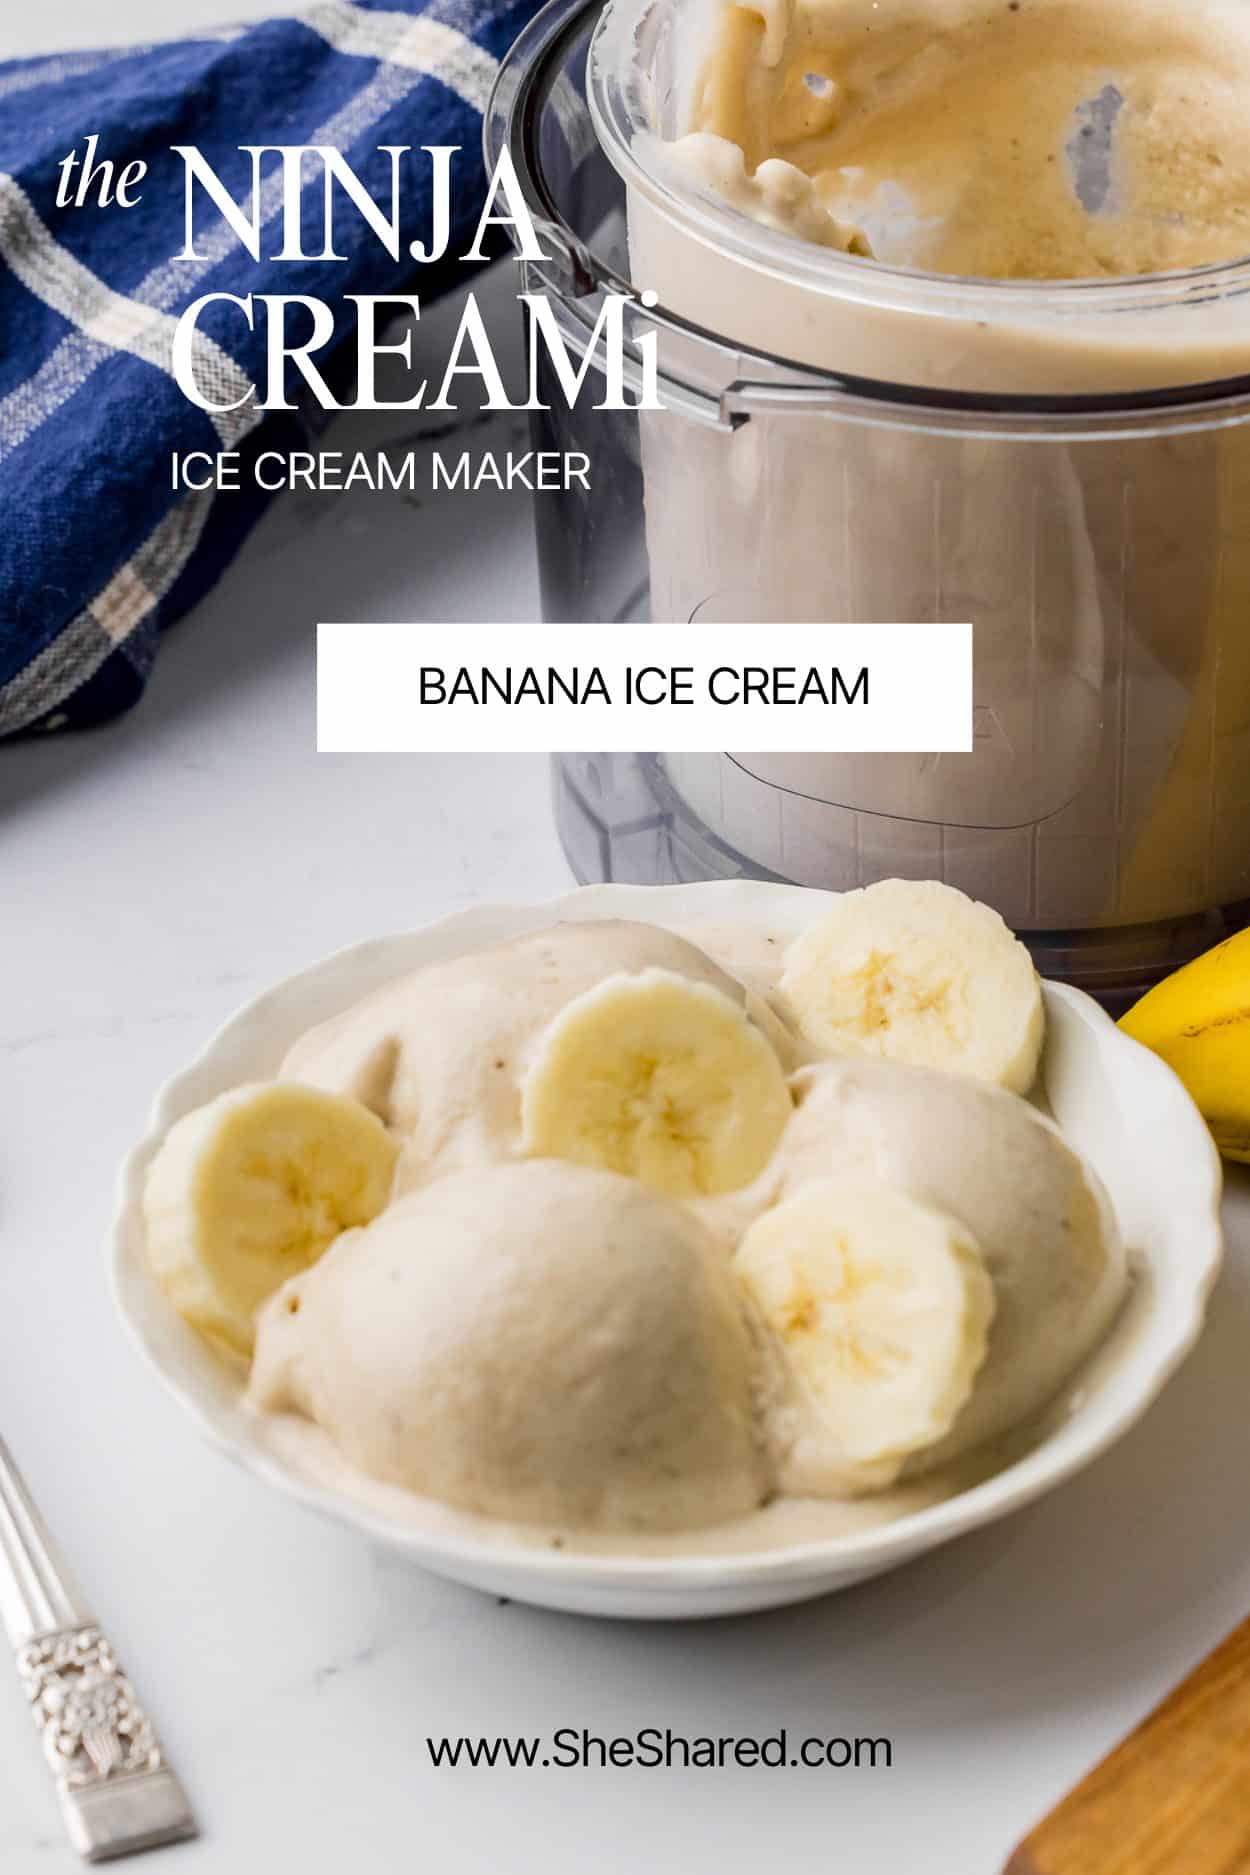
Banana Ice Cream Ninja Creami
This post may contain affiliate links. See our disclosure policy for more details.
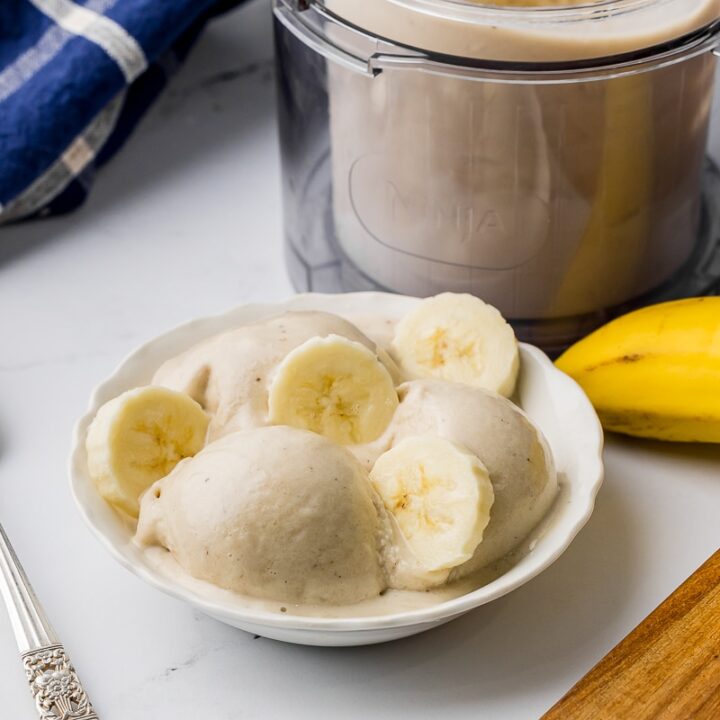
Indulge in banana ice cream made with your Ninja Creami. This recipe is simple and quick and uses just a few basic ingredients.
Okay, let’s be honest. Who doesn’t love homemade ice cream? But who has time for the whole ice cream maker song and dance? Not this busy mom!
That’s why I’m obsessed with our Ninja Creami and our banana ice cream. It’s made with simple ingredients, takes just 5 minutes to prep, and is ready to enjoy in no time. It’s practically magic!
Supplies Needed:
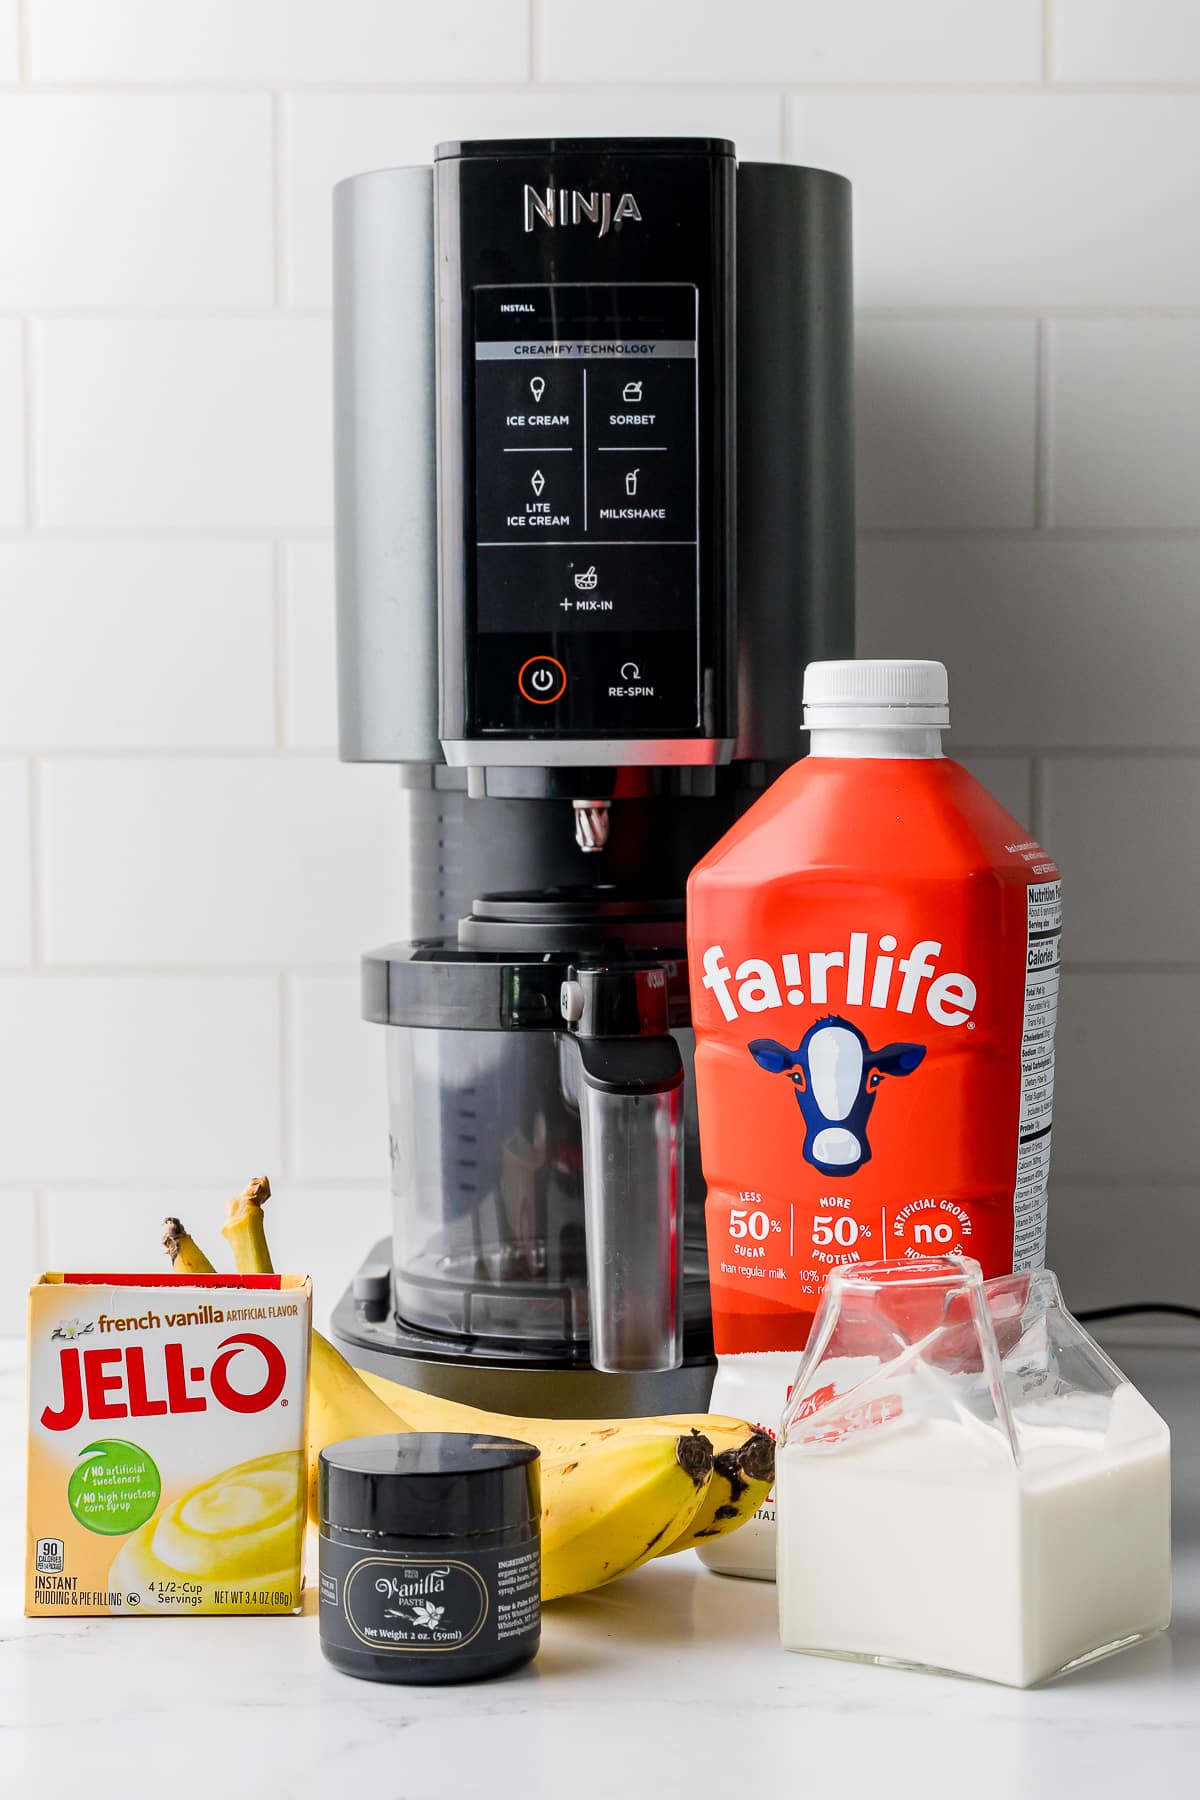
- Ninja Creami ice cream maker
- Ninja Creami pint jars (your machine will come with at least one, but we suggest getting more. I might have 15)
- High-powered blender, food processor, or immersion blender
Creami Prep Tip and Tricks:
- No blender? No problem! You can also mash the bananas with a fork or potato masher. The ice cream might not be as smooth, but it will still be delicious.
- For extra creaminess, use full-fat coconut milk or heavy whipping cream instead of regular milk.
- Want to make it a Ninja Creami banana milkshake? Simply add more milk to the blender and blend until smooth.
- Experiment with flavors! Add a dash of cinnamon, a swirl of chocolate syrup, or your favorite mix-ins for a personalized twist.
- Make it dairy-free: Substitute the milk and heavy cream with your favorite dairy-free alternatives, such as coconut milk or almond milk.
- Can I add protein powder to my creamy ice cream? Sure, start with a few tablespoons and taste as you go to make sure that you get a good taste while adding your grams of protein.
- Can I use maple syrup instead of sugar? I have not tried that combination but my sister uses maple syrup instead of sugar in her recipes and she loves how they come out. If you try this, please let us know how it turns out in the comments!
Storage:
To store leftover ice cream, smooth down the sides of the pint container, ensuring a flat surface with no bumps. Place the storage lid on top and freeze for up to 2 weeks.
FAQs:
- Can I use frozen bananas that I buy at the grocery store?
Absolutely! That is an easy way to get to your delicious ice cream faster. - Can I use frozen bananas instead of fresh?
While fresh bananas work best for this recipe, you can experiment with frozen bananas. Just be sure to thaw them slightly before blending. - Can I reduce the amount of sugar?
Yes, you can adjust the sugar to your preference. Start with a little less and add more to taste if needed. - Can I add other ingredients to this recipe?
Yes! Try adding peanut butter, chocolate chips, or your favorite frozen fruit for delicious flavors. - Can I make this recipe without a Ninja Creami?
While a Ninja Creami is the easiest way, you can try freezing the blended mixture for several hours, stirring occasionally, to achieve a similar texture. - How many calories are in this recipe?
This recipe contains approximately 150 calories per serving (1/4 of the recipe). - Is this recipe vegan?
No, but you can make it vegan if you use a plant-based milk substitute. - Is this recipe gluten-free?
Yes, this recipe is naturally gluten-free. - Is this recipe the same as “Nice Cream?”
Nice cream traditionally refers to a dairy-free dessert made solely from frozen bananas. This recipe is similar, but it includes milk and cream for added richness and a smoother texture. Think of it as a luxurious upgrade to the classic nice cream concept!
Ingredients:
- 2 small, ripe bananas (about 8 ounces)
- 1/2 cup milk
- 1/2 cup heavy cream
- 1/3 cup sugar
- 1/2 teaspoon vanilla bean paste (or vanilla extract)
Directions:
1. Peel and slice the ripe bananas into chunks.
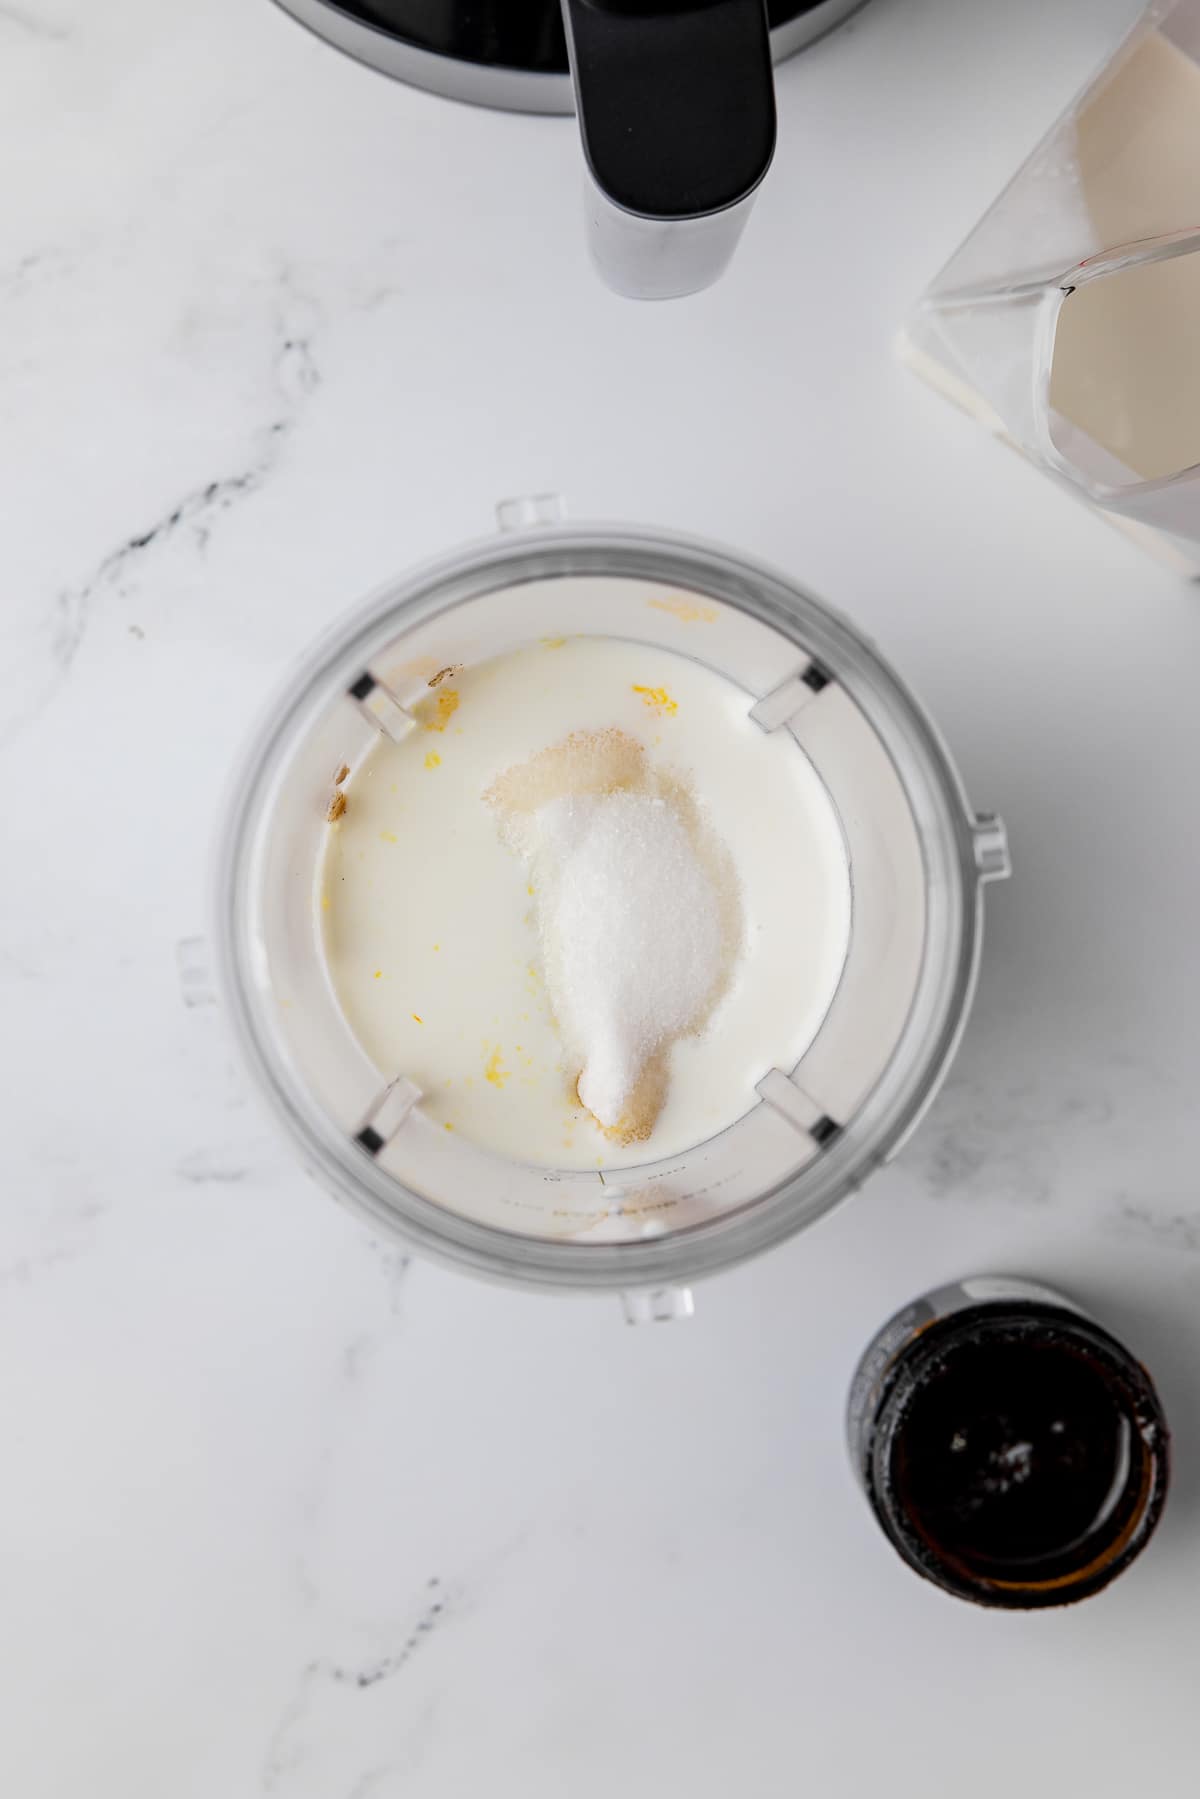
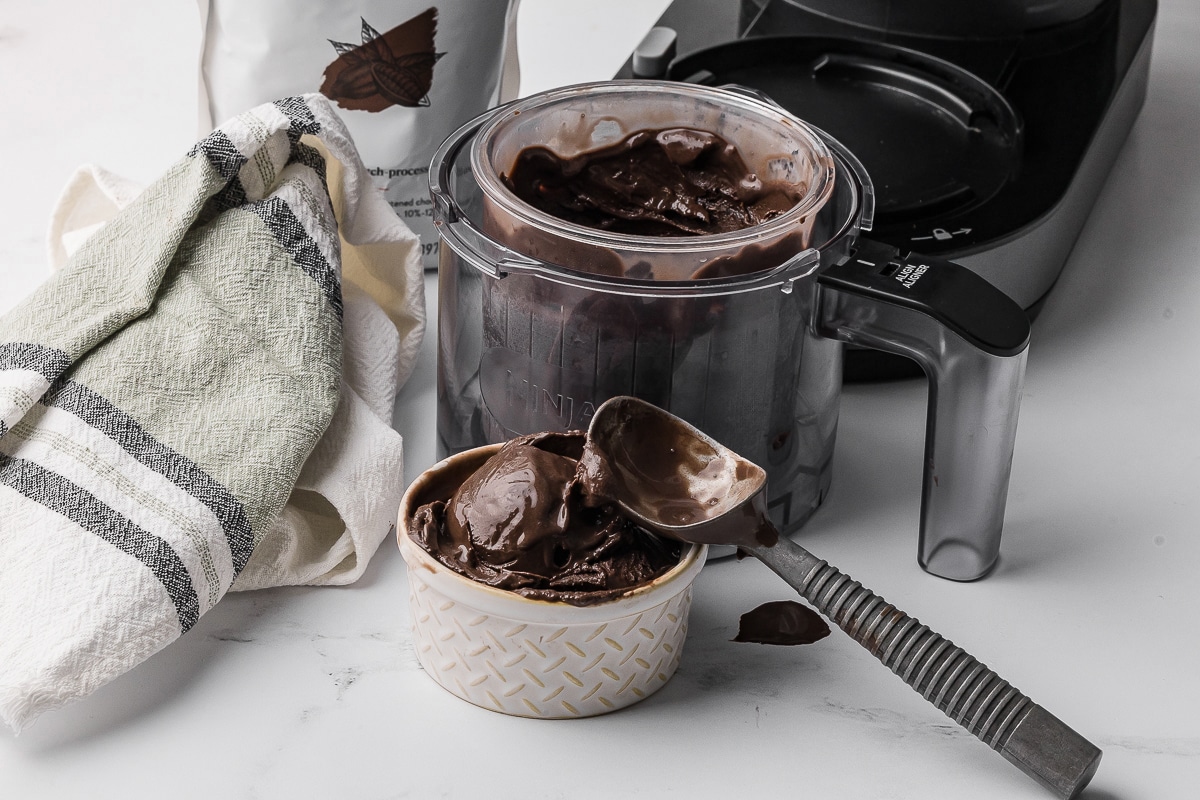
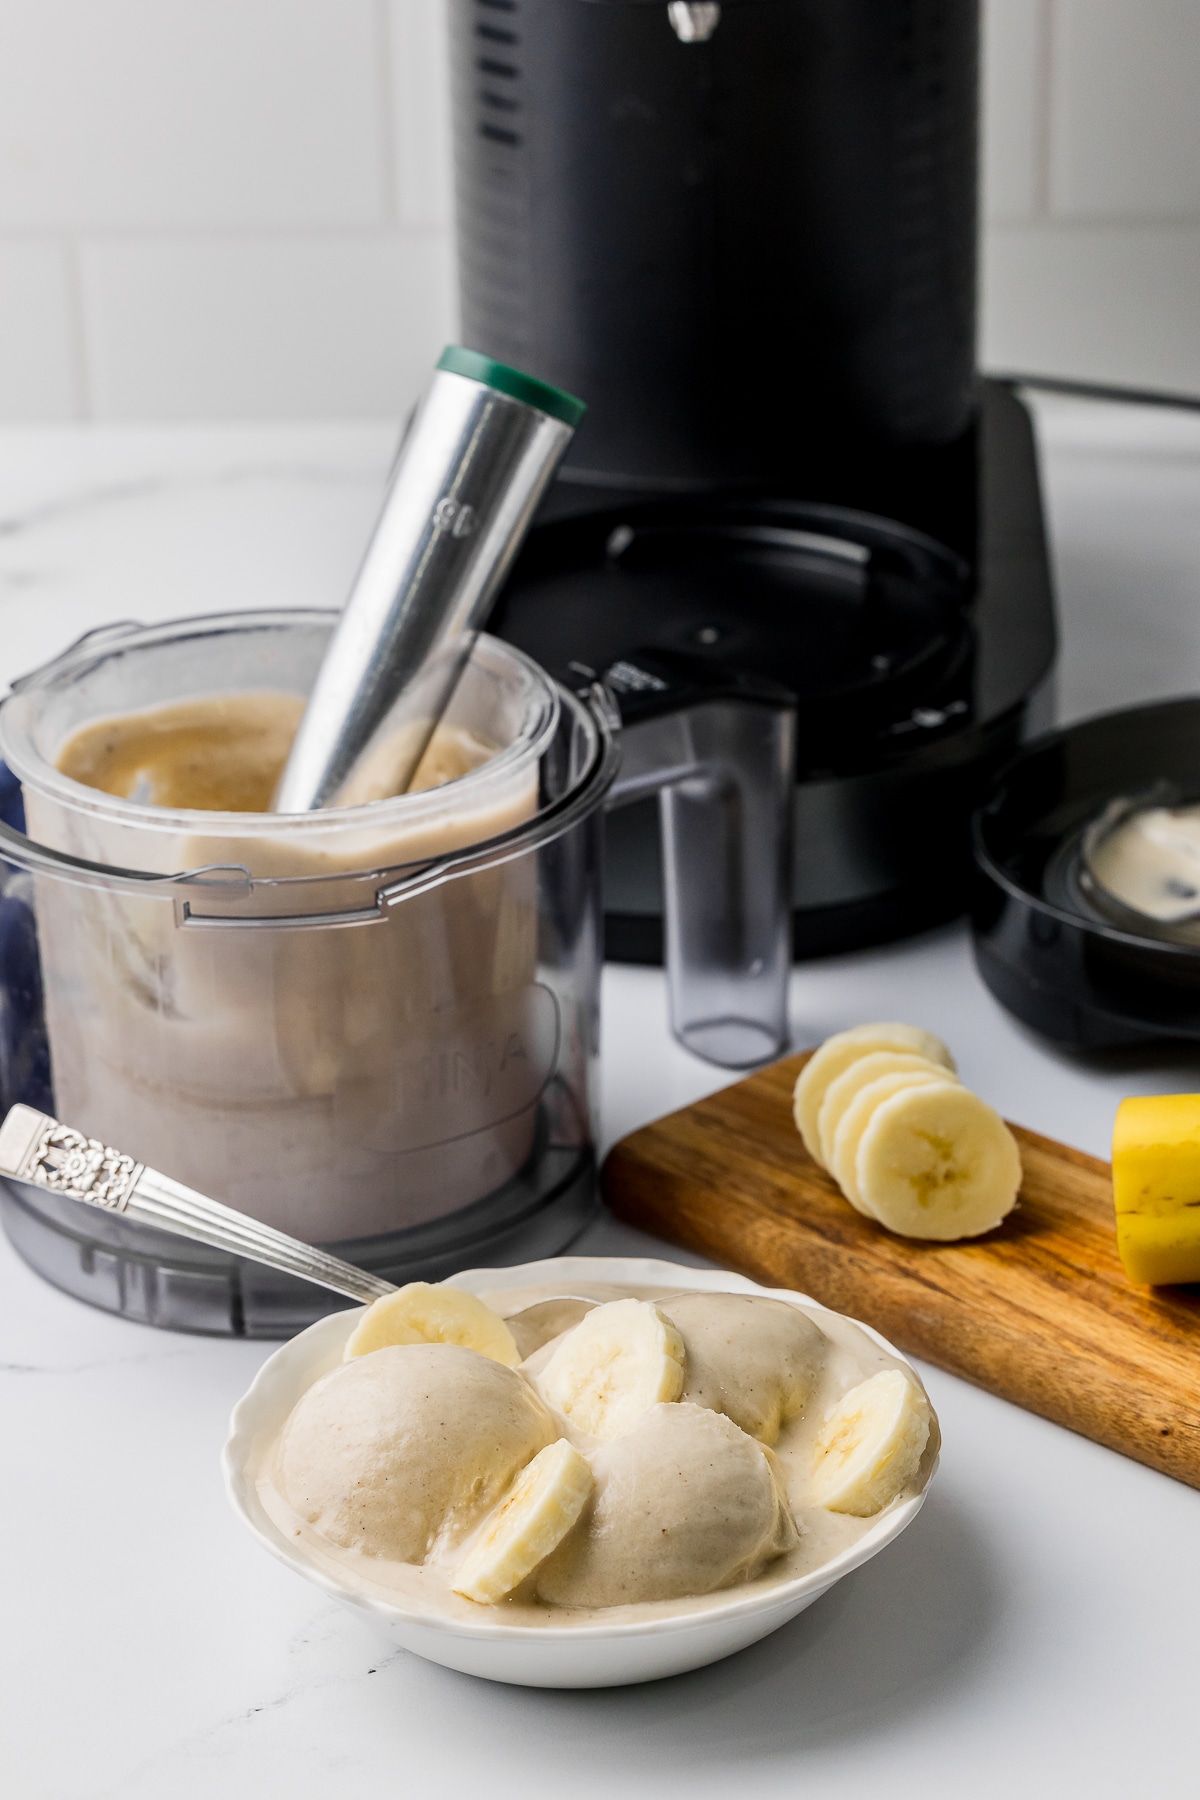
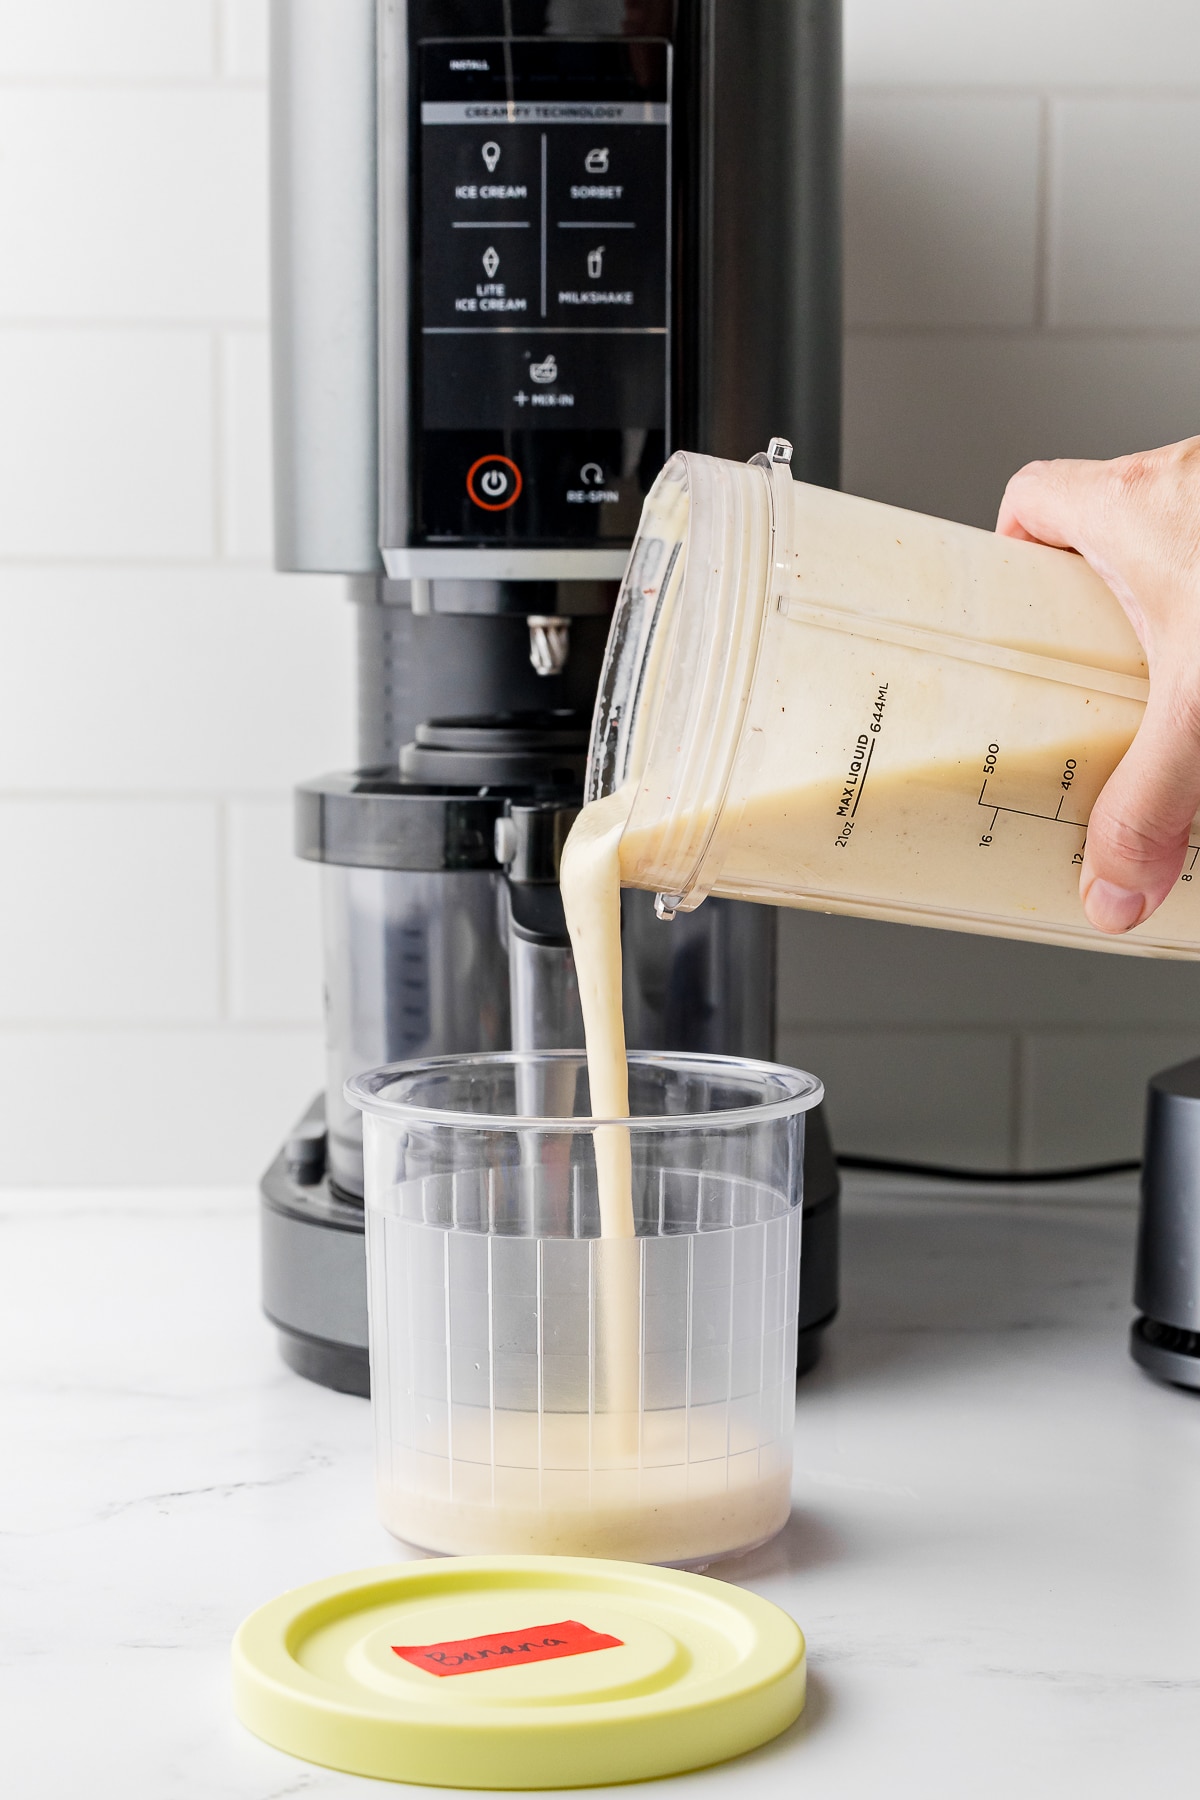
2. Place all ingredients (banana chunks, milk, heavy cream, sugar, and vanilla) in a high-powered blender or food processor, or use an immersion blender into the bottom of the pint jar to get your creamy texture. Blend until the mixture is completely smooth and creamy, scraping down the sides as needed.
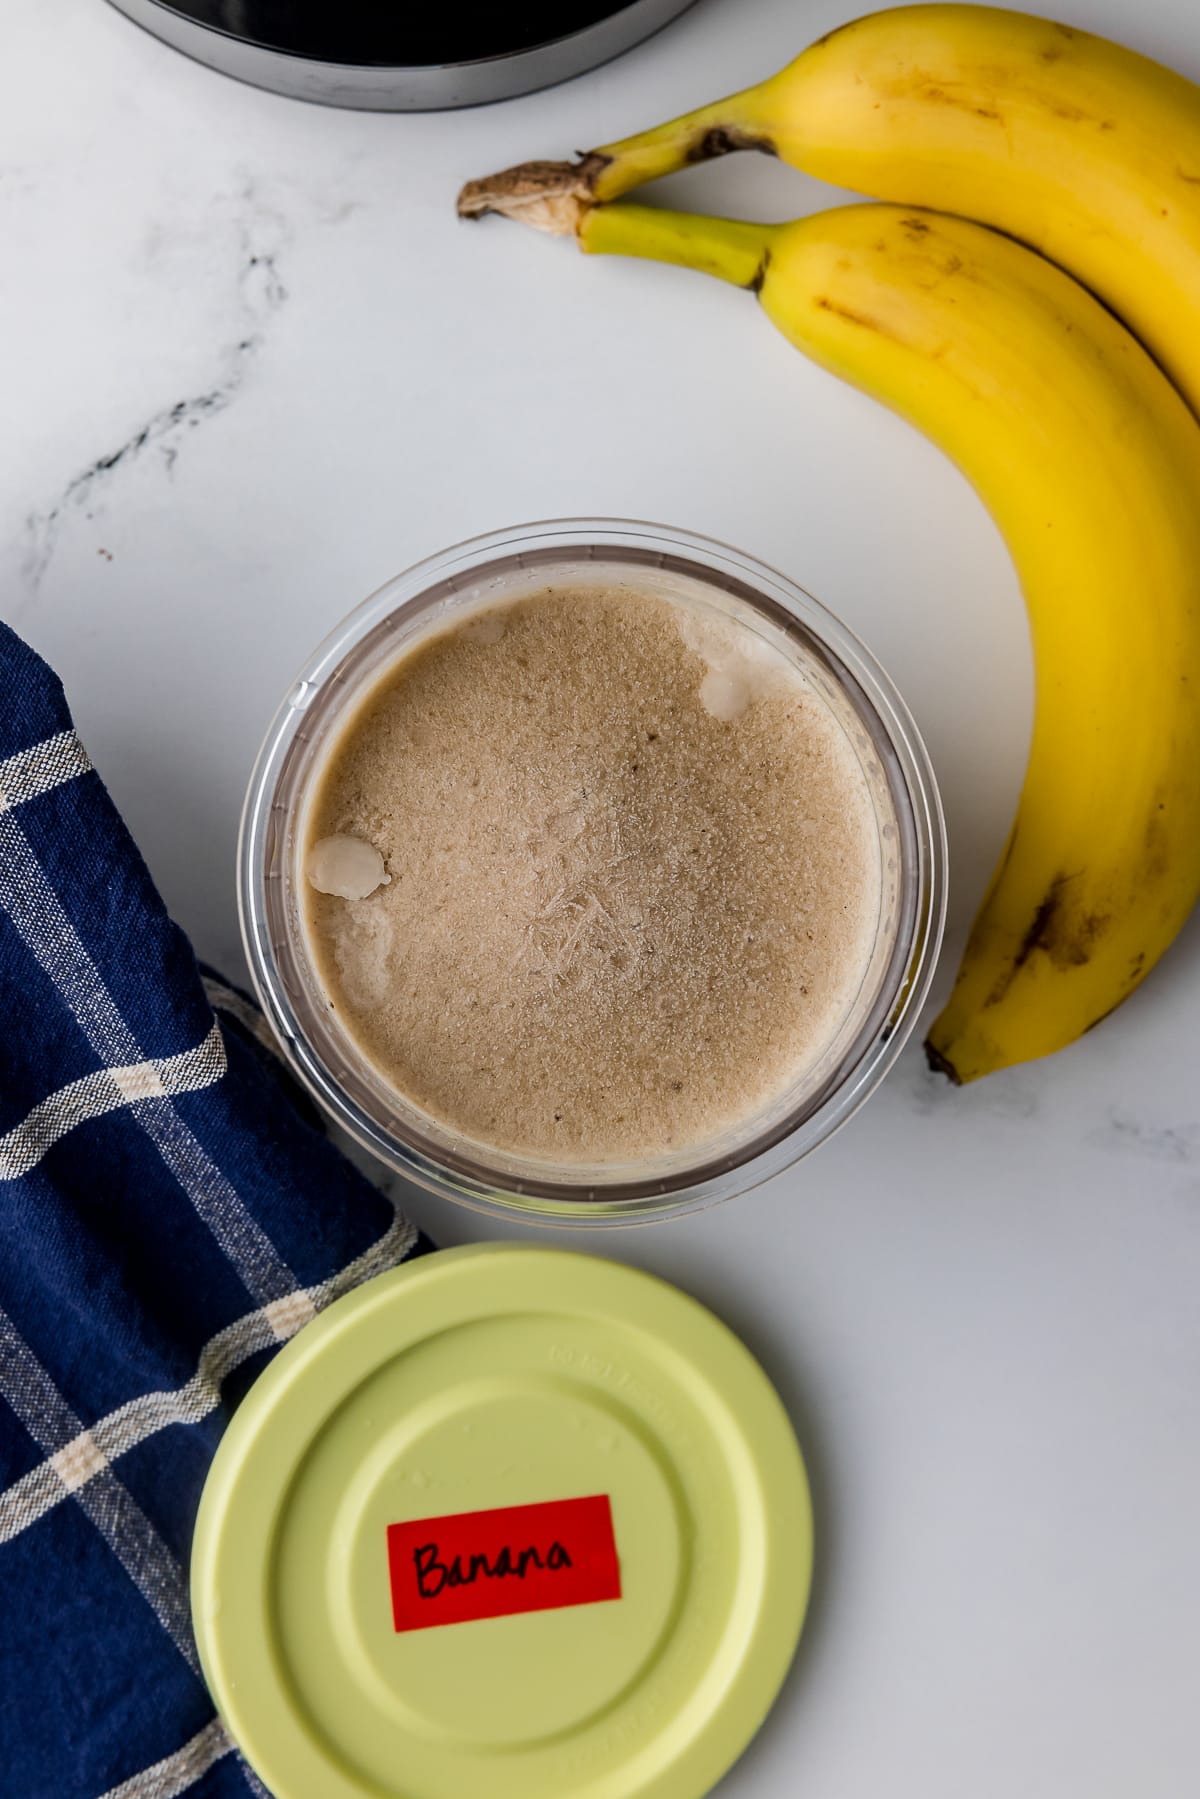
3. Pour the creamy mixture into your Ninja Creami pint container, ensuring a level surface with no bumps. Cover and freeze for 24 hours.
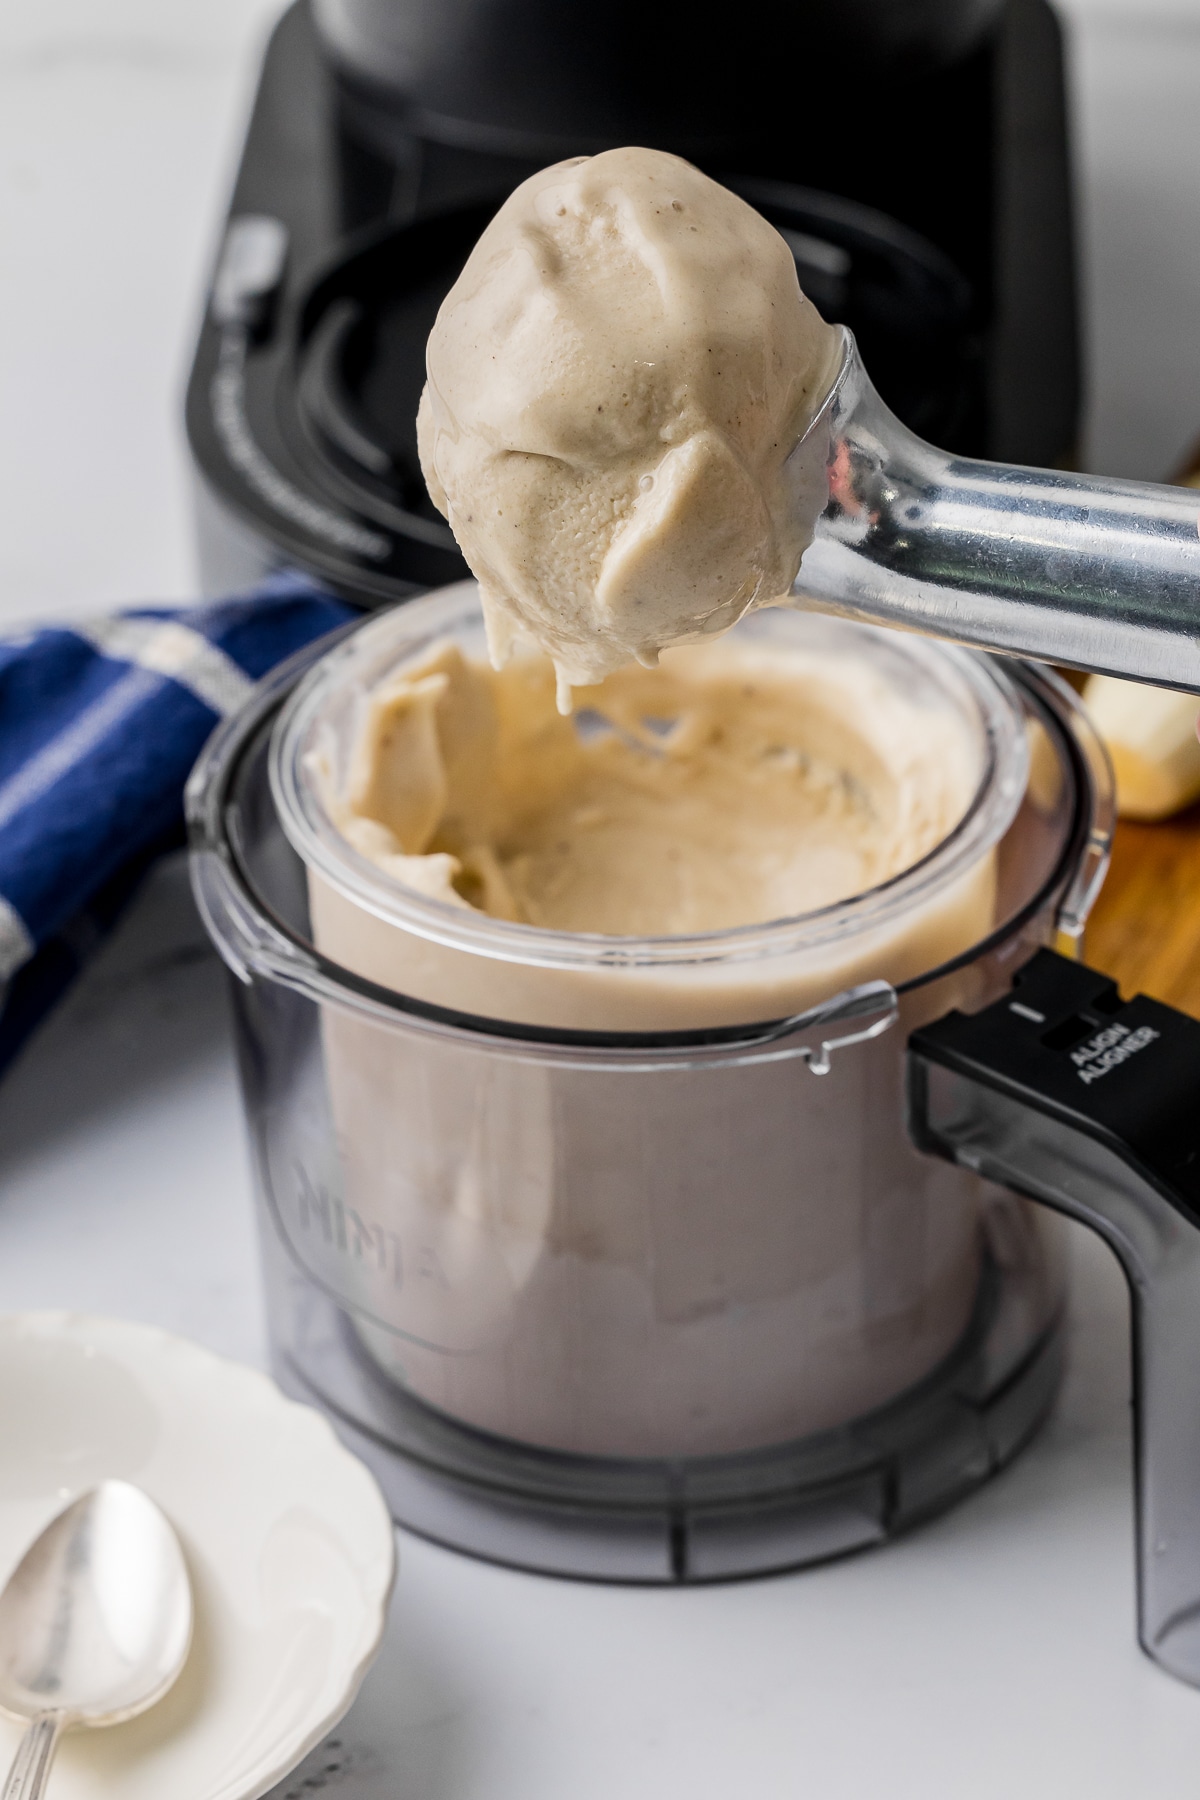
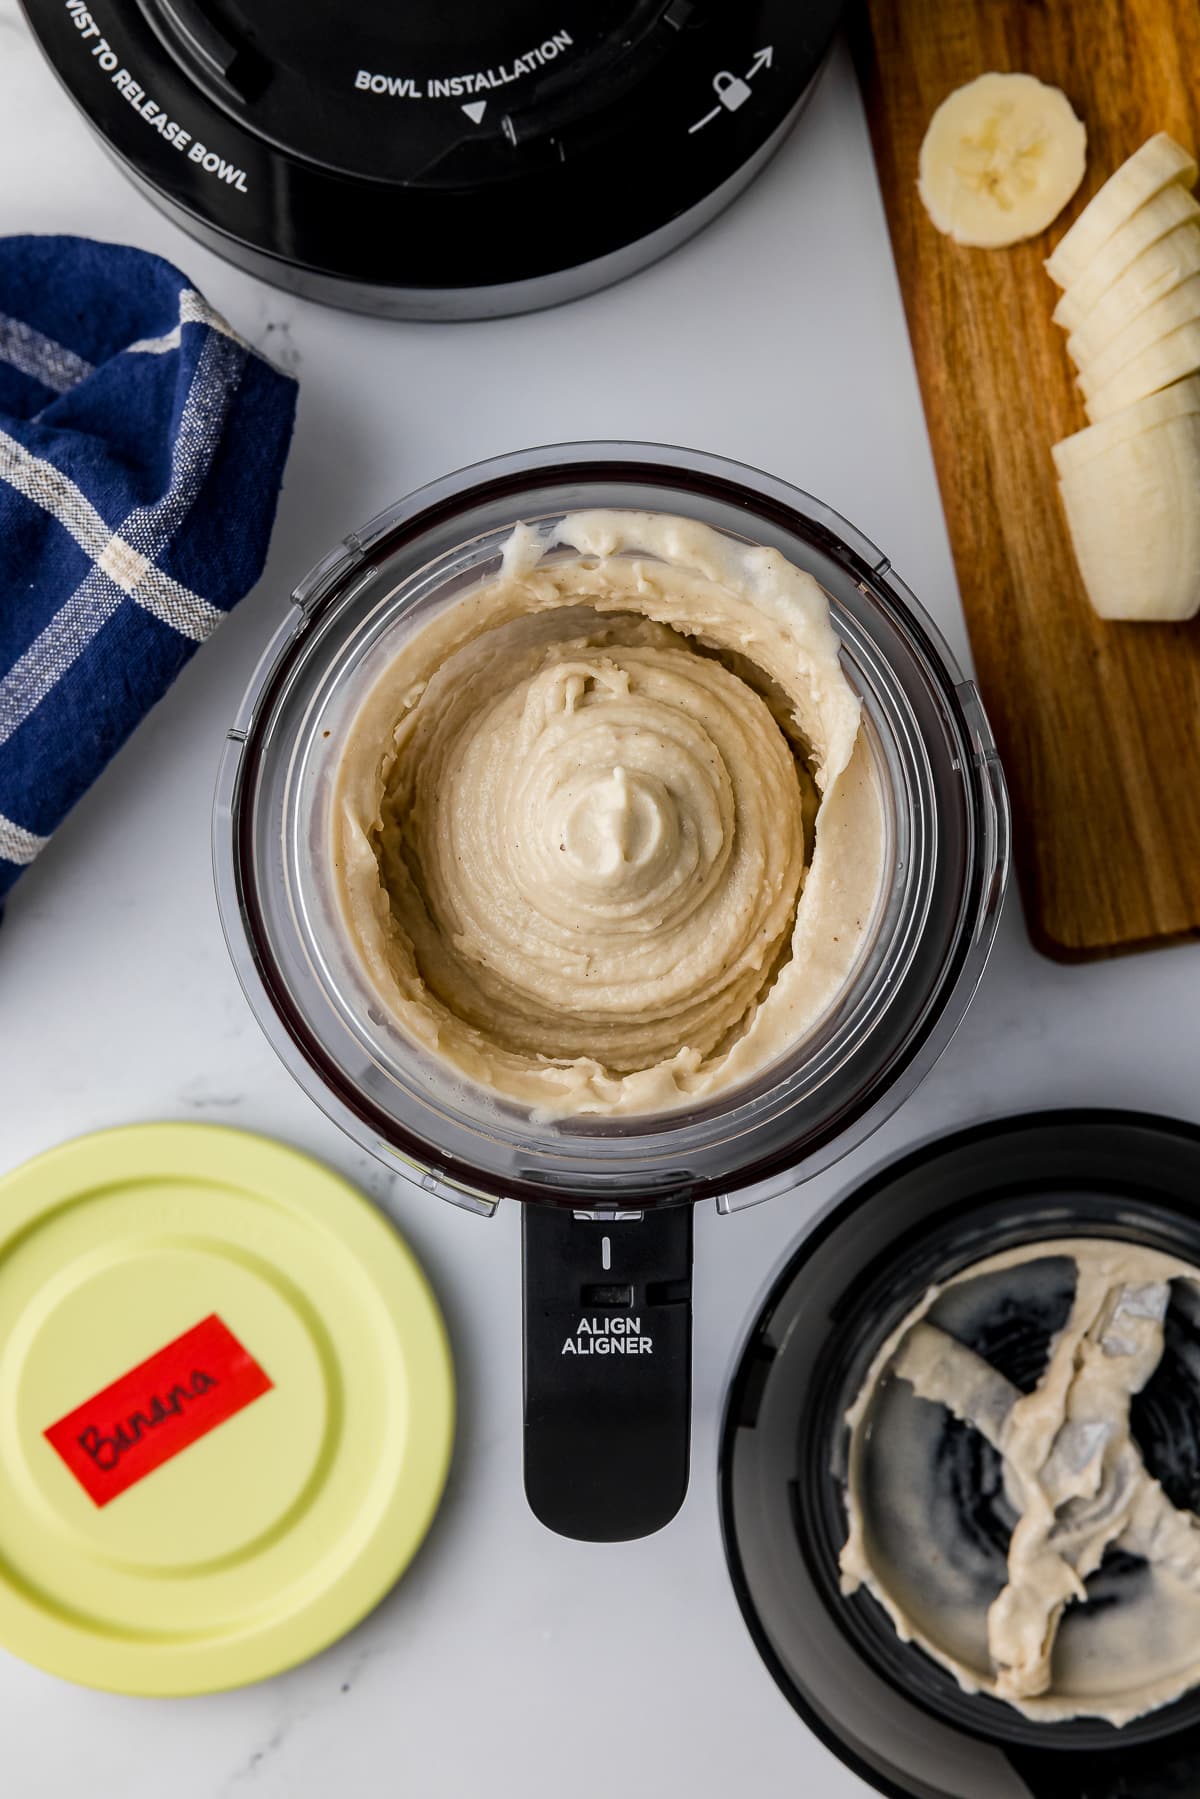
4. Remove the pint from the freezer and let it stand on the counter for a few minutes. Then, place the pint in the outer bowl of the Ninja Creami and insert it into the Ninja Creami machine.
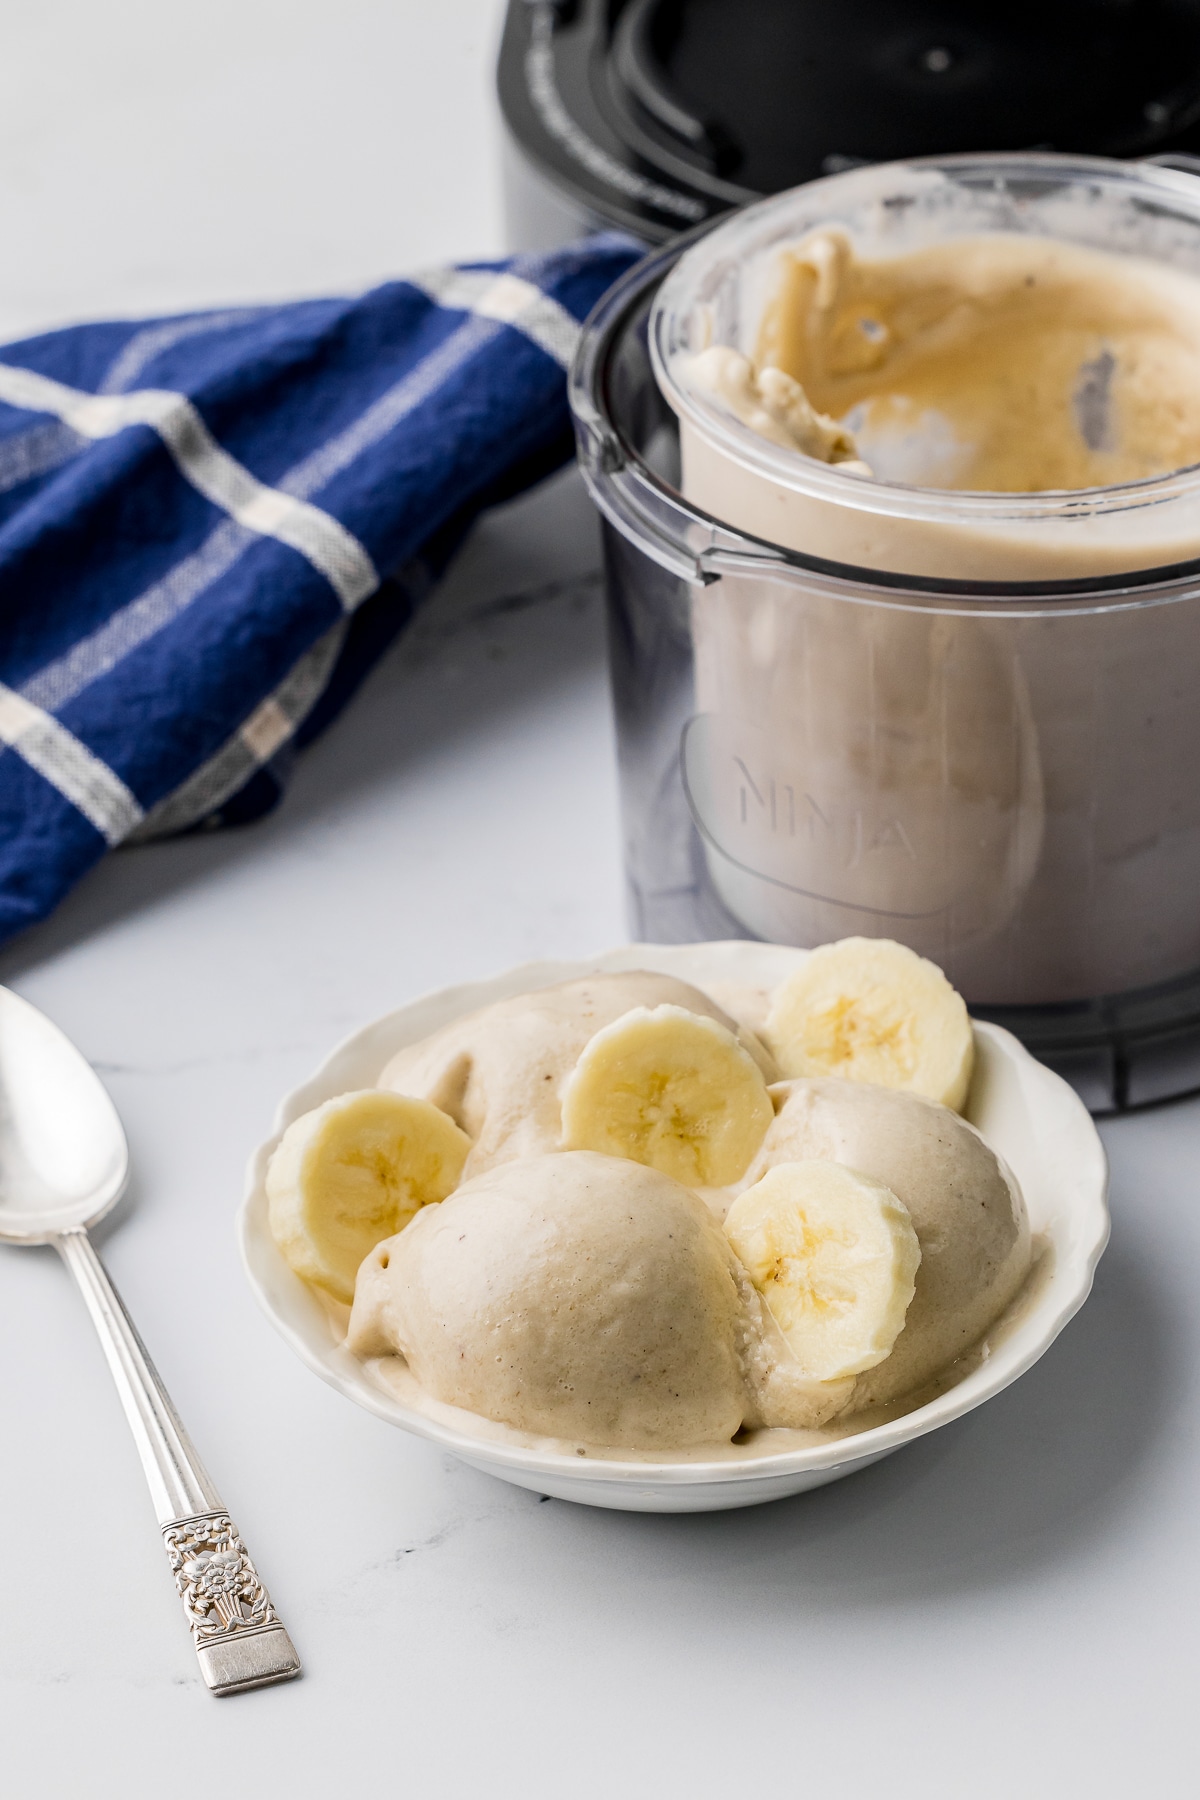
5. Select the “Ice Cream” function and press start. Once the cycle is complete, enjoy your delicious vanilla banana ice cream right away, or freeze it for a firmer texture.
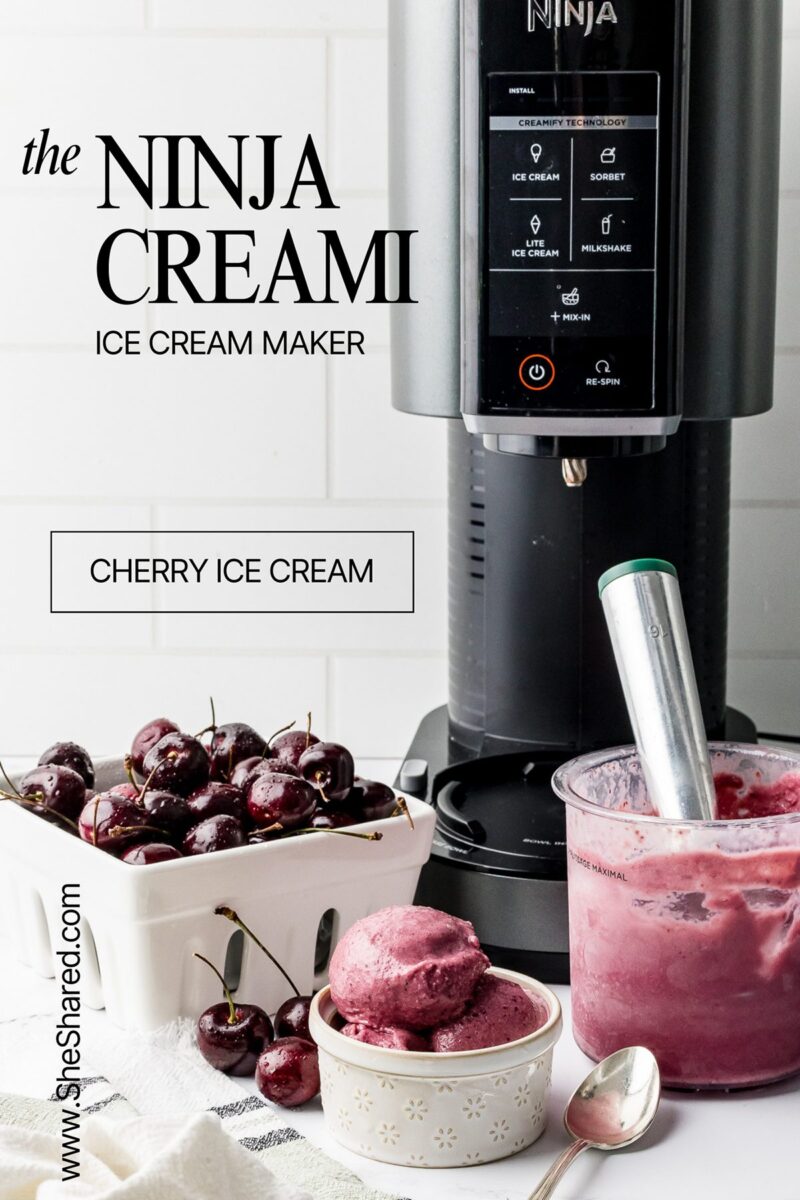
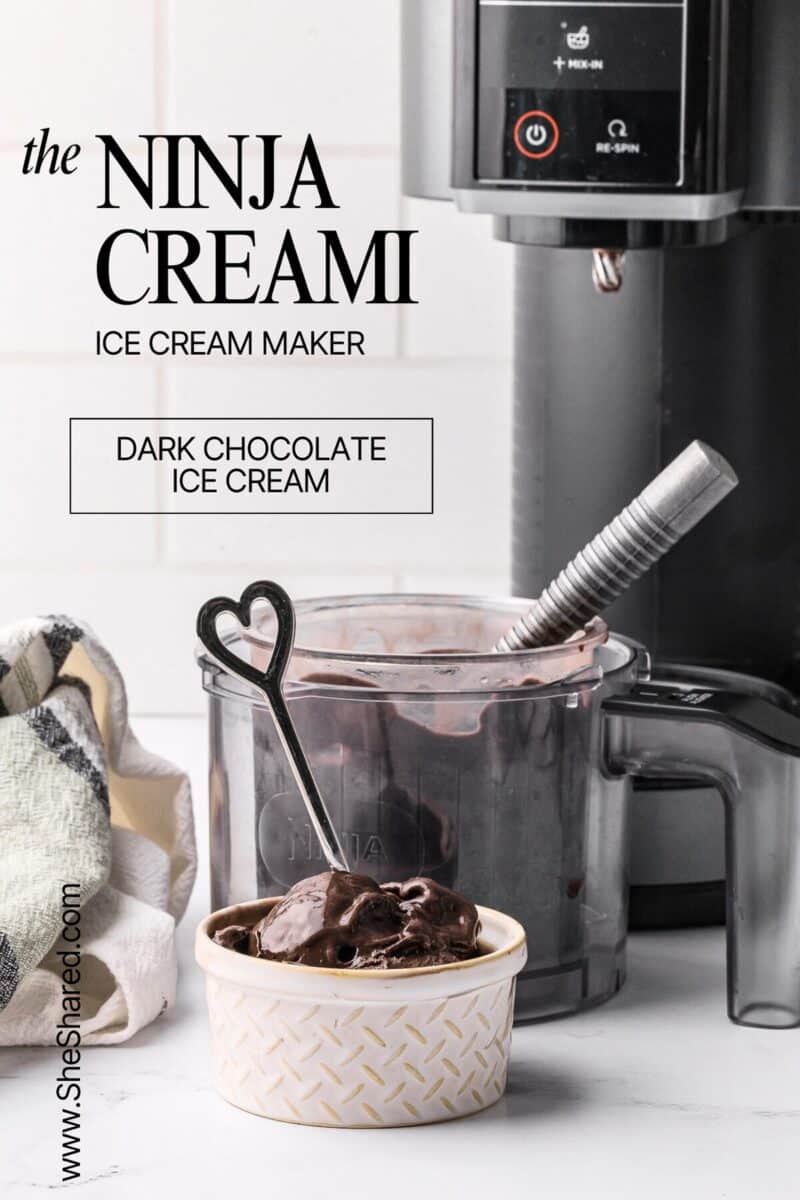
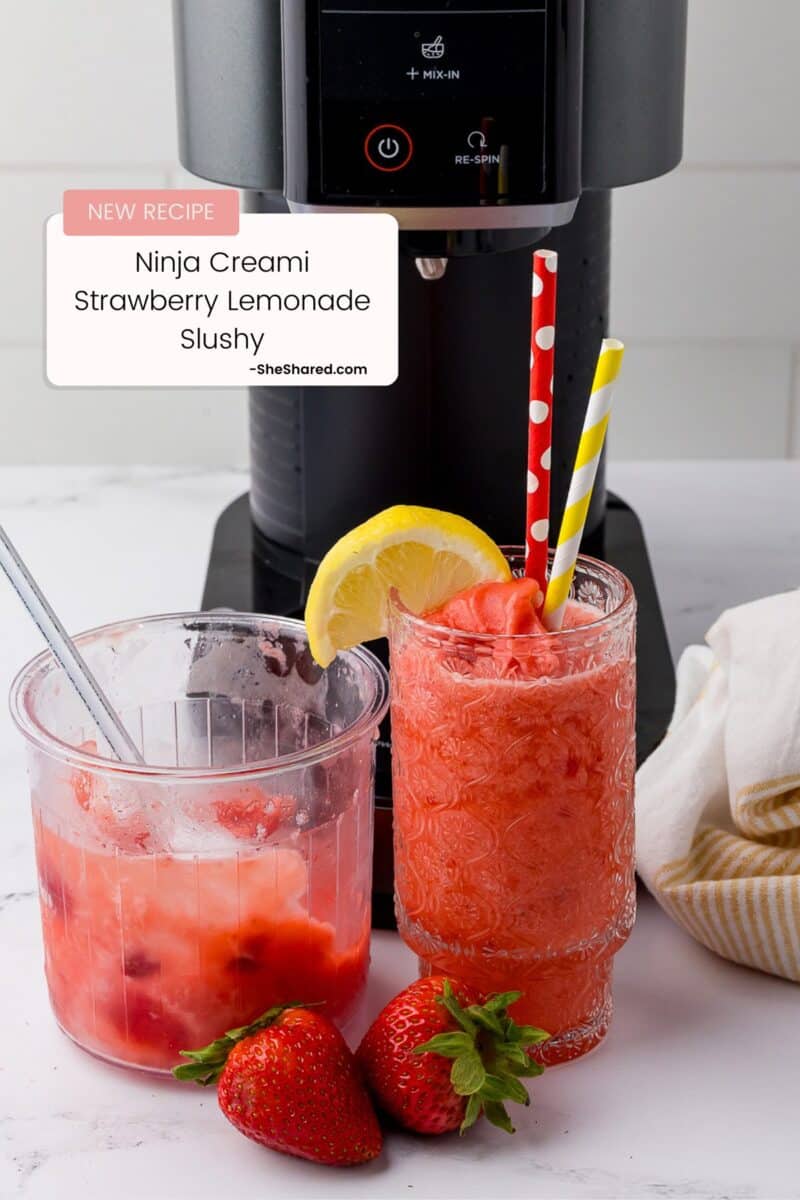
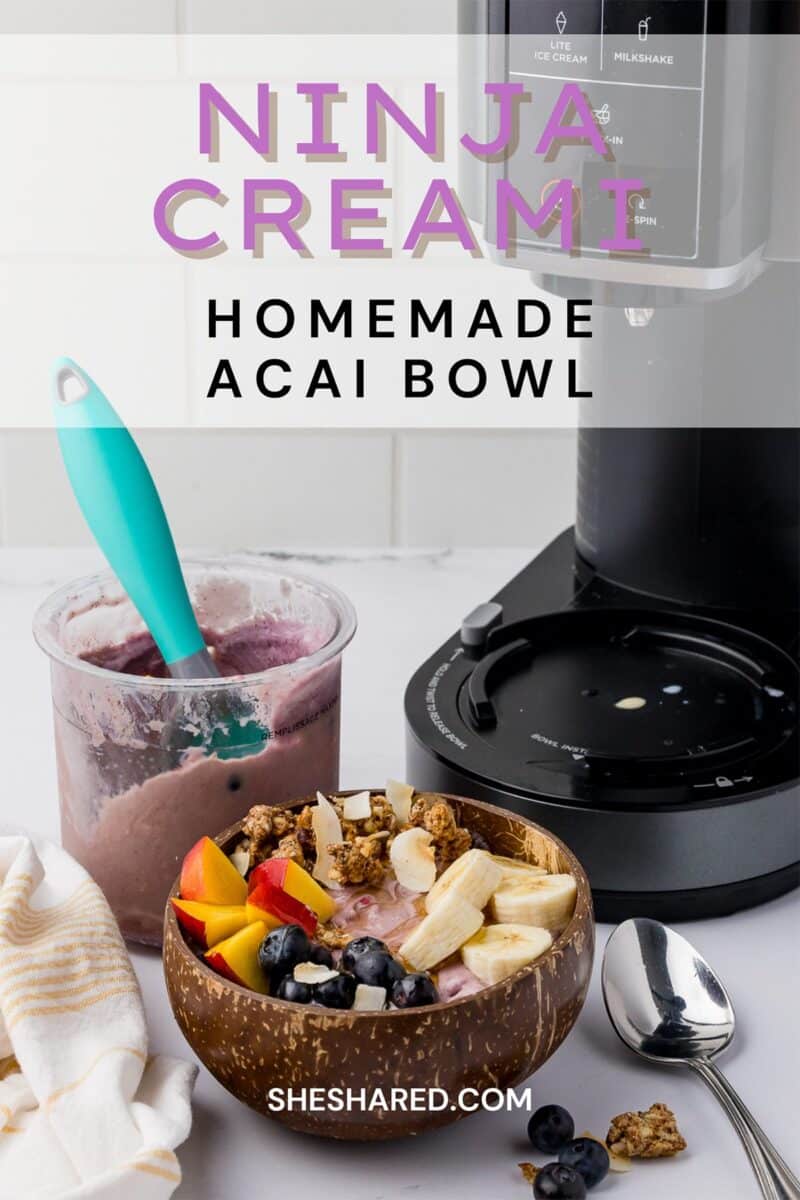
We’ve experimented with simple ingredients and favorite variations to create delicious frozen treats you can whip up in minutes. Check out some of our favorite Ninja Creami recipes for inspiration:

Love your Ninja Creami? So do we! Join our community of fans sharing their best homemade ice cream flavors and Ninja Creami recipes.
Banana Ice Cream Ninja Creami
Indulge in banana ice cream made with your Ninja Creami. This recipe is simple, quick, and uses just a few basic ingredients.
Okay, let's be honest. Who doesn't love homemade ice cream? But who has time for the whole ice cream maker song and dance? Not this busy mom! That's why I'm obsessed with this Ninja Creami vanilla banana ice cream. It's made with simple ingredients, takes just 5 minutes to prep, and is ready to enjoy in no time. It's practically magic!
Supplies Needed:
- Ninja Creami ice cream maker
- High-powered blender, food processor, or immersion blender
Ingredients
- 2 small, ripe bananas (about 8 ounces)
- 1/2 cup milk
- 1/2 cup heavy cream
- 1/3 cup sugar
- 1/2 teaspoon vanilla bean paste (or vanilla extract)
Instructions
1. Peel and slice the ripe bananas into chunks.
2. Place all ingredients (banana chunks, milk, heavy cream, sugar, and vanilla) in a high-powered blender or food processor, or use an immersion blender into the bottom of the pint jar to get your creamy texture.
3. Blend until the mixture is completely smooth and creamy, scraping down the sides as needed.
4. Pour the creamy mixture into your Ninja Creami pint container, ensuring a level surface with no bumps. Cover and freeze for 24 hours.
5. Remove the pint from the freezer and let it stand on the counter for a few minutes. Then, place the pint in the outer bowl of the Ninja Creami and insert it into the Ninja Creami machine.
6. Select the "Ice Cream" function and press start. Once the cycle is complete, enjoy your delicious vanilla banana ice cream right away, or freeze it for a firmer texture.
Notes
FAQs:
- Can I use frozen bananas that I buy at the grocery store?
Absolutely! That is an easy way to get to your delicious ice cream faster. - Can I use frozen bananas instead of fresh?
While fresh bananas work best for this recipe, you can experiment with frozen bananas. Just be sure to thaw them slightly before blending. - Can I reduce the amount of sugar?
Yes, you can adjust the sugar to your preference. Start with a little less and add more to taste if needed. - Can I add other ingredients to this recipe?
Yes! Try adding peanut butter, chocolate chips, or your favorite frozen fruit for delicious flavors. - Can I make this recipe without a Ninja Creami?
While a Ninja Creami is the easiest way, you can try freezing the blended mixture for several hours, stirring occasionally, to achieve a similar texture. - How many calories are in this recipe?
This recipe contains approximately 150 calories per serving (1/4 of the recipe). - Is this recipe vegan?
Yes, if you use a plant-based milk substitute. - Is this recipe gluten-free?
Yes, this recipe is naturally gluten-free. - Is this recipe the same as "Nice Cream?"
Nice cream traditionally refers to a dairy-free dessert made solely from frozen bananas. This recipe is similar, but it includes milk and cream for added richness and a smoother texture. Think of it as a luxurious upgrade to the classic nice cream concept!
Nutrition Information:
Yield: 3 Serving Size: 1Amount Per Serving: Calories: 302Total Fat: 15gSaturated Fat: 10gTrans Fat: 1gUnsaturated Fat: 5gCholesterol: 48mgSodium: 31mgCarbohydrates: 41gFiber: 2gSugar: 33gProtein: 3g
*This calculation is just an estimate ~ results may vary!