DIY Cake Goop for Perfect Cakes Every Time
This post may contain affiliate links. See our disclosure policy for more details.
This homemade cake goop recipe, also known as cake release or pan release, is your secret weapon for perfect, no-fuss baking. Grandma approved!
Raise your hand if you’ve ever battled a stubborn cake stuck to the pan. Ugh, the worst, right? Well, I’ve got some good news: homemade goop is about to become your new baking BFF.
This simple 3-ingredient mix is a game-changer, ensuring your cakes – from simple chocolate cake layers to intricate bundt cakes – slide out effortlessly every single time. It’s way cheaper (and healthier!) than store-bought sprays like Pam or Baker’s Joy, and it’s made with stuff you probably already have in your pantry.
Why Cake Goop is Grandma’s Best-Kept Secret:
This isn’t some new TikTok trend – cake goop is a tried-and-true recipe that has been passed down through generations. Your grandma probably used a similar mixture (maybe even stored in an old mason jar!) to make sure her cakes came out perfectly golden brown without any sticky residue.
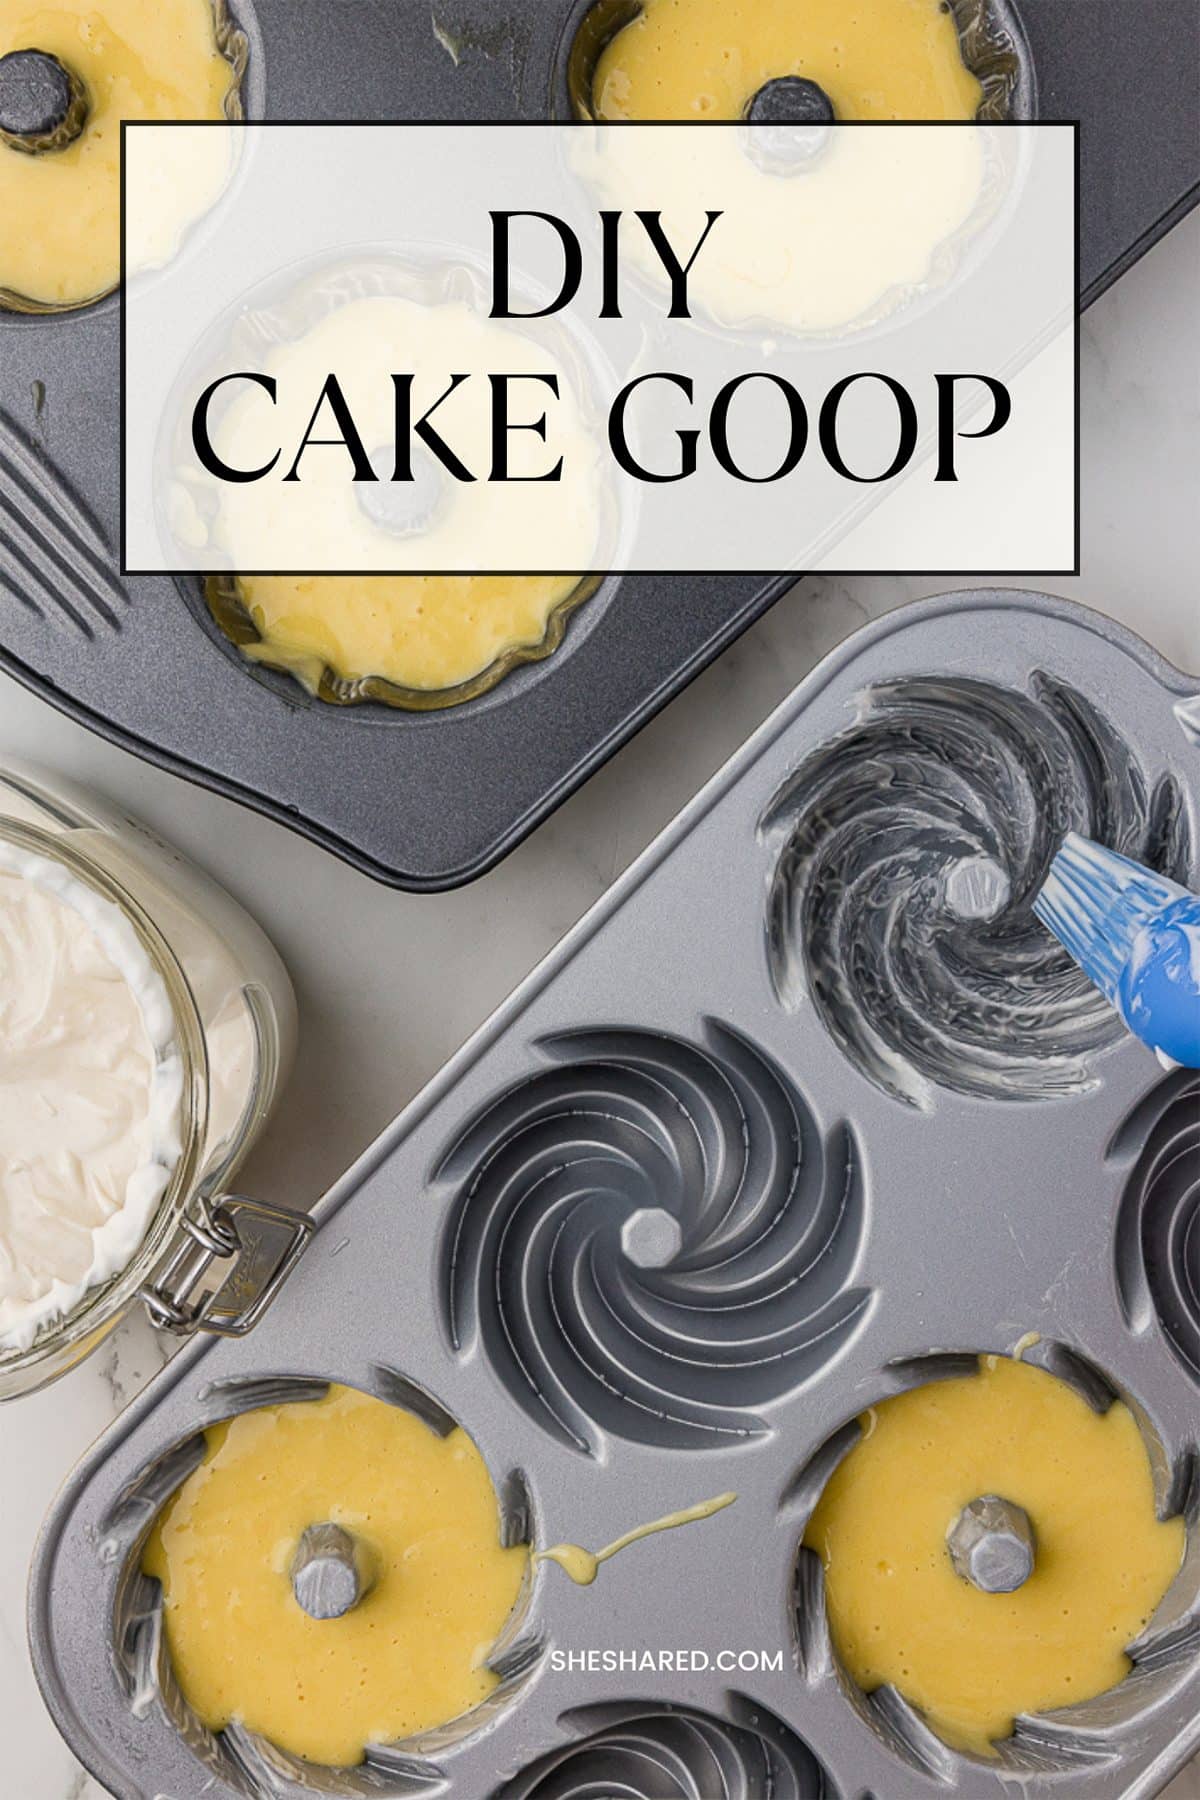
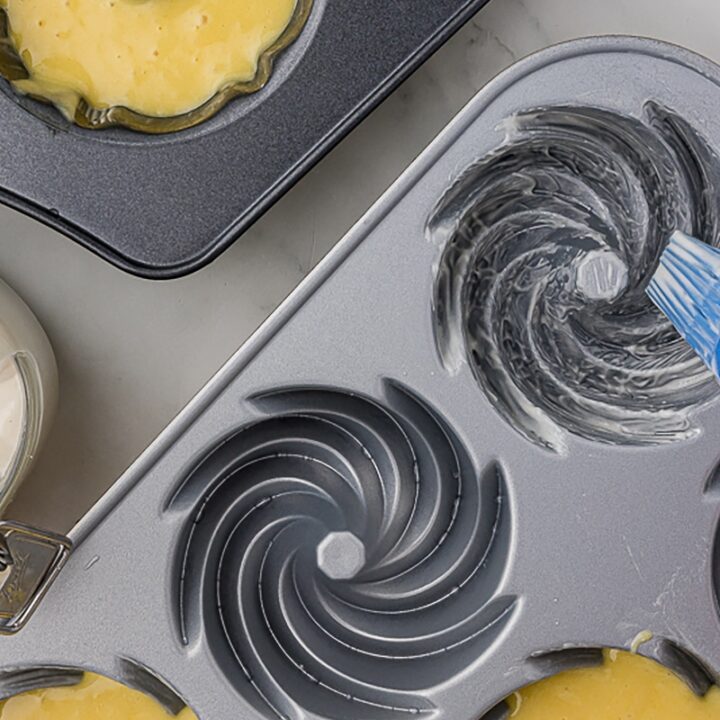
When applied correctly to the cake tin and sides of the pan, your cakes will slide right out. A silicone brush is all you need to reach all of the nooks and crannies that a parchment circle wouldn’t be able to conform to.
Cake Goop vs. The Sprays:
Sure, those non-stick cooking sprays seem convenient, but they often contain ingredients you can’t even pronounce. Plus, they can leave behind a weird aftertaste or an uneven coating in your cake pan. Cake goop, on the other hand, is made with simple, pure ingredients that won’t mess with the flavor of your delicious cake recipes. It coats every cranny of the pan, ensuring a perfect cake release every time.
Tips and Tricks:
- Prep in Advance: Make a big batch of cake goop and store it in the pantry. It’ll last for months! Just give it a quick sniff test before using to make sure it’s still fresh.
- Application is Key: Use a silicone pastry brush or spatula to spread a thin, even layer of goop onto every nook and cranny of your baking pan. Don’t forget the sides! For extra insurance, you can dust the greased pan with a light layer of flour after applying the goop.
- Parchment Paper Power-Up: For extra sticky cakes, like those made with lots of sugar or those baked in springform pans, line the bottom of your pan with a parchment paper circle. The cake goop helps the parchment adhere to the pan.
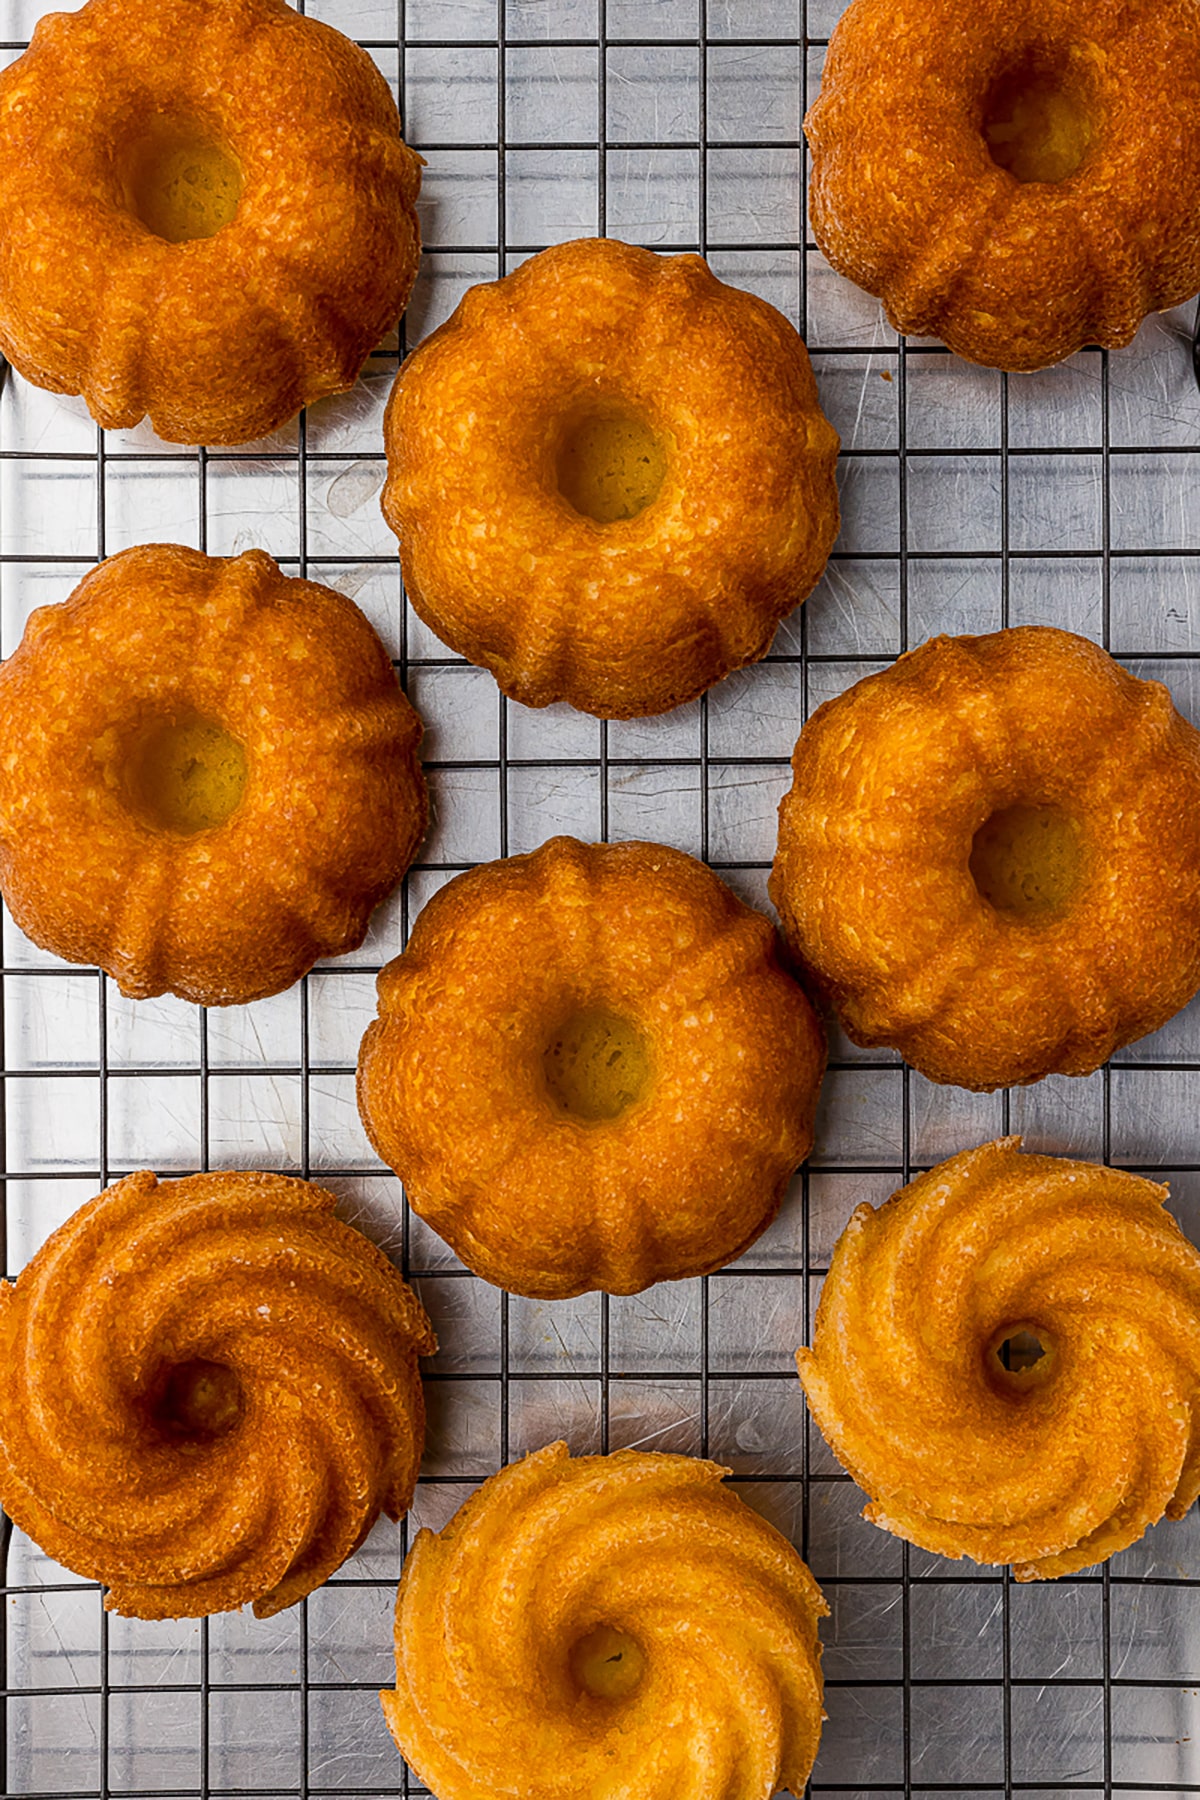
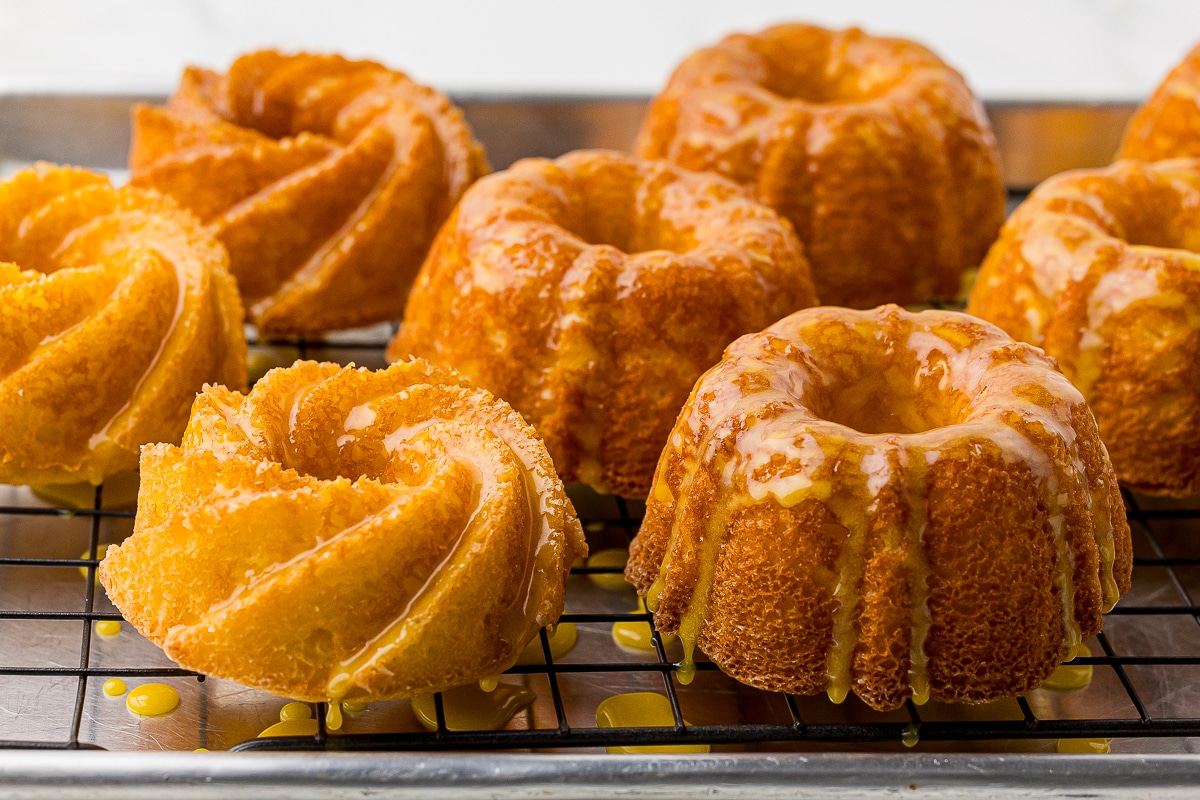
- Bonus for Bundt Pans: Cake goop is especially great for intricate bundt pans, ensuring every detail of your beautiful cake comes out in one piece.
Cake Goop FAQs:
- Can I use butter instead of shortening?
You can, but it’s not ideal. Shortening has a higher melting point, which makes it better for greasing pans. - Does cake goop work for chocolate cakes?
Absolutely! You can even add a few tablespoons of cocoa powder to your chocolate cake goop for extra chocolatey goodness. - What’s the best way to store cake goop?
Room temperature in an airtight container is perfect. Just give it a quick stir or shake before each use. - Can I double this recipe?
Yes – just use equal parts flour, vegetable oil, and vegetable shortening.
How to DIY Cake Release Cake Goop
Supplies Needed:
- Large bowl or batter bowl
- Whisk or electric hand mixer
- Airtight container (a glass jar or mason jar works great)
- Silicone pastry brush (optional, but makes life easier)
Ingredients for this old recipe:
- 1 cup vegetable shortening (Crisco or similar)
- 1 cup vegetable oil
- 1 cup all-purpose flour (for a gluten-free version, use a 1:1 gluten-free flour blend like King Arthur Measure for Measure)
Directions:
1. In your large bowl, combine the shortening and oil.
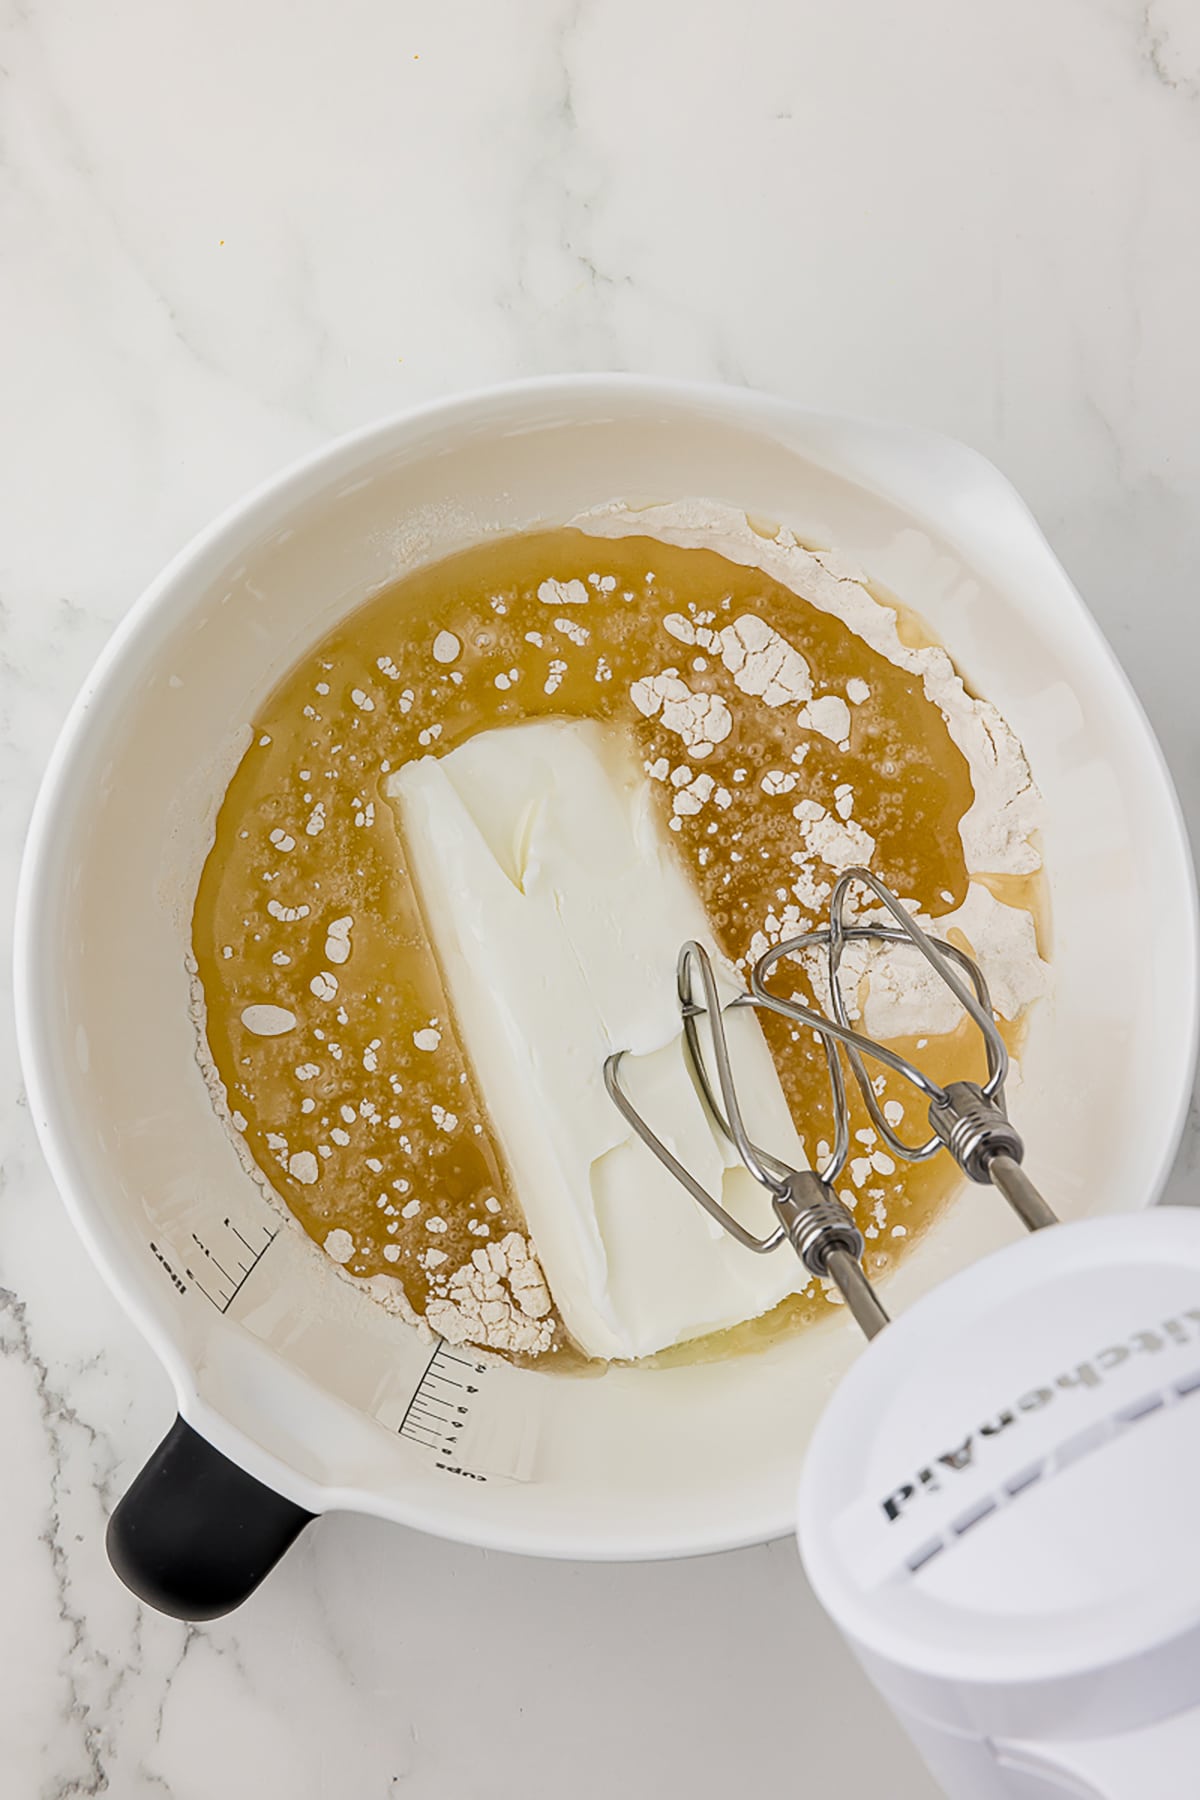
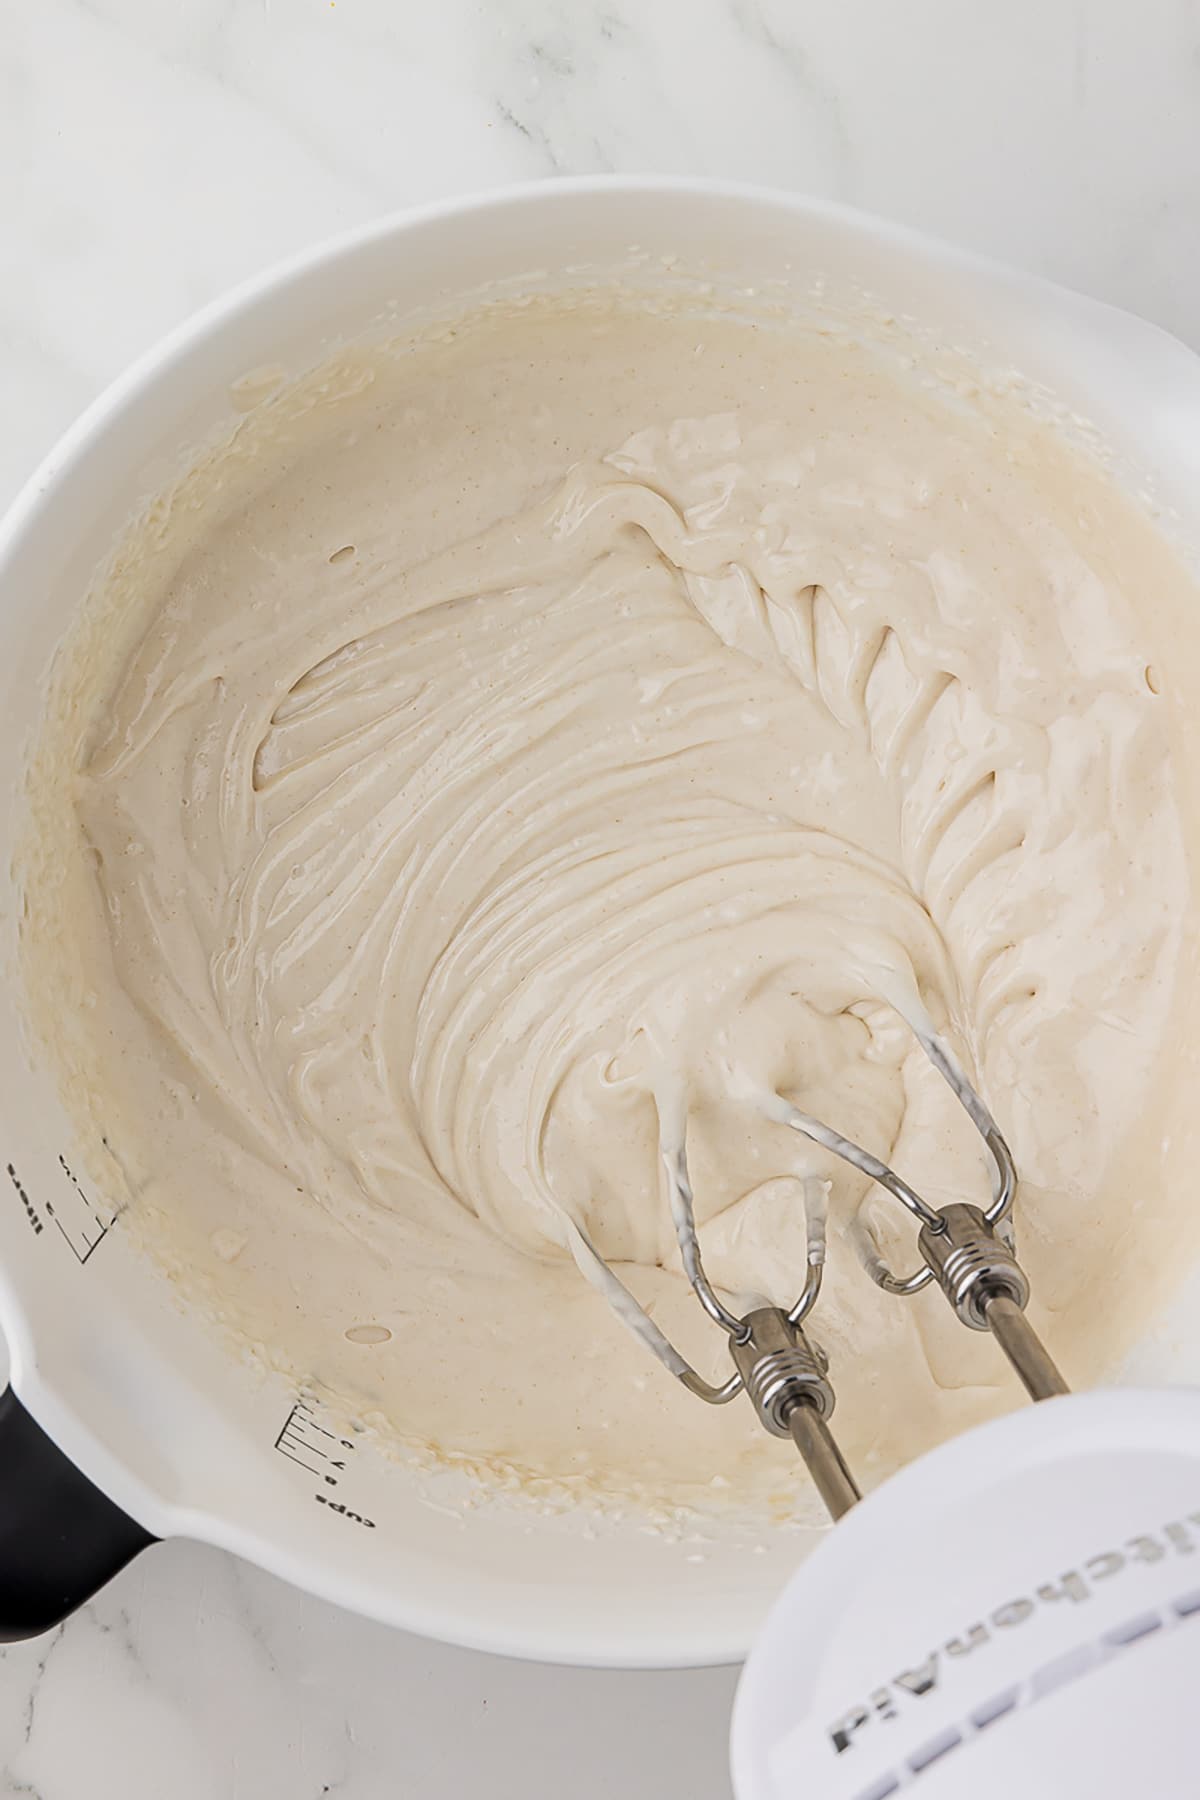
2. Using a whisk or your electric mixer, beat all of the ingredients together until it’s smooth and well combined. It should have the consistency of a spreadable frosting.
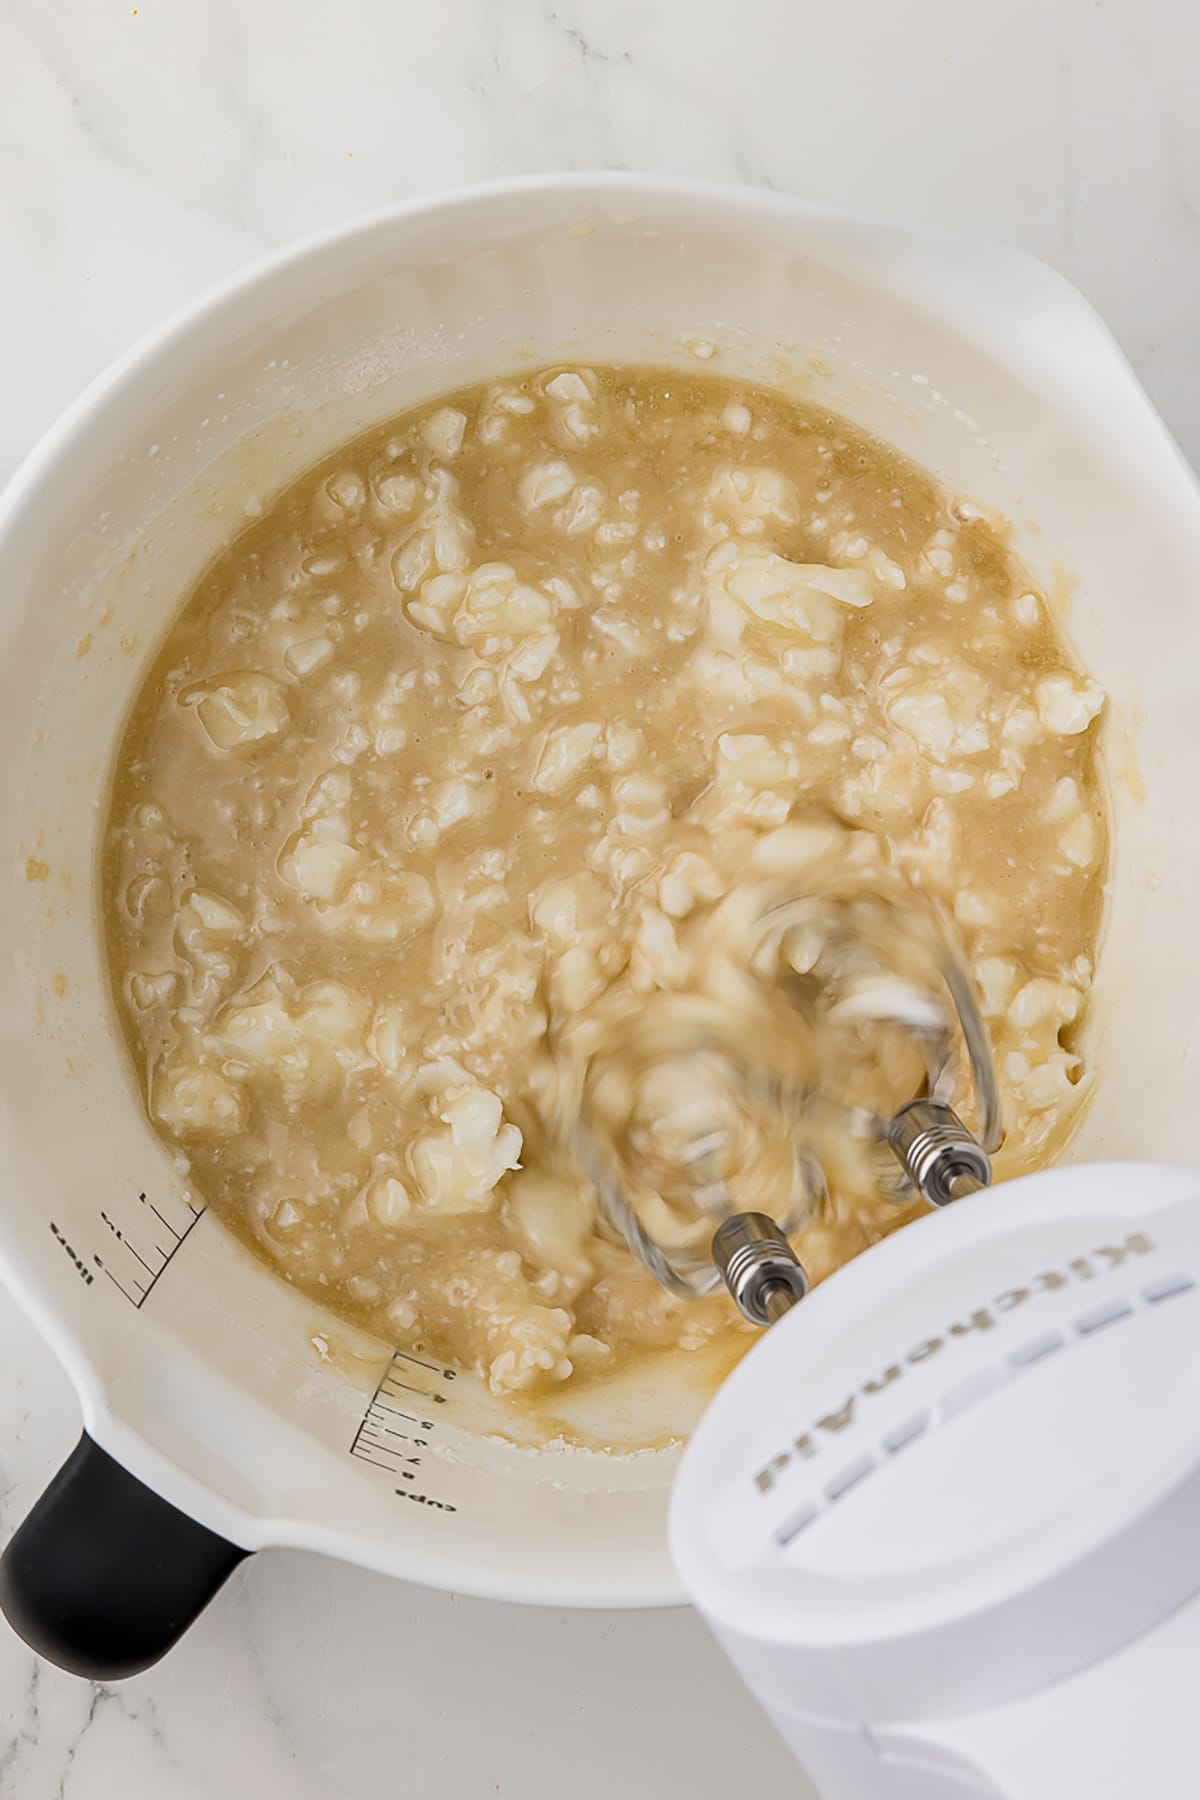
3. If the mixture seems too thick, add a bit more oil, a teaspoon at a time. If it’s too thin, add a bit more flour.
4. Using a silicone brush, brush goop onto all of the surfaces of your pan, making sure to get into every nook and cranny. Doing so will ensure that your cake releases well.

5. Transfer your homemade cake goop to an airtight container and store it at room temperature.
Go ahead, pin this recipe and give it a try on your next cake adventure. Let me know how it goes in the comments – I’m betting you’ll never go back to store-bought sprays!
Here are some great recipes to use our goop with: Secret Ingredient Copycat Cheesecake Factory Carrot Cake, Mini Pecan Pies Recipe
DIY Cake Goop for Perfect Cakes Every Time
Raise your hand if you've ever battled a stubborn cake stuck to the pan. Ugh, the worst, right? Well, I've got some good news: homemade cake goop is about to become your new baking BFF.
This simple 3-ingredient mix is a game-changer, ensuring your cakes – from simple chocolate cake layers to intricate bundt cakes – slide out effortlessly every single time. It's way cheaper (and healthier!) than store-bought sprays like Pam or Baker's Joy, and it's made with stuff you probably already have in your pantry.
Ingredients
- 1 cup vegetable shortening (Crisco or similar)
- 1 cup vegetable oil
- 1 cup all-purpose flour (for a gluten-free version, use a 1:1 gluten-free flour blend like King Arthur Measure for Measure)
Instructions
- In your large bowl, combine the shortening and oil.
- Using a whisk or your electric mixer, beat all of the ingredients together until it's smooth and well combined. It should have the consistency of a spreadable frosting.
- If the mixture seems too thick, add a bit more oil, a teaspoon at a time. If it's too thin, add a bit more flour.
- Transfer your homemade cake goop to an airtight container and store it at room temperature.
Notes
Supplies Needed:
- Large bowl
- Whisk or electric hand mixer
- Airtight container (a glass jar or mason jar works great)
- Silicone pastry brush (optional, but makes life easier)
Remember that application is Key: Use a silicone pastry brush or spatula to spread a thin, even layer of cake goop onto every nook and cranny of your baking pan. Don't forget the sides! For extra insurance, you can dust the greased pan with a light layer of flour after applying the goop.
FAQ
- Can I use butter instead of shortening? You can, but it's not ideal. Shortening has a higher melting point, which makes it better for greasing pans.
- Does cake goop work for chocolate cakes? Absolutely! You can even add a few tablespoons of cocoa powder to your chocolate cake goop for extra chocolatey goodness.
- What's the best way to store cake goop? Room temperature in an airtight container is perfect. Just give it a quick stir or shake before each use.
- Can I double this recipe? Yes - just use equal parts flour, vegetable oil, and vegetable shortening.