Cherry Ice Cream in the Ninja Creami
This post may contain affiliate links. See our disclosure policy for more details.
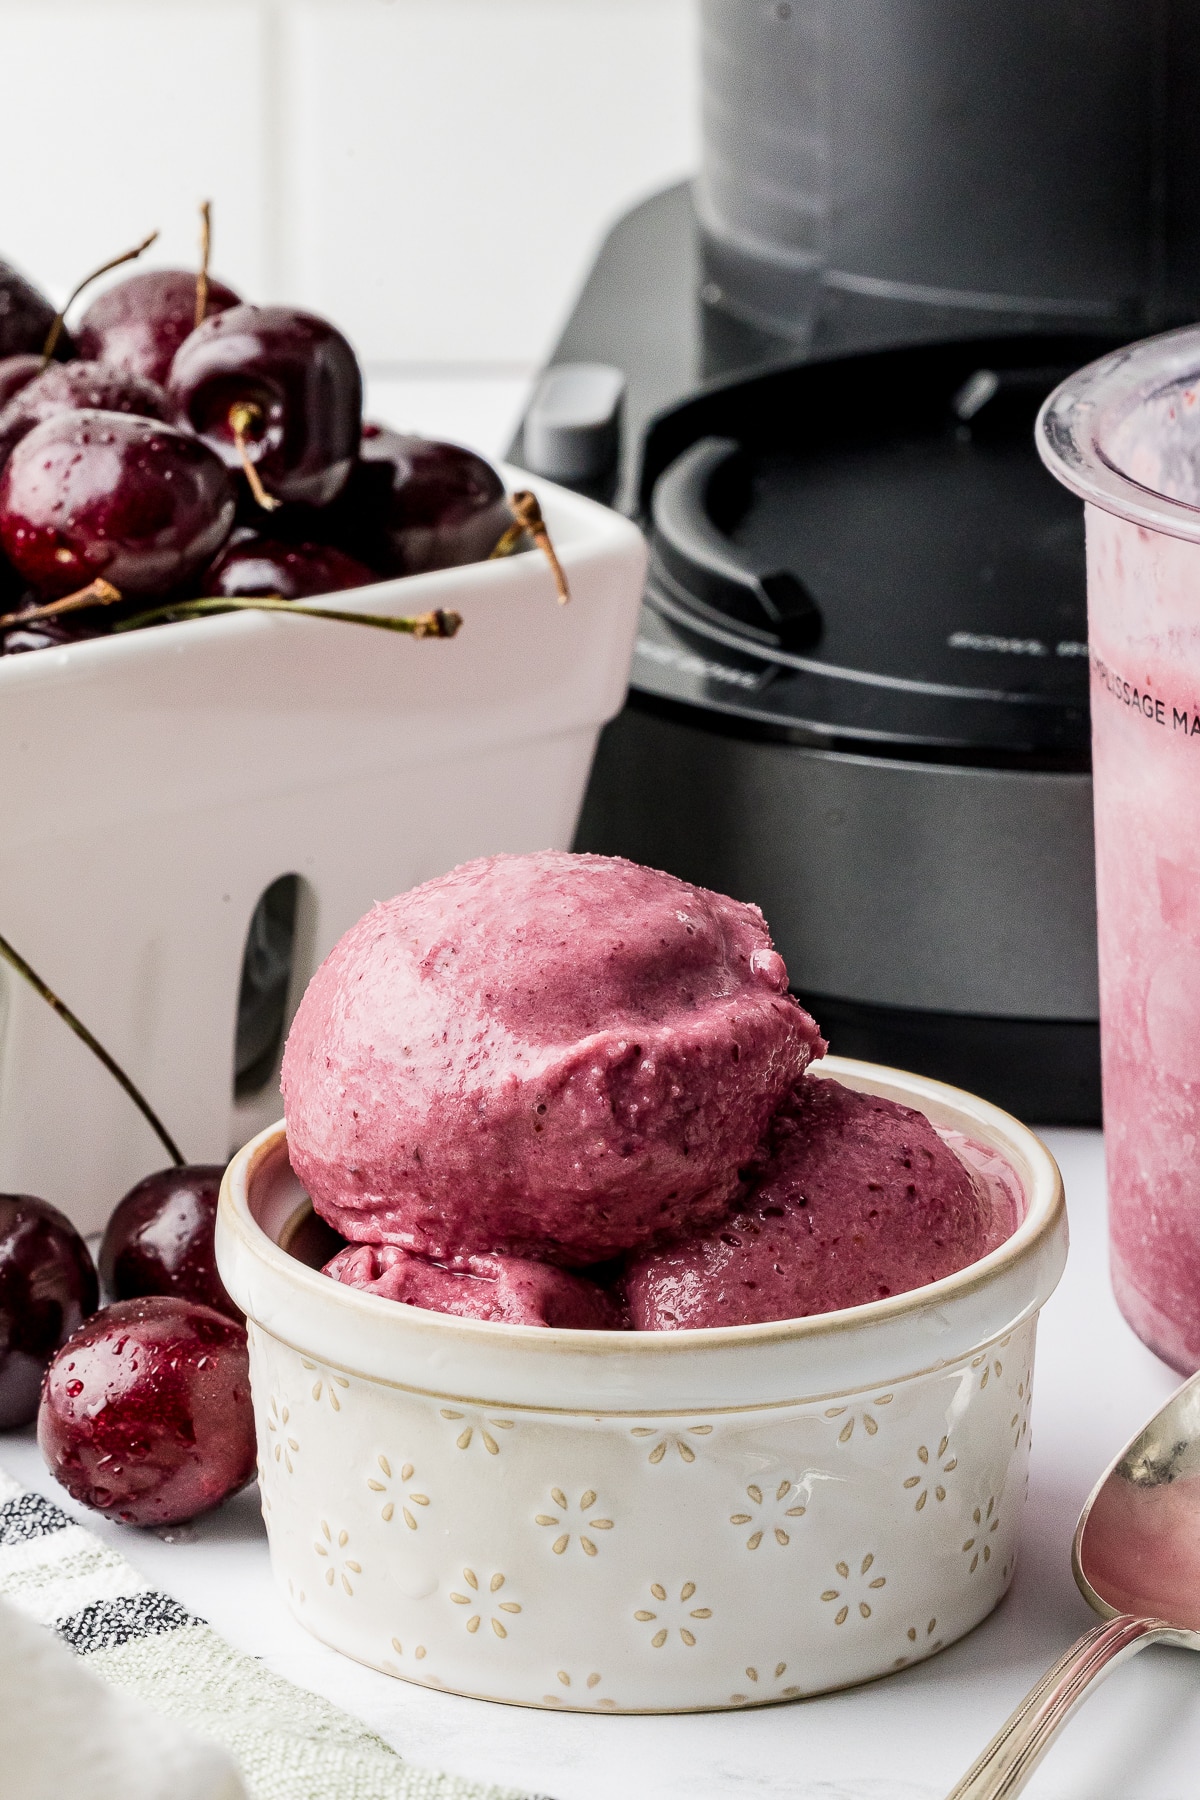
We love this Ninja Creami Cherry Ice Cream recipe! Use it to make creamy homemade cherry ice cream in minutes with your Ninja Creami. So easy, kids can help!
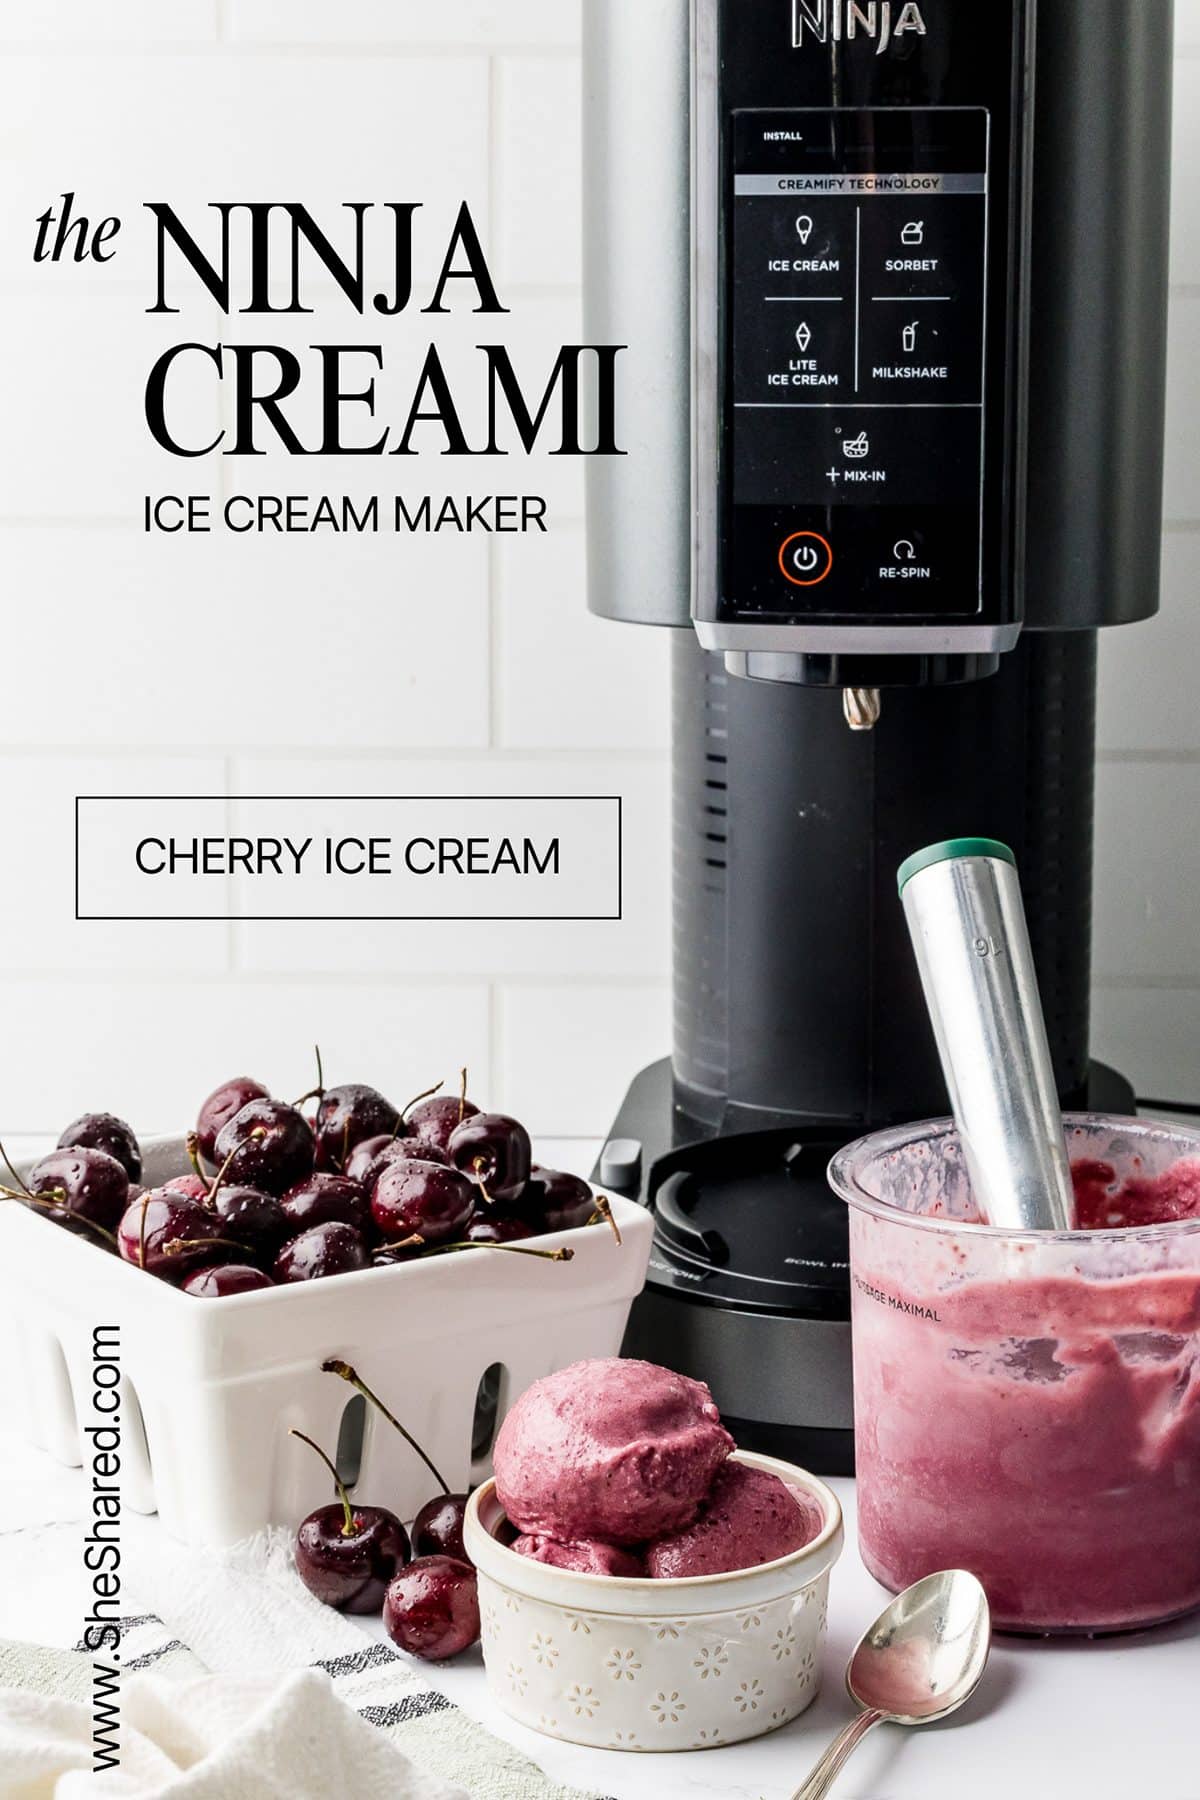
Ditch the grocery store! Make creamy homemade cherry ice cream with your Ninja Creami ice cream maker. Inspired by TikTok trends, this easy ice cream recipe is a summertime MUST.
I wish that I could say that TikTok made me do it, but it was Keri Lyn! She called and told me all about how they had been enjoying homemade ice cream every night with their Ninja Creami and how amazing it was.
Craving a sweet treat but don’t have time to mess around? This Ninja Creami Cherry Ice Cream is your new BFF. It’s crazy simple, uses basic ingredients, and tastes like a summer dream. No fancy equipment, just pure deliciousness that’s ready in minutes!
Let’s make your Ninja Creami Cherry Ice Cream
Supplies Needed:
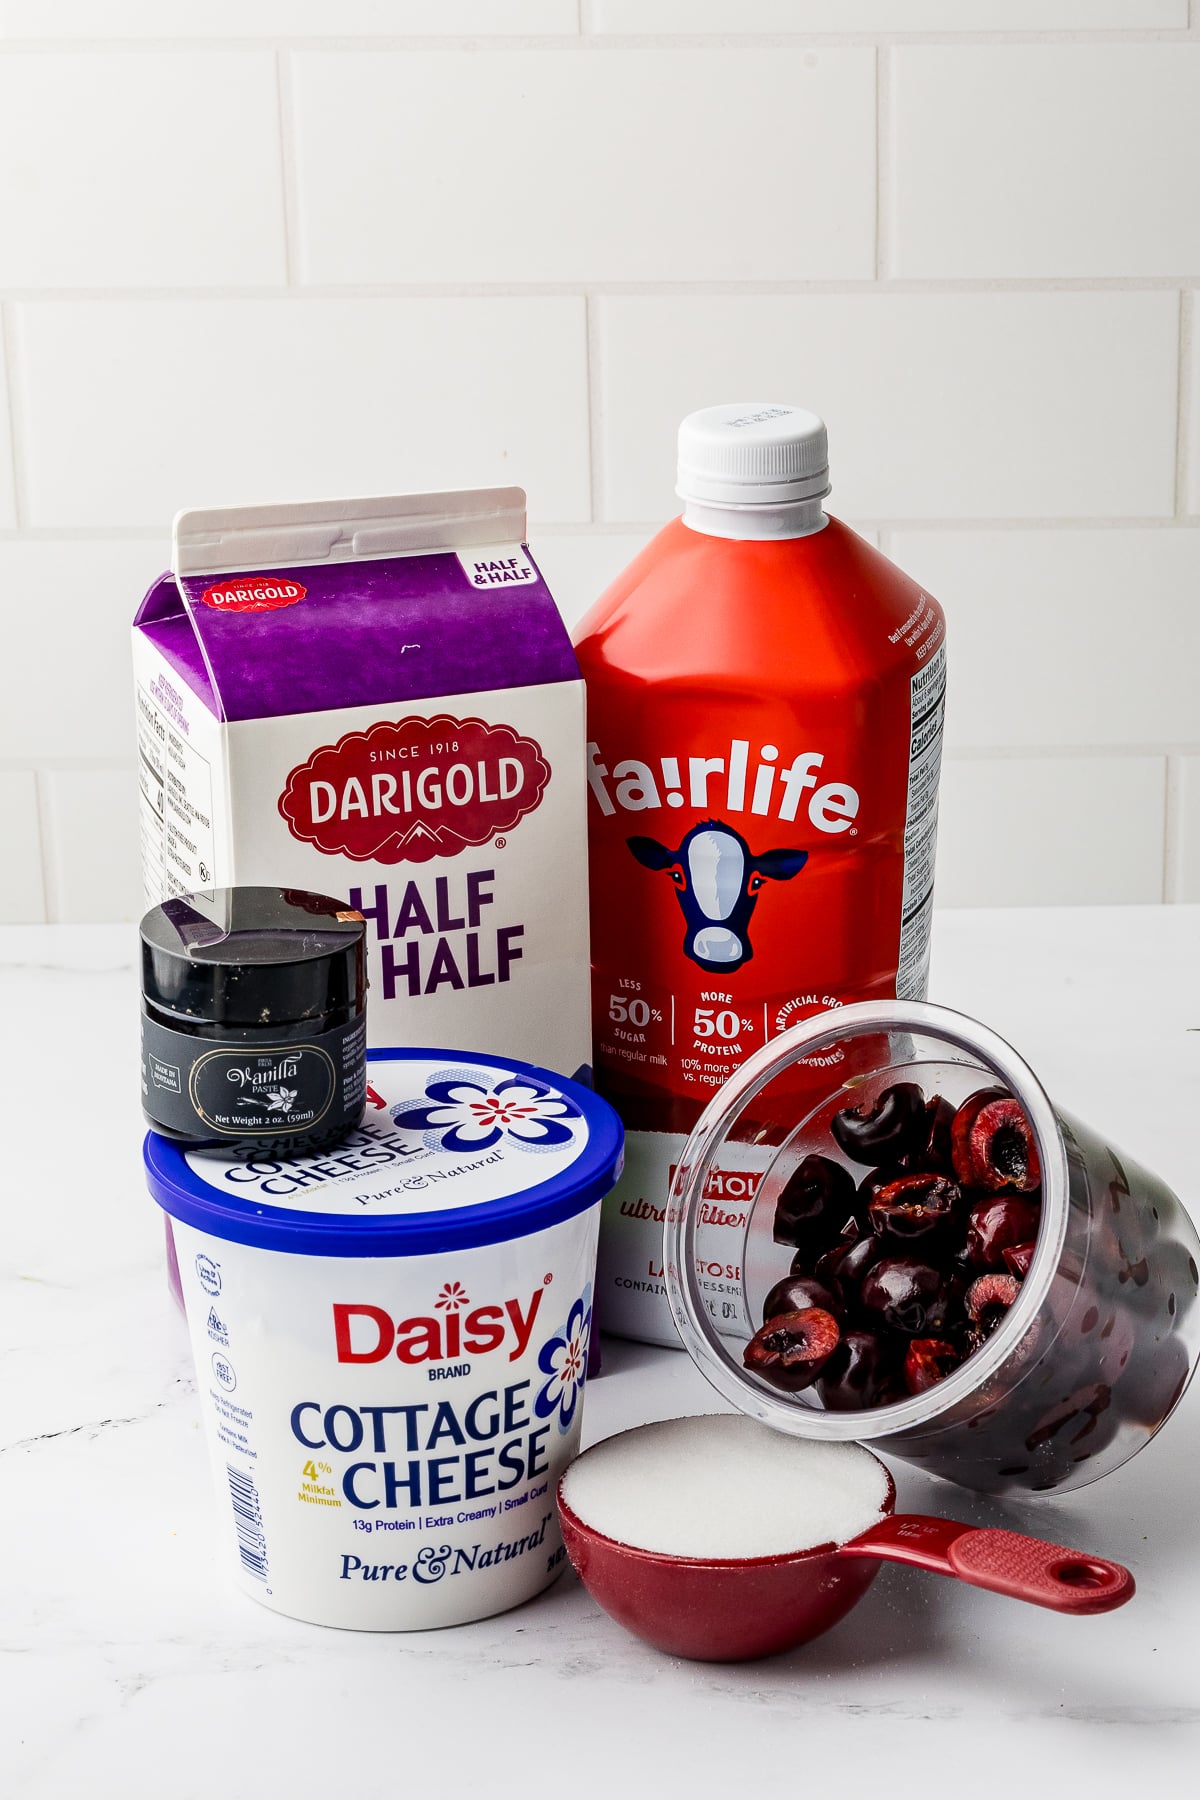
Ingredients:
- ¼ cup whole milk (can use low-fat milk or non-dairy milk like oat milk, almond milk, or coconut milk)
- ¼ cup half and half (or substitute with heavy cream for a richer texture)
- ½ cup sugar (adjust to your sweetness preference)
- 2 tablespoons cottage cheese
- 1 teaspoon vanilla paste (or vanilla extract)
- ½ cup fresh cherries, destemmed and pitted
Directions:
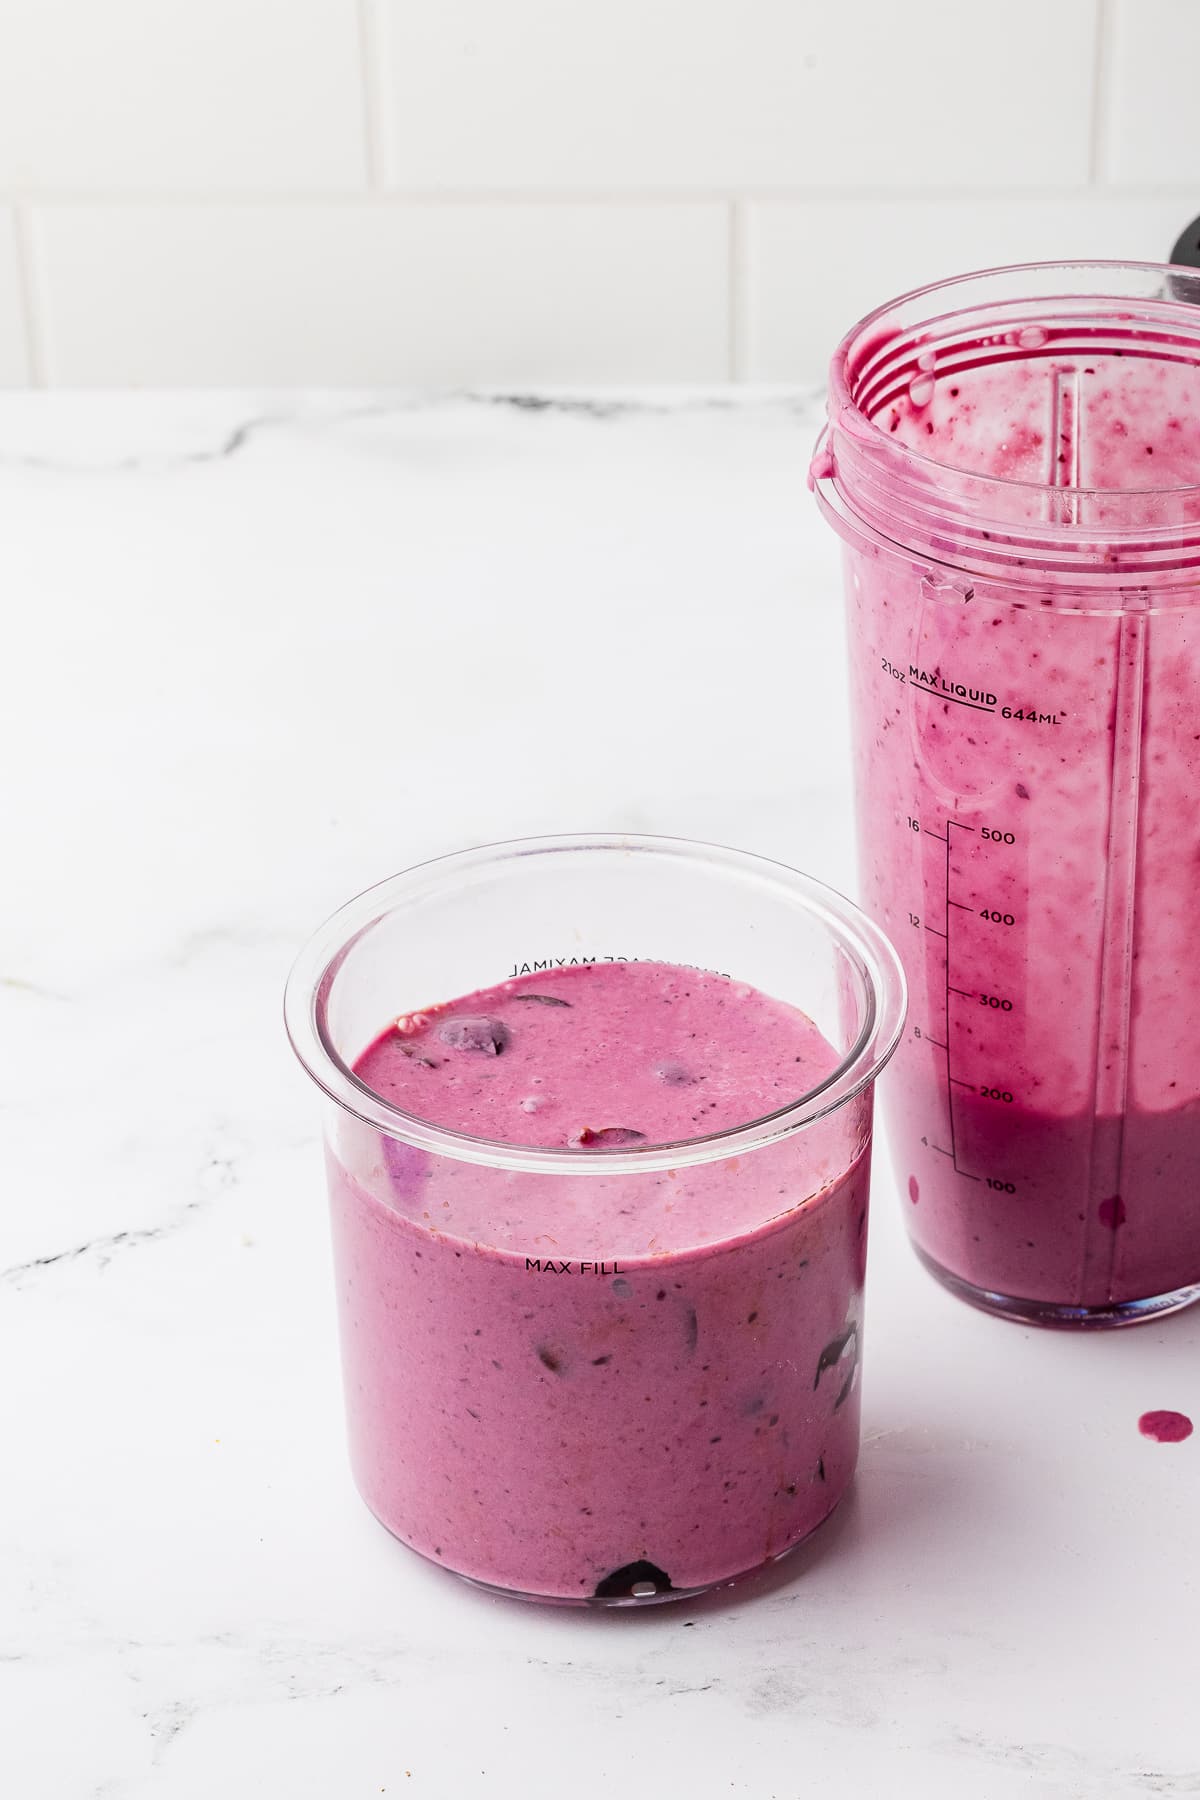
1. In your trusty blender, combine the milk, half and half, sugar, cottage cheese, and vanilla paste. Blend until smooth and creamy, making sure there are no lumps of cottage cheese. (Tip: If you don’t have vanilla paste, vanilla extract works just as well.)
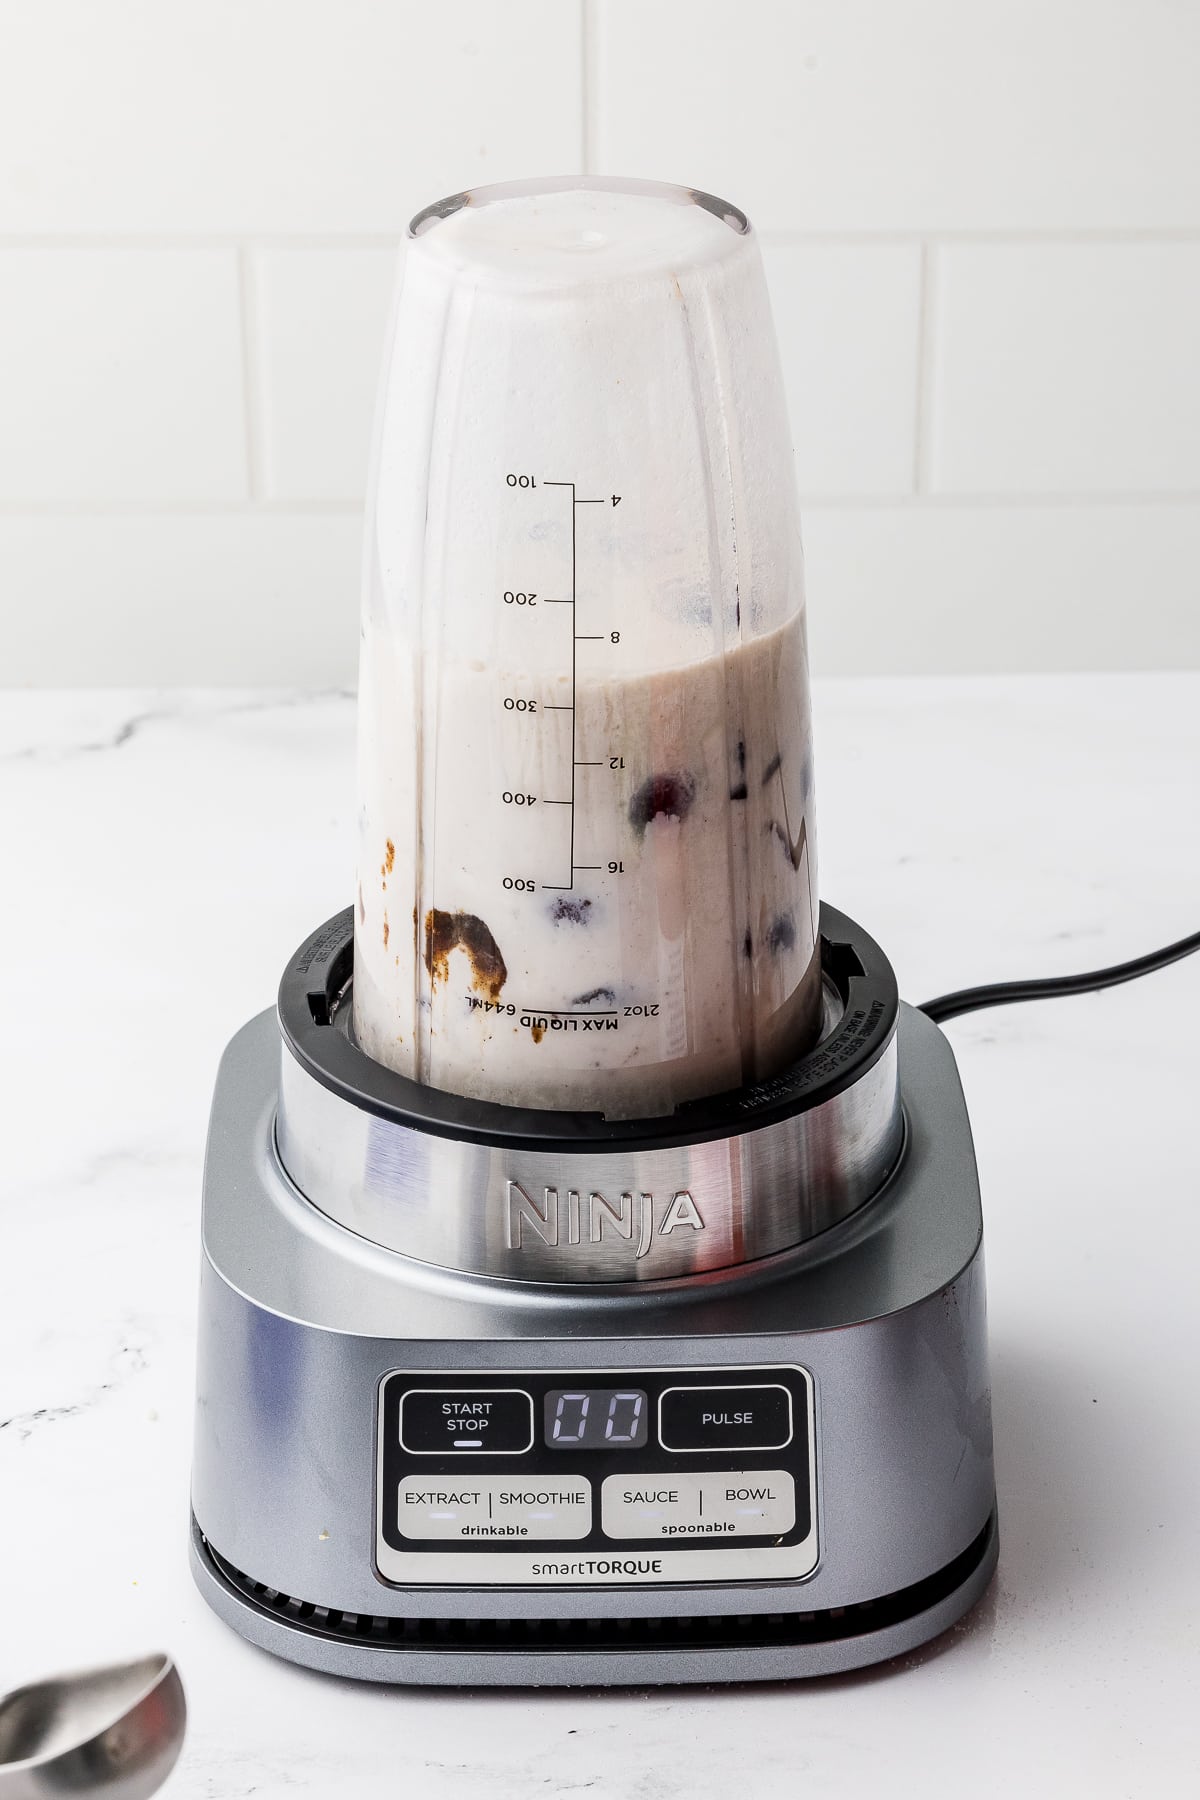
2. Add half of those beautiful, ripe cherries to the blender and pulse a few times. The goal is to break down the cherries without completely pureeing them, leaving some small pieces for that perfect cherry swirl.

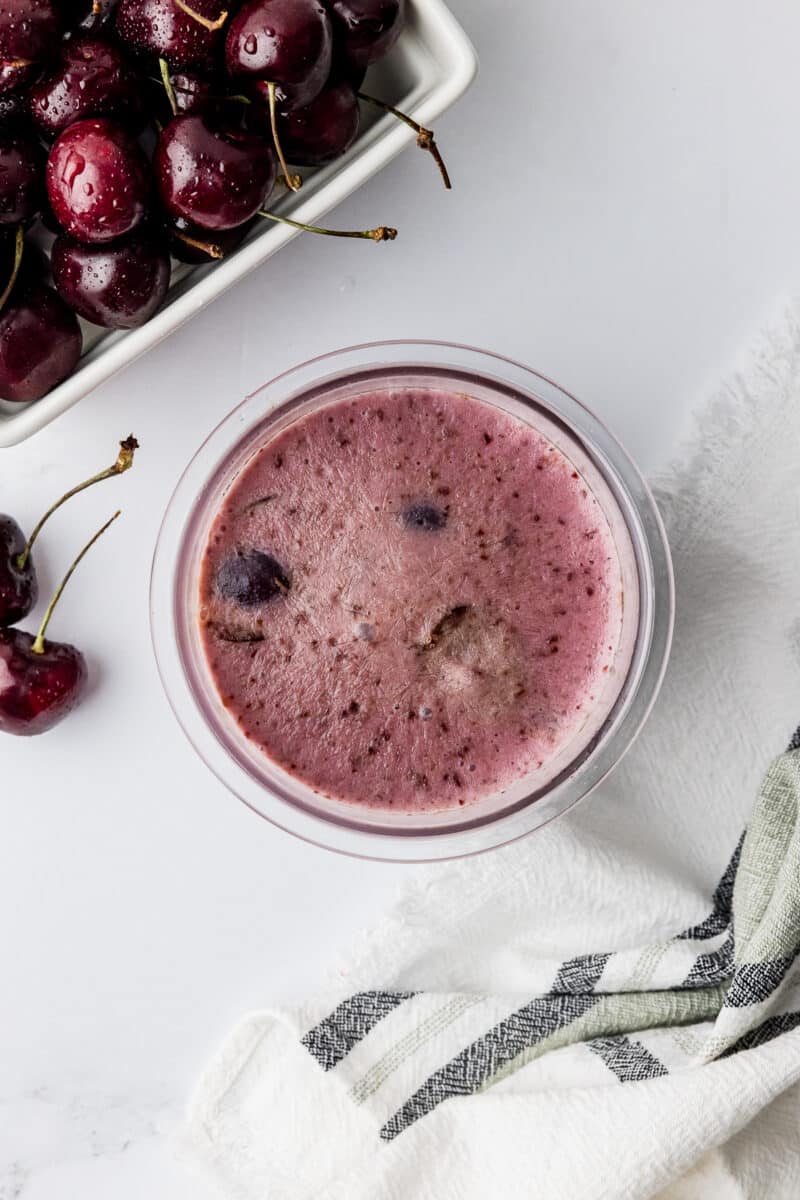
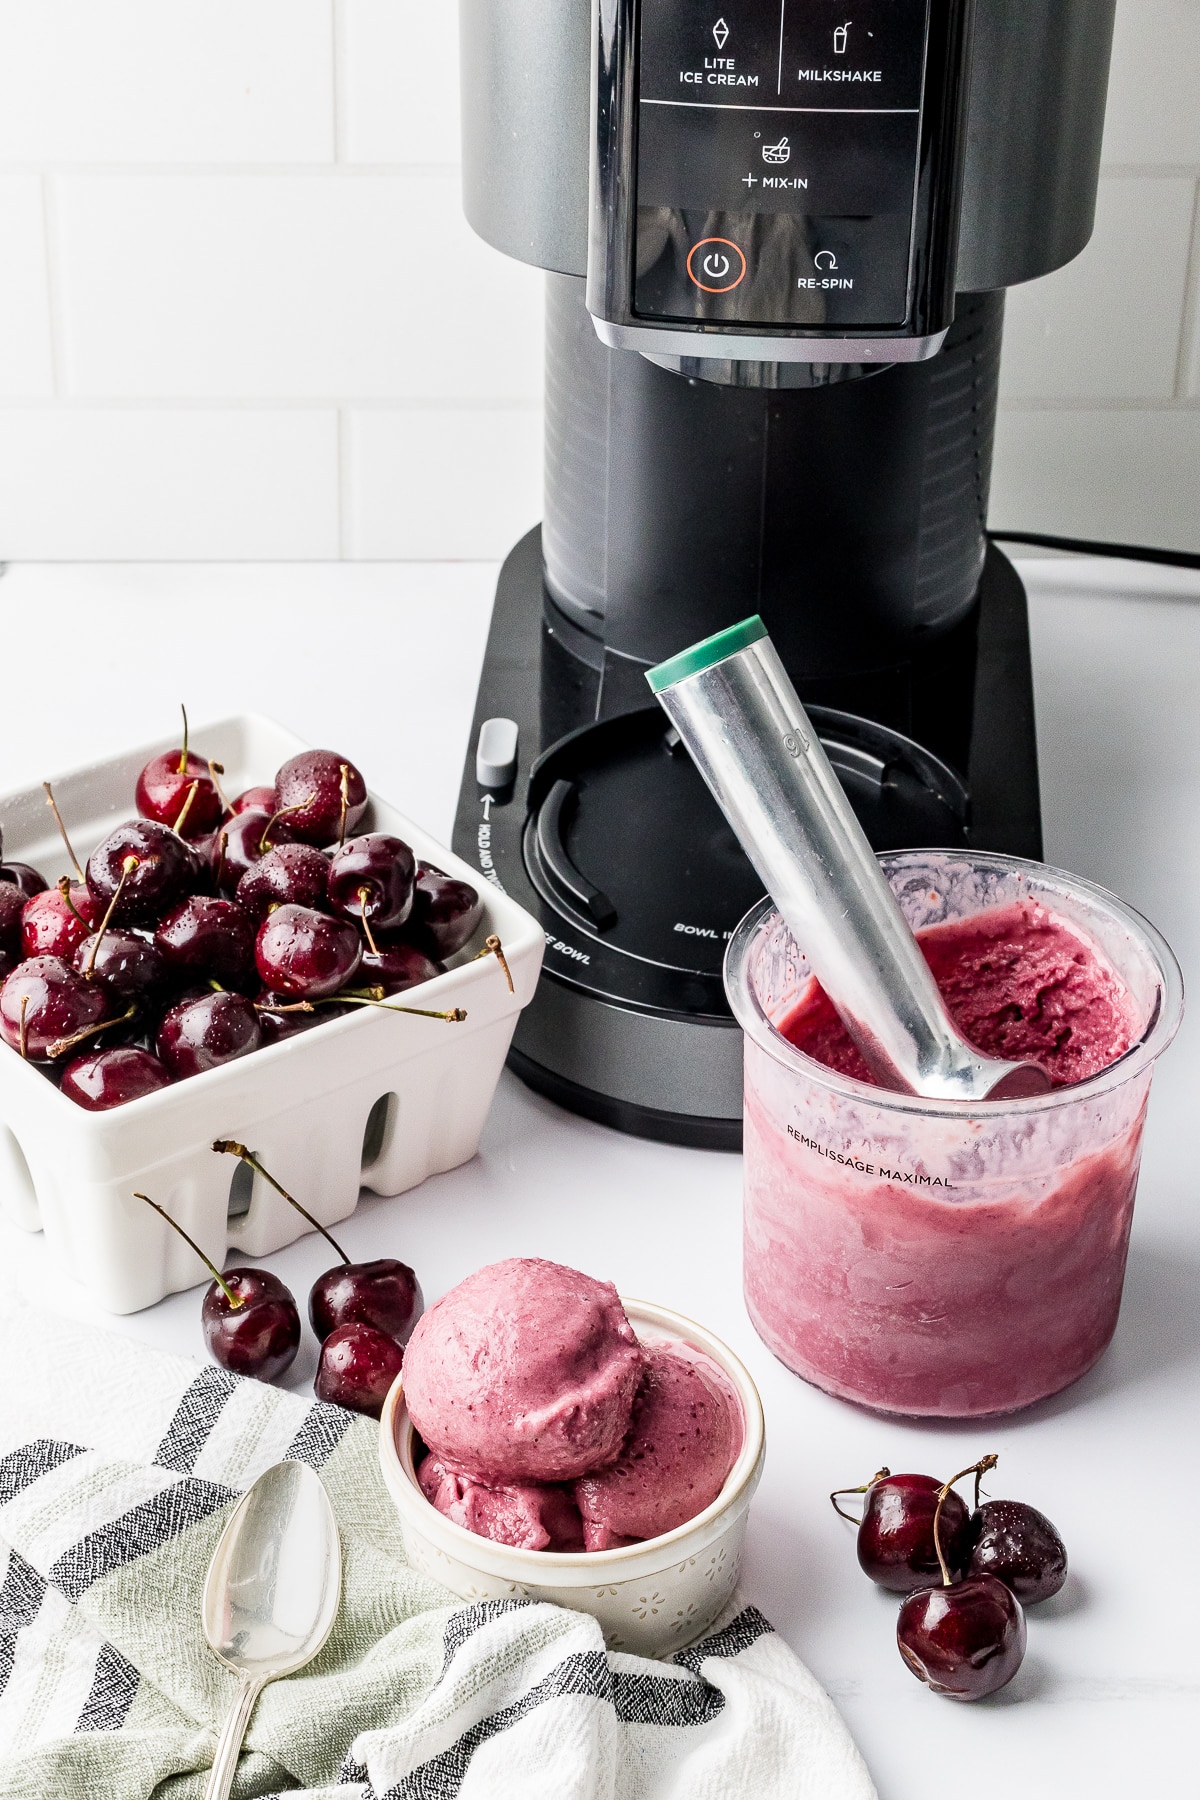
3. Carefully pour the cherry ice cream mixture into your Ninja Creami pint container, and then add the remaining pitted cherries, being mindful of the max fill line. Pop on the lid and freeze for at least 24 hours to ensure the ice cream base is solid.
4. Ninja Creami Time! After 24 hours (or longer!), remove the pint from the freezer and let it sit on the counter for a few minutes to soften slightly. Remove the lid, place the pint in the outer bowl of the Ninja Creami, and secure the outer bowl lid. Insert into the machine and twist until the bowl is locked. (You will hear a click). Press the “Ice Cream” button and let the Ninja Creami work its magic. The first spin will take about 1-2 minutes.
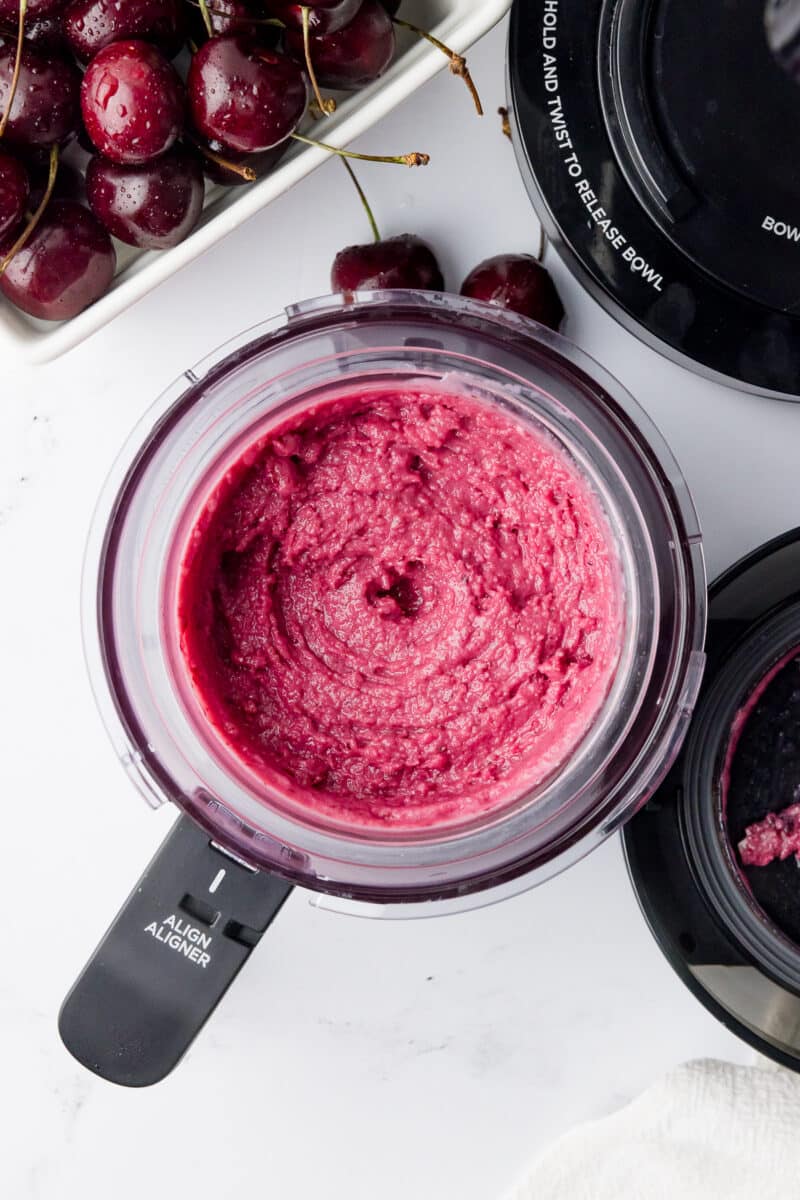
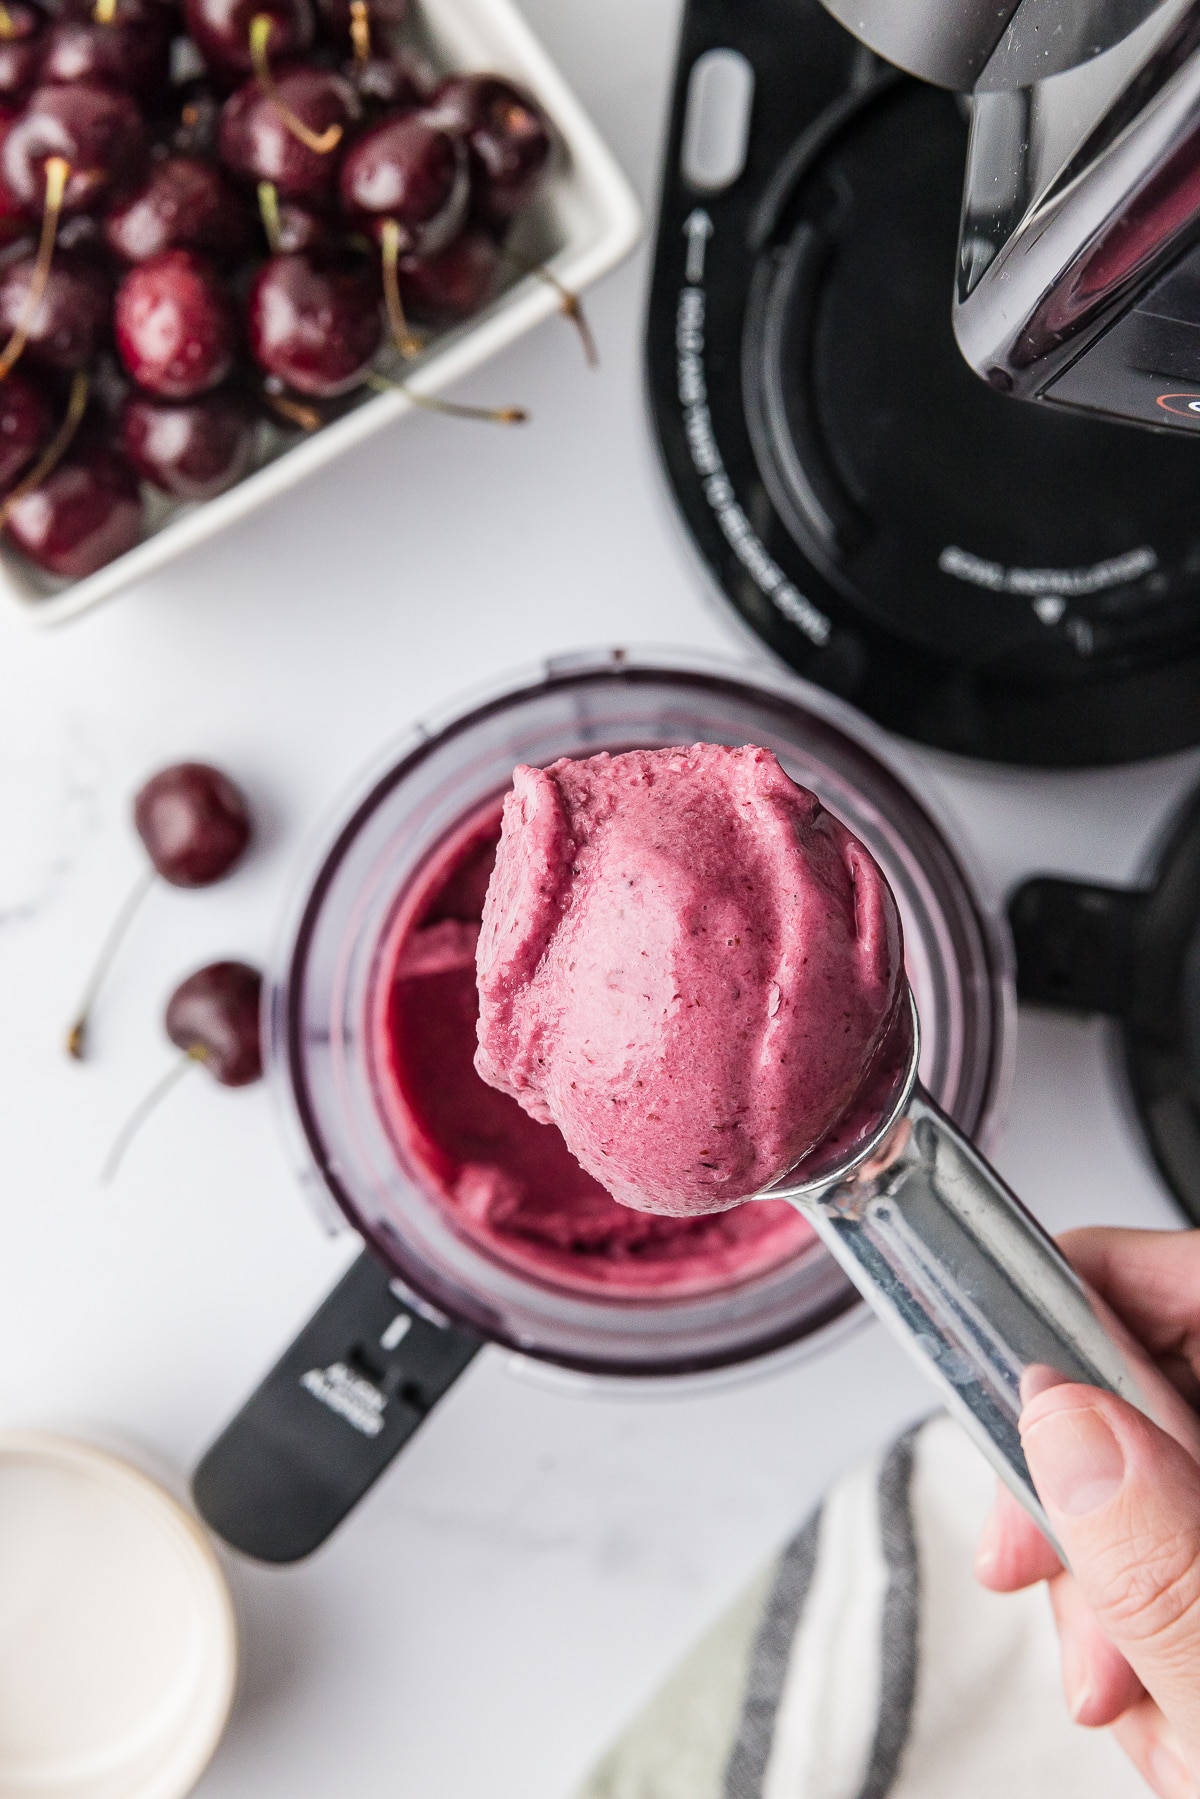
5. Check & Re-Spin (If Needed) – After the first spin, open the lid and check the texture. If it’s still a little icy, no worries! Just press the re-spin button for an extra minute or two until you reach that perfectly creamy, dreamy consistency.
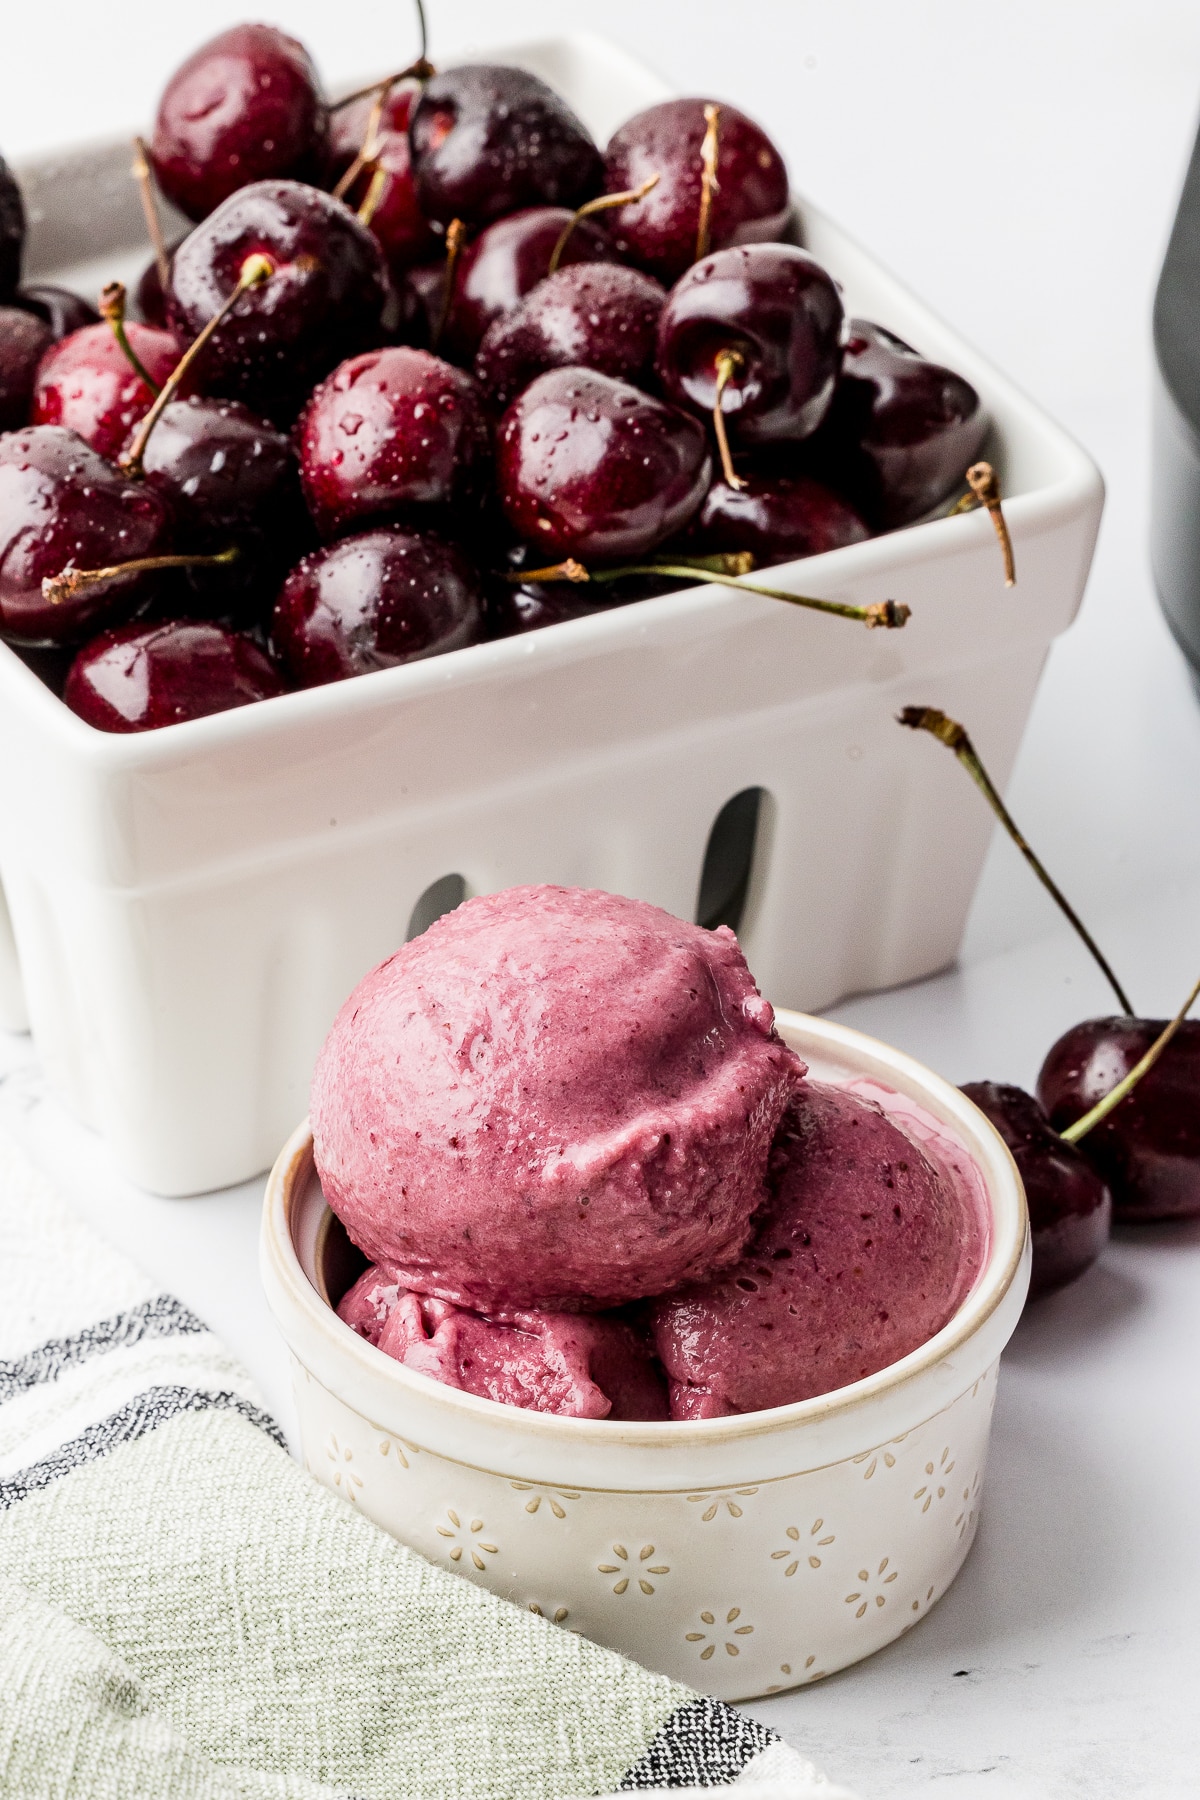
6. Now comes the fun part! Scoop your homemade cherry ice cream into bowls or cones. Top with extra cherry pieces, a drizzle of chocolate sauce, or a sprinkle of chopped nuts if you’re feeling fancy. Then, dig in and enjoy every bite of this sweet, refreshing treat. It’s the perfect way to cool down on a hot summer day or indulge in a delicious dessert any time of year.
“Stretch It” Tip:
- Cherry Chocolate Chunk: Fold in a handful of dark chocolate chunks or vegan chocolate chips after spinning for an extra burst of flavor and texture.
- Cherry Pie à la Mode: Serve your cherry ice cream with a warm slice of homemade or store-bought cherry pie for a classic dessert combo.
Tips and Tricks:
- Fresh vs. Frozen Cherries: Feel free to use frozen cherries if fresh ones aren’t in season. Just thaw them and drain any excess liquid before blending.
- Ice Cream Base Variations: For a lighter treat, use lite coconut milk or unsweetened almond milk. If you’re a fan of super-rich ice cream, try using all heavy whipping cream instead of half and half.
- Storage: Keep any leftover ice cream (if there is any!) in an airtight container in the freezer for up to two weeks. If you will be storing your ice cream in the pint jar, make sure to smooth out the top so re-spinning happens with a flat top.
FAQs for Ninja Creami Cherry Ice Cream:
- Can I use maraschino cherries instead of fresh cherries? While you technically could, the flavor won’t be as fresh and bright. Maraschino cherries are also quite sweet, so you may want to reduce the amount of sugar in the recipe. If you are all about that sweet cherry flavor, add more!
- Can I make this recipe without a Ninja Creami? Absolutely! You can use any ice cream maker; just follow the manufacturer’s instructions for freezing and churning the ice cream mixture.
- How can I get my Ninja Creami Cherry Ice Cream extra smooth and creamy? Make sure your ice cream base is fully frozen before spinning. If it’s still a little icy after the first spin, use the re-spin function. You can also try letting the pint sit on the counter for a few extra minutes before spinning to soften it slightly.
We love these homemade ice cream recipes so much, and the Ninja Creami machine has literally changed the way we do ice cream around here! Experimenting and having the right ingredients on hand makes for so many delicious treats that have less sugar, simple ingredients and fresh fruit! The end result is a delicious homemade frozen treat that is so much better than traditional ice cream!
Don’t forget to pin this Ninja Creami Cherry Ice Cream recipe and share it with your friends on social media! Also, make sure to check out our other Ninja Creami recipes – all tried and tested! Here are some of our favorites:
- Ninja Creami Vanilla Ice Cream
- Easy Ninja Creami Protein Ice Cream
- Delicious Dole Whip
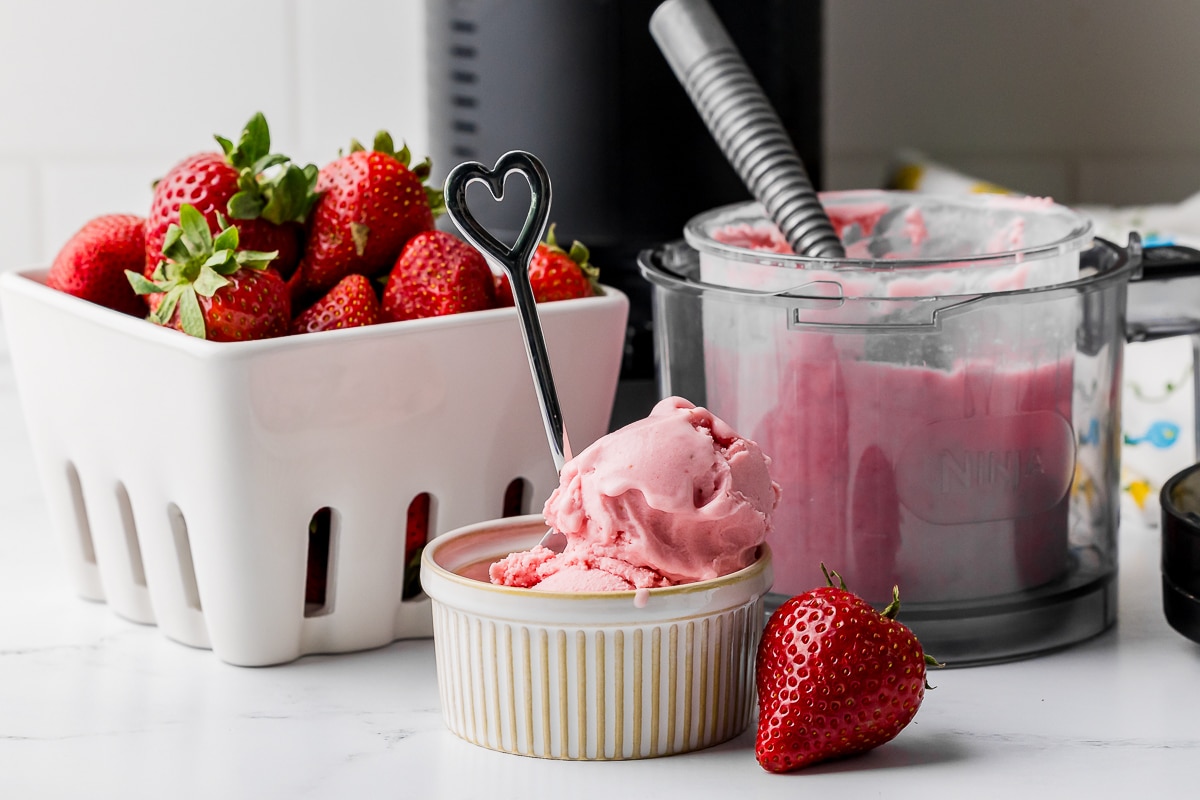
- Strawberry Cheesecake Ice Cream
- Wendy’s Frosty Copycat Ice Cream
And if you have any questions or give the recipe a try, leave a comment below. Happy scooping!

Cherry Ice Cream in the Ninja Creami
Ditch the grocery store! Make creamy homemade cherry ice cream with your Ninja Creami ice cream maker. Inspired by TikTok trends, this easy ice cream recipe is a summertime MUST.
I wish that I could say that TikTok made me do it, but it was Keri Lyn! She called and told me all about how they had been enjoying homemade ice cream every night with their Ninja Creami and how amazing it was.
Ingredients
- ¼ cup whole milk (can use low-fat milk or non-dairy milk like oat milk, almond milk, or coconut milk)
- ¼ cup half and half (or substitute with heavy cream for a richer texture)
- ½ cup sugar (adjust to your sweetness preference)
- 2 tablespoons cottage cheese
- 1 teaspoon vanilla paste (or vanilla extract)
- ½ cup fresh cherries, destemmed and pitted
Instructions
1. In your trusty blender, combine the milk, half and half, sugar, cottage cheese, and vanilla paste. Blend until smooth and creamy, making sure there are no lumps of cottage cheese. (Tip: If you don't have vanilla paste, vanilla extract works just as well.)
2. Add half of those beautiful, ripe cherries to the blender and pulse a few times. The goal is to break down the cherries without completely pureeing them, leaving some small pieces for that perfect cherry swirl.
3. Carefully pour the cherry ice cream mixture into your Ninja Creami pint container, and then add the remaining pitted cherries, being mindful of the max fill line. Pop on the lid and freeze for at least 24 hours to ensure the ice cream base is solid.
4. Ninja Creami Time! After 24 hours (or longer!), remove the pint from the freezer and let it sit on the counter for a few minutes to soften slightly. Remove the lid, place the pint in the outer bowl of the Ninja Creami, and secure the outer bowl lid. Insert into the machine and twist until the bowl is locked. (You will hear a click). Press the "Ice Cream" button and let the Ninja Creami work its magic. The first spin will take about 1-2 minutes.
5. Check & Re-Spin (If Needed) - After the first spin, open the lid and check the texture. If it's still a little icy, no worries! Just press the re-spin button for an extra minute or two until you reach that perfectly creamy, dreamy consistency.
6. Now comes the fun part! Scoop your homemade cherry ice cream into bowls or cones. Top with extra cherry pieces, a drizzle of chocolate sauce, or a sprinkle of chopped nuts if you're feeling fancy. Then, dig in and enjoy every bite of this sweet, refreshing treat. It's the perfect way to cool down on a hot summer day or indulge in a delicious dessert any time of year.
Nutrition Information:
Yield: 2 Serving Size: 1Amount Per Serving: Calories: 292Total Fat: 5gSaturated Fat: 3gTrans Fat: 0gUnsaturated Fat: 2gCholesterol: 16mgSodium: 82mgCarbohydrates: 59gFiber: 1gSugar: 58gProtein: 4g
*This calculation is just an estimate ~ results may vary!

This ice cream is so good! I had never thought about cherry and it turns out it’s my mother’s favorite! Thanks for sharing!