Our Ninja Creami Review + Basic Vanilla Ice Cream Recipe
This post may contain affiliate links. See our disclosure policy for more details.
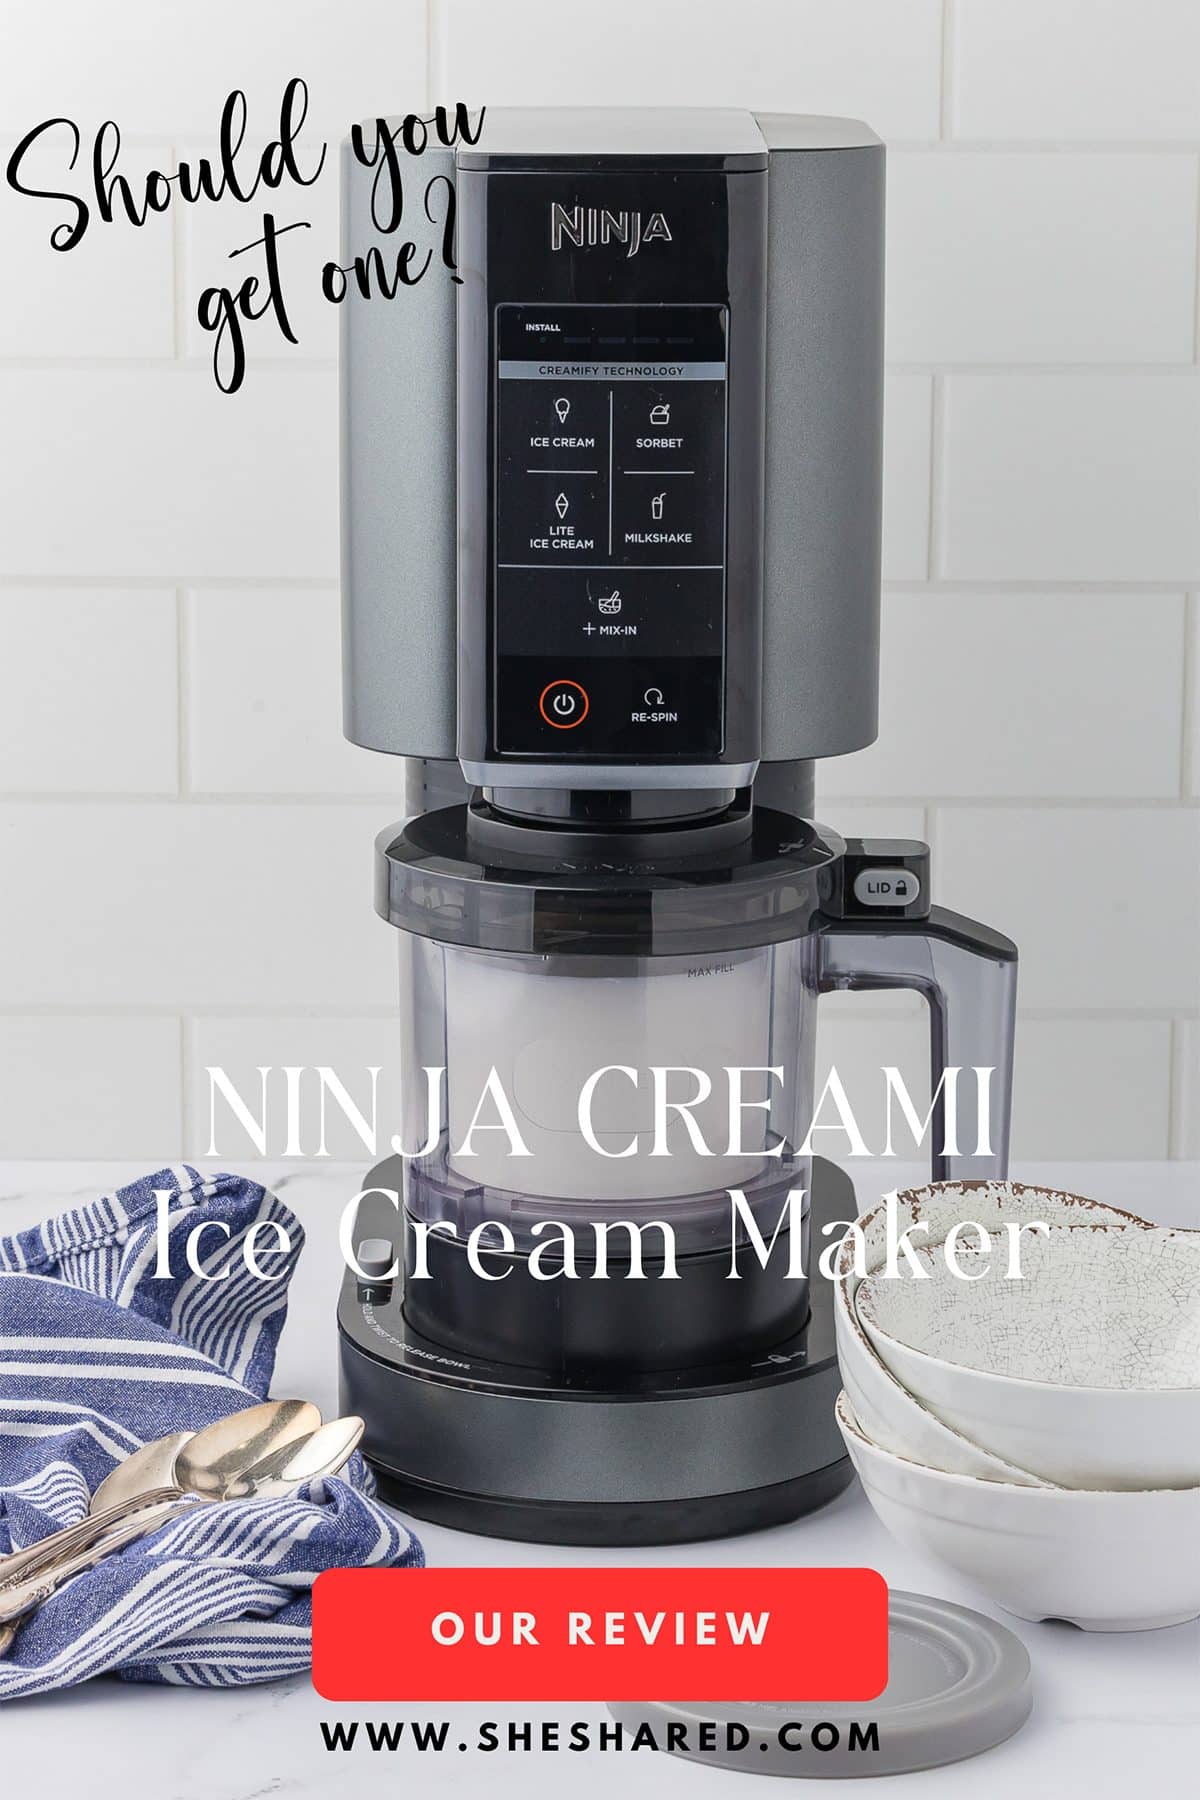
Buckle up because we’re about to get real crazy with the Ninja Creami! Enjoy our honest Ninja Creami review and find out why this is one of our very favorite things!!
Our Honest Ninja Creami Review
It started with a impulse buy that Keri Lyn made – then told Fabiana that she just HAD to try it – and within a week, it’s become a true obsession! No joke, we are trying all of the best Ninja Creami recipes and passing them on to you!
We’ve literally been in love since the first spin. Ok, well I guess we should say since we tried that first final product from our first Ninja Creami creation. Creami owners have come together all over the world to sing the praises of the original Ninja Creami, and the excitement and sharing have just escalated from there. Why? Because it’s a fact: people have always loved good ice cream! And this Ninja ice cream maker gives you complete control of making your own frozen treats affordably and creatively, right in your very own kitchen!
You’ll start by using the included recipe booklet, but you will be surprised at how quickly you spread your Ninja wings.
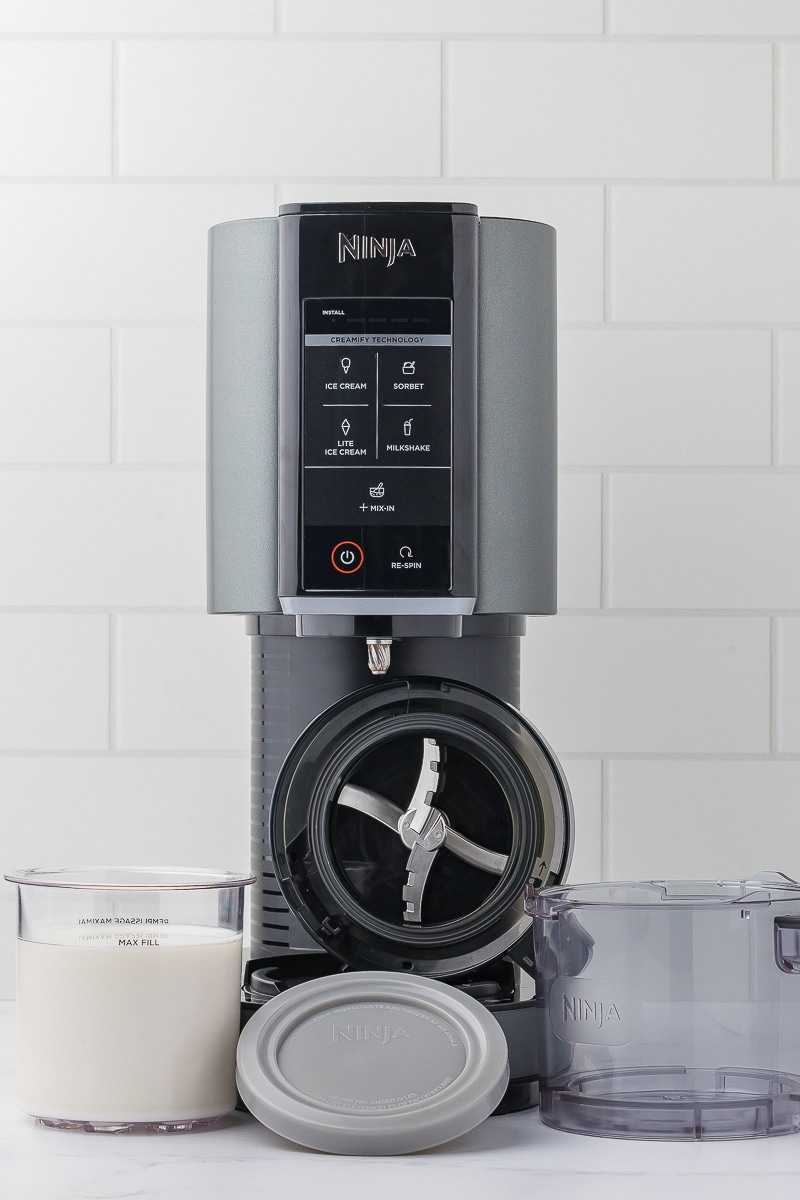
Suggestion: buy additional Ninja ice cream pint containers – you’ll need them! We like to keep several in the freezer at all times so we can make a frozen dessert on a moments notice. Trust us! Pull this out after a dinner party and your guests will be amazed and impressed!
In just a couple of months, we’ve created so many new ice cream recipes that we’ll be sharing with you!
Get Started with a Ninja Creami Ice Cream Machine
Time to get rid of the traditional home ice cream maker. Ninja Creami is the new hot kitchen appliance in town! Who would have thought that you could make homemade ice cream this easily!?
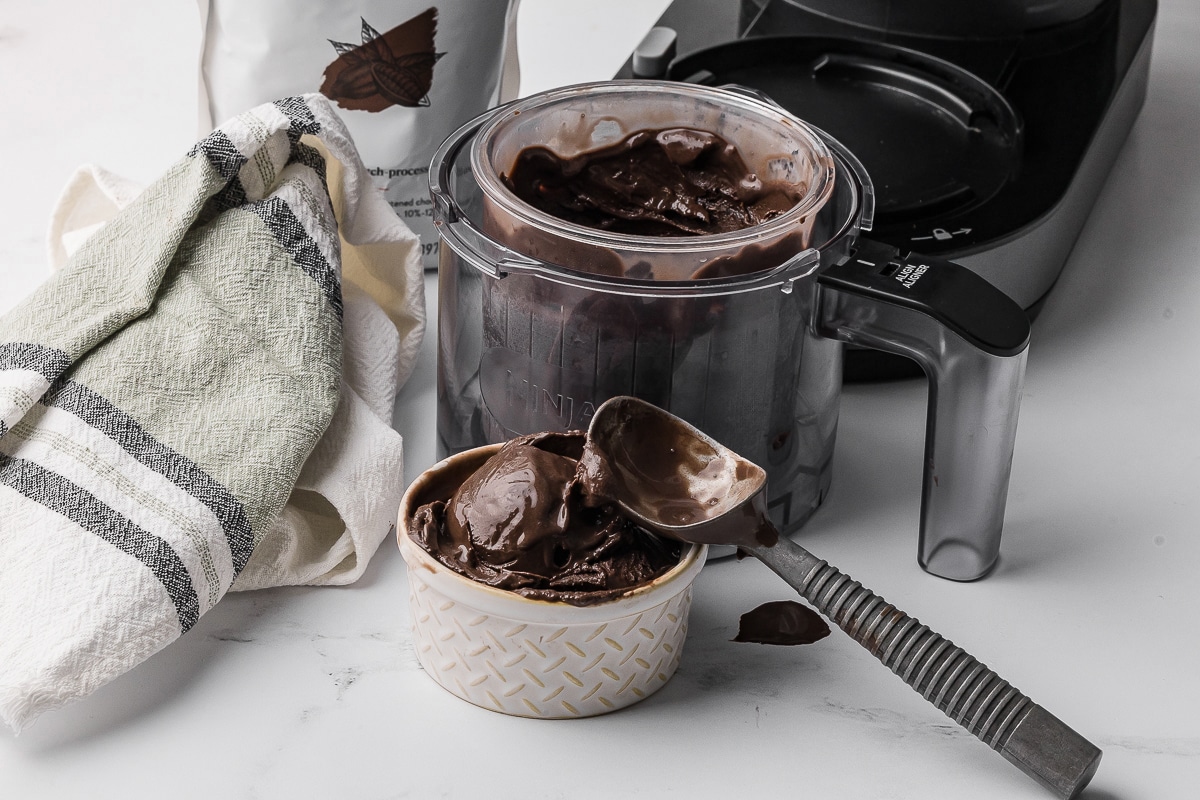
Not only that, the Ninja Creami is a frozen treat maker that can assist you in making not only tasty ice cream, but it’s also incredible for making smoothie bowls, Italian ice, frozen yogurt and even frozen custard!
First things first.
Where to Purchase a Ninja Creami Machine
Once you have your Ninja Creami ice cream maker, you will never go back to conventional ice cream makers. This ice cream machine is different than a regular ice cream maker in so many ways: it’s smaller and compact, it gives you instant gratification (provided you remember to put your frozen base in the freezer), and it creates a creamy treat that can be a much healthier option!
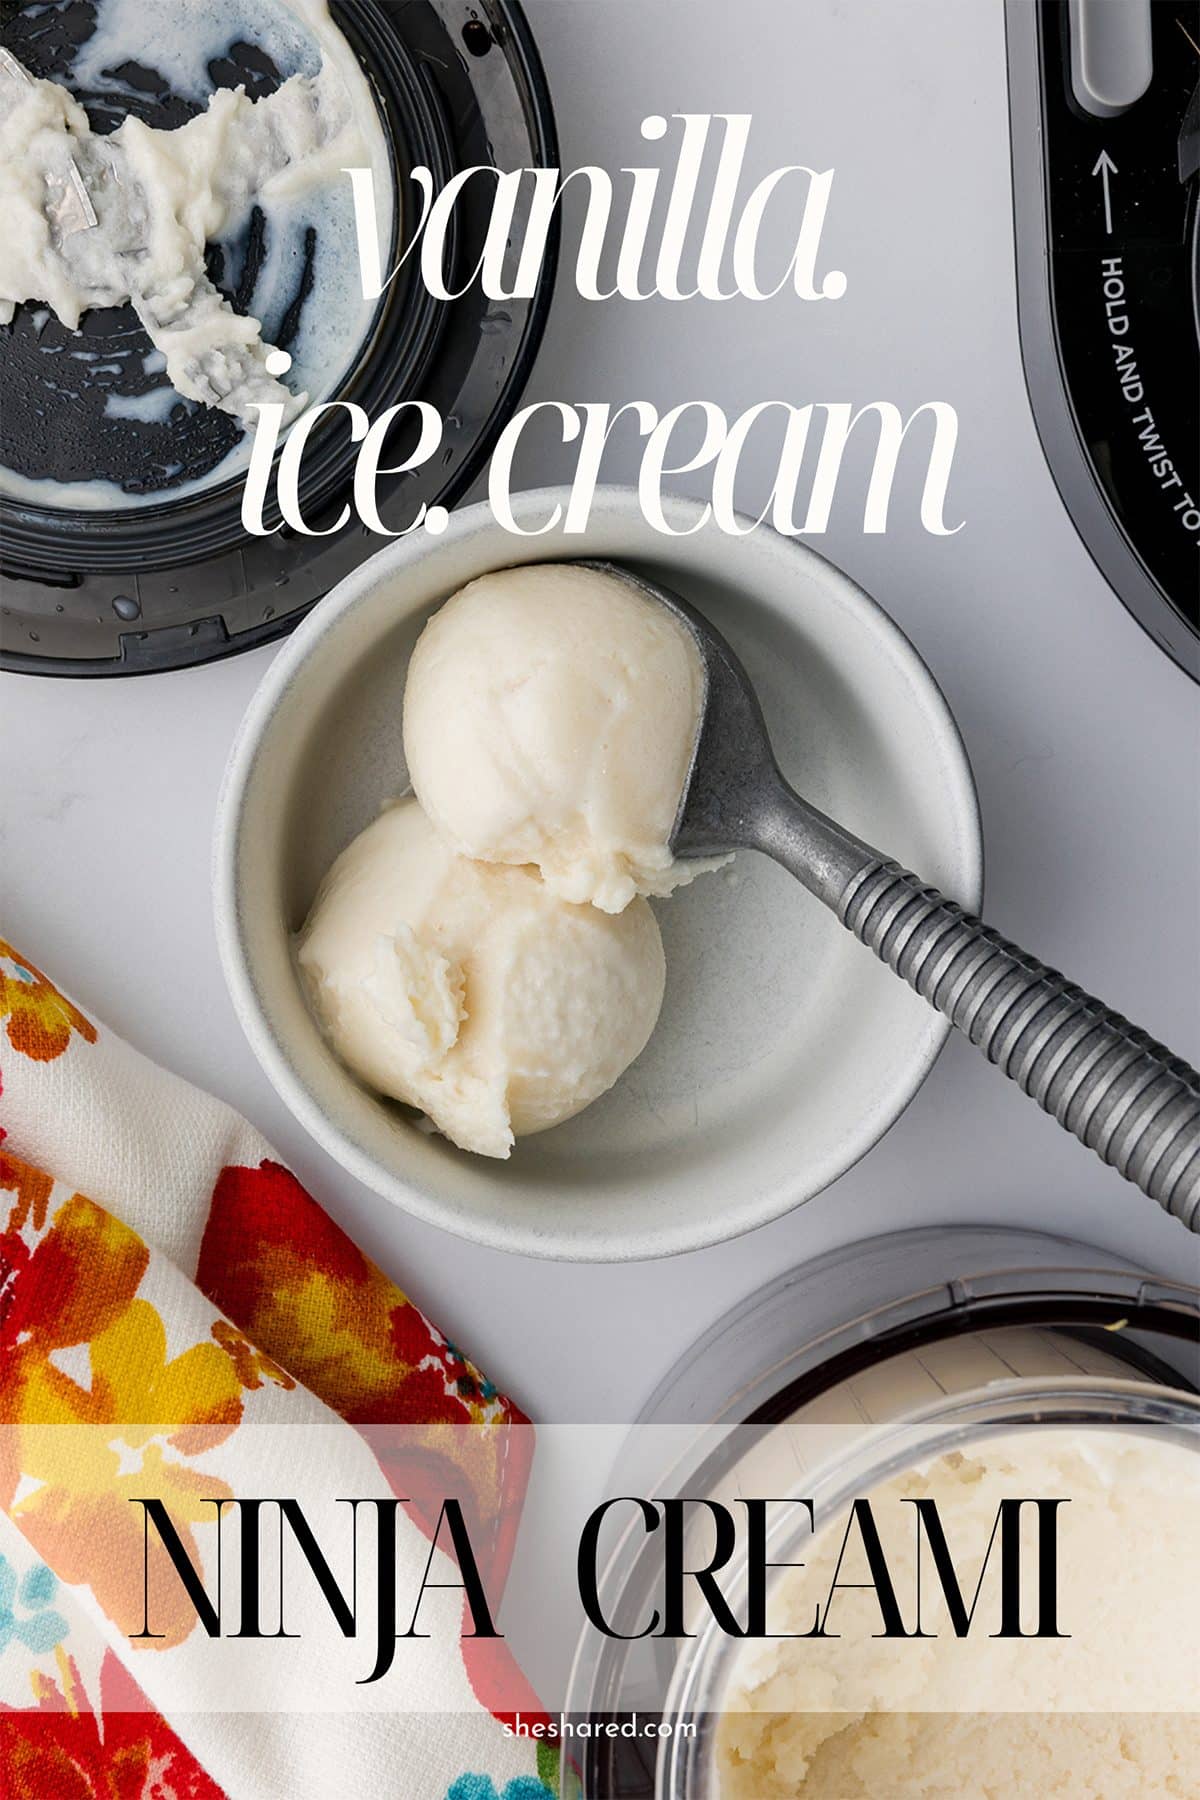
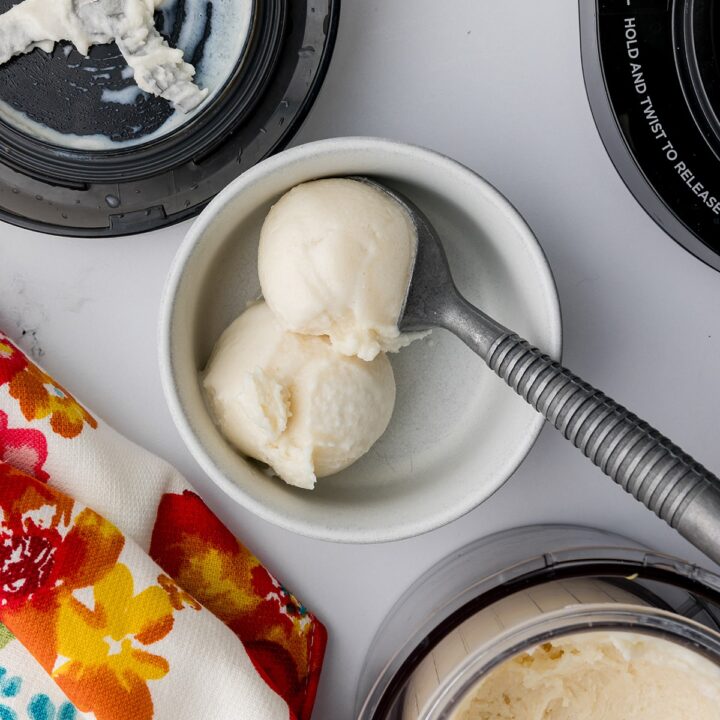
Basic Ninja Creami Vanilla Ice Cream Recipe
We are about to make the EASIEST homemade vanilla ice cream you’ve ever tried. Forget those complicated recipes with a million ingredients and steps that come with lots of other ice cream makers. This one is SO simple; it’s practically foolproof. And the best part? You only need a few ingredients. So, let’s get churning!
Supplies Needed:
- Ninja Creami machine
- Microwavable Bowl
- Whisk or spoon
Ingredients:
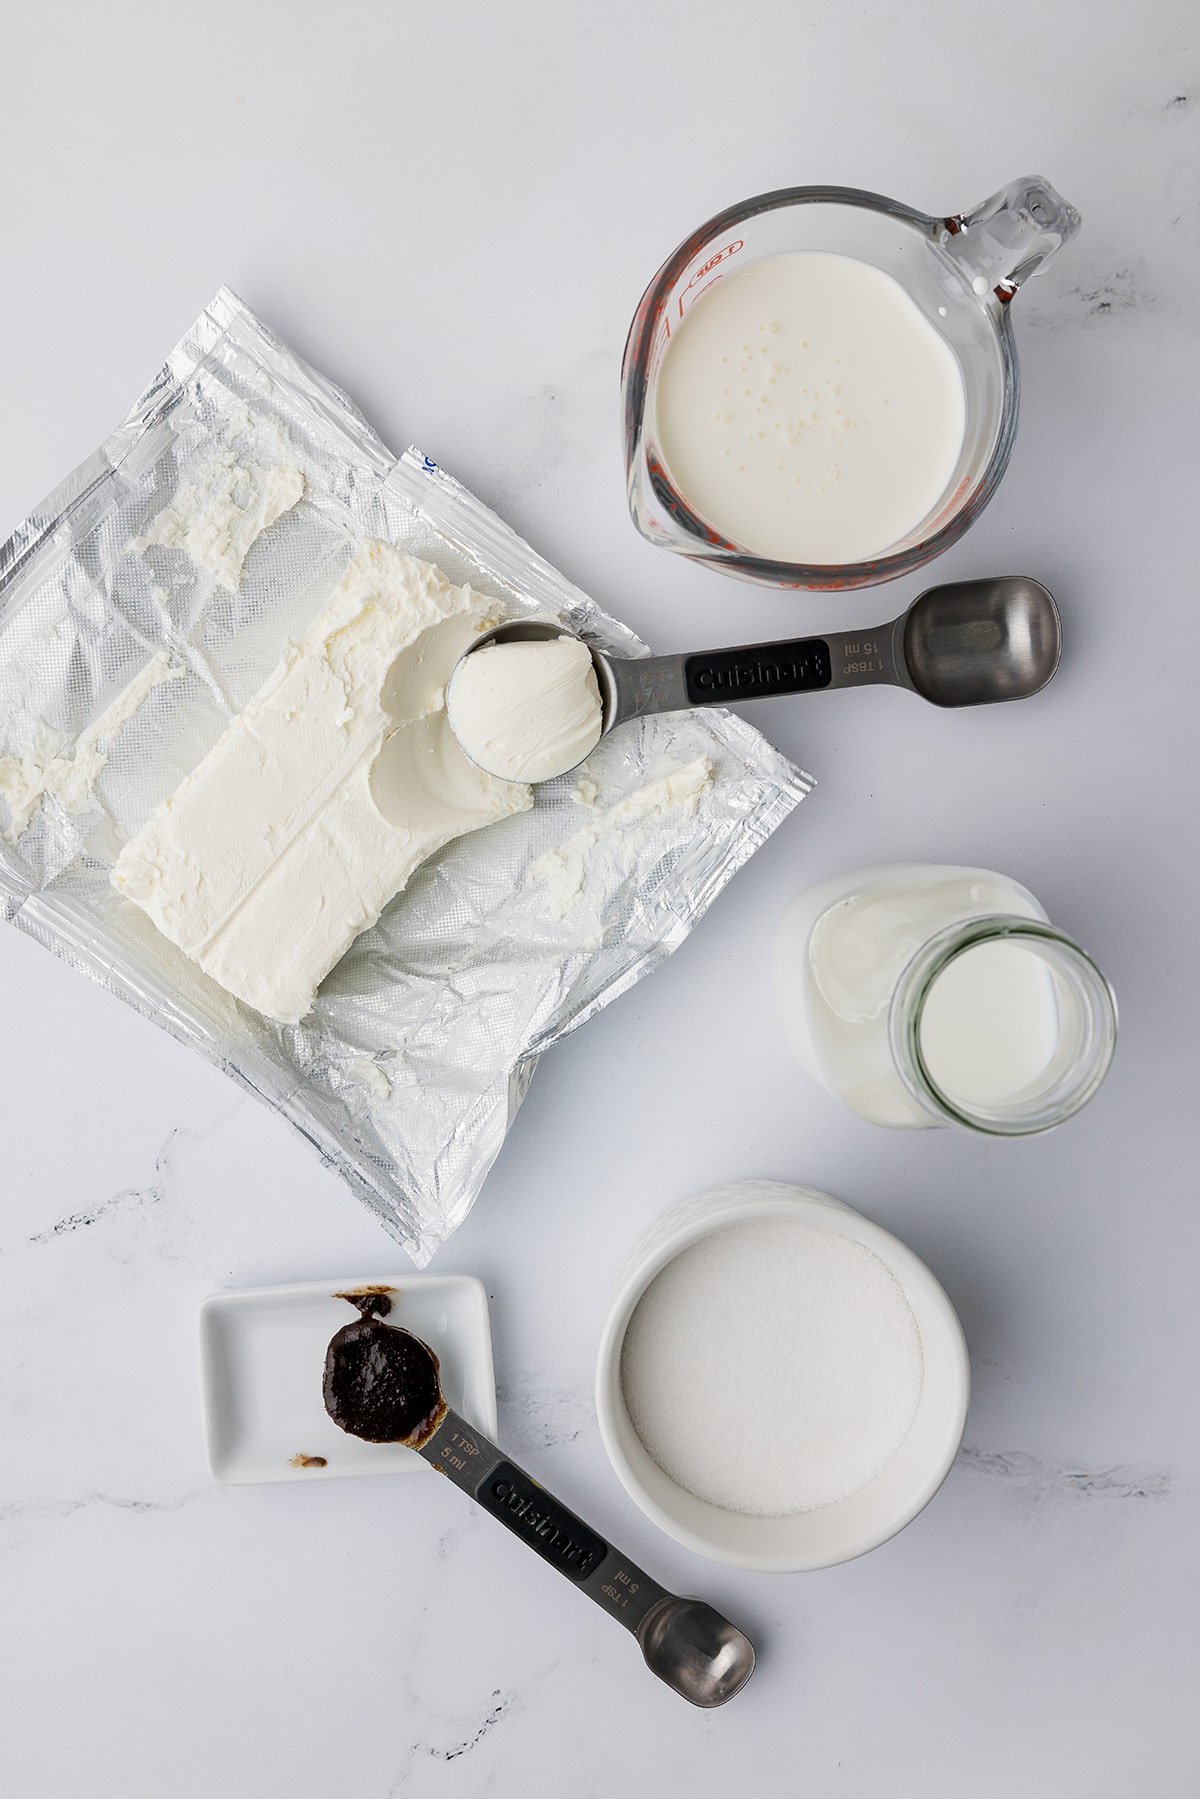
- 1 tablespoon cream cheese
- 1/3 cup sugar (granulated white)
- 1 teaspoon vanilla paste (or vanilla extract, but the paste is worth it for that extra punch of flavor!)
- ¾ cup heavy cream
- 1 cup whole milk
Directions:
1. Quick Nuke: Pop the cream cheese in your microwave-safe bowl and heat it for 15 seconds. This makes it easier to mix everything together.
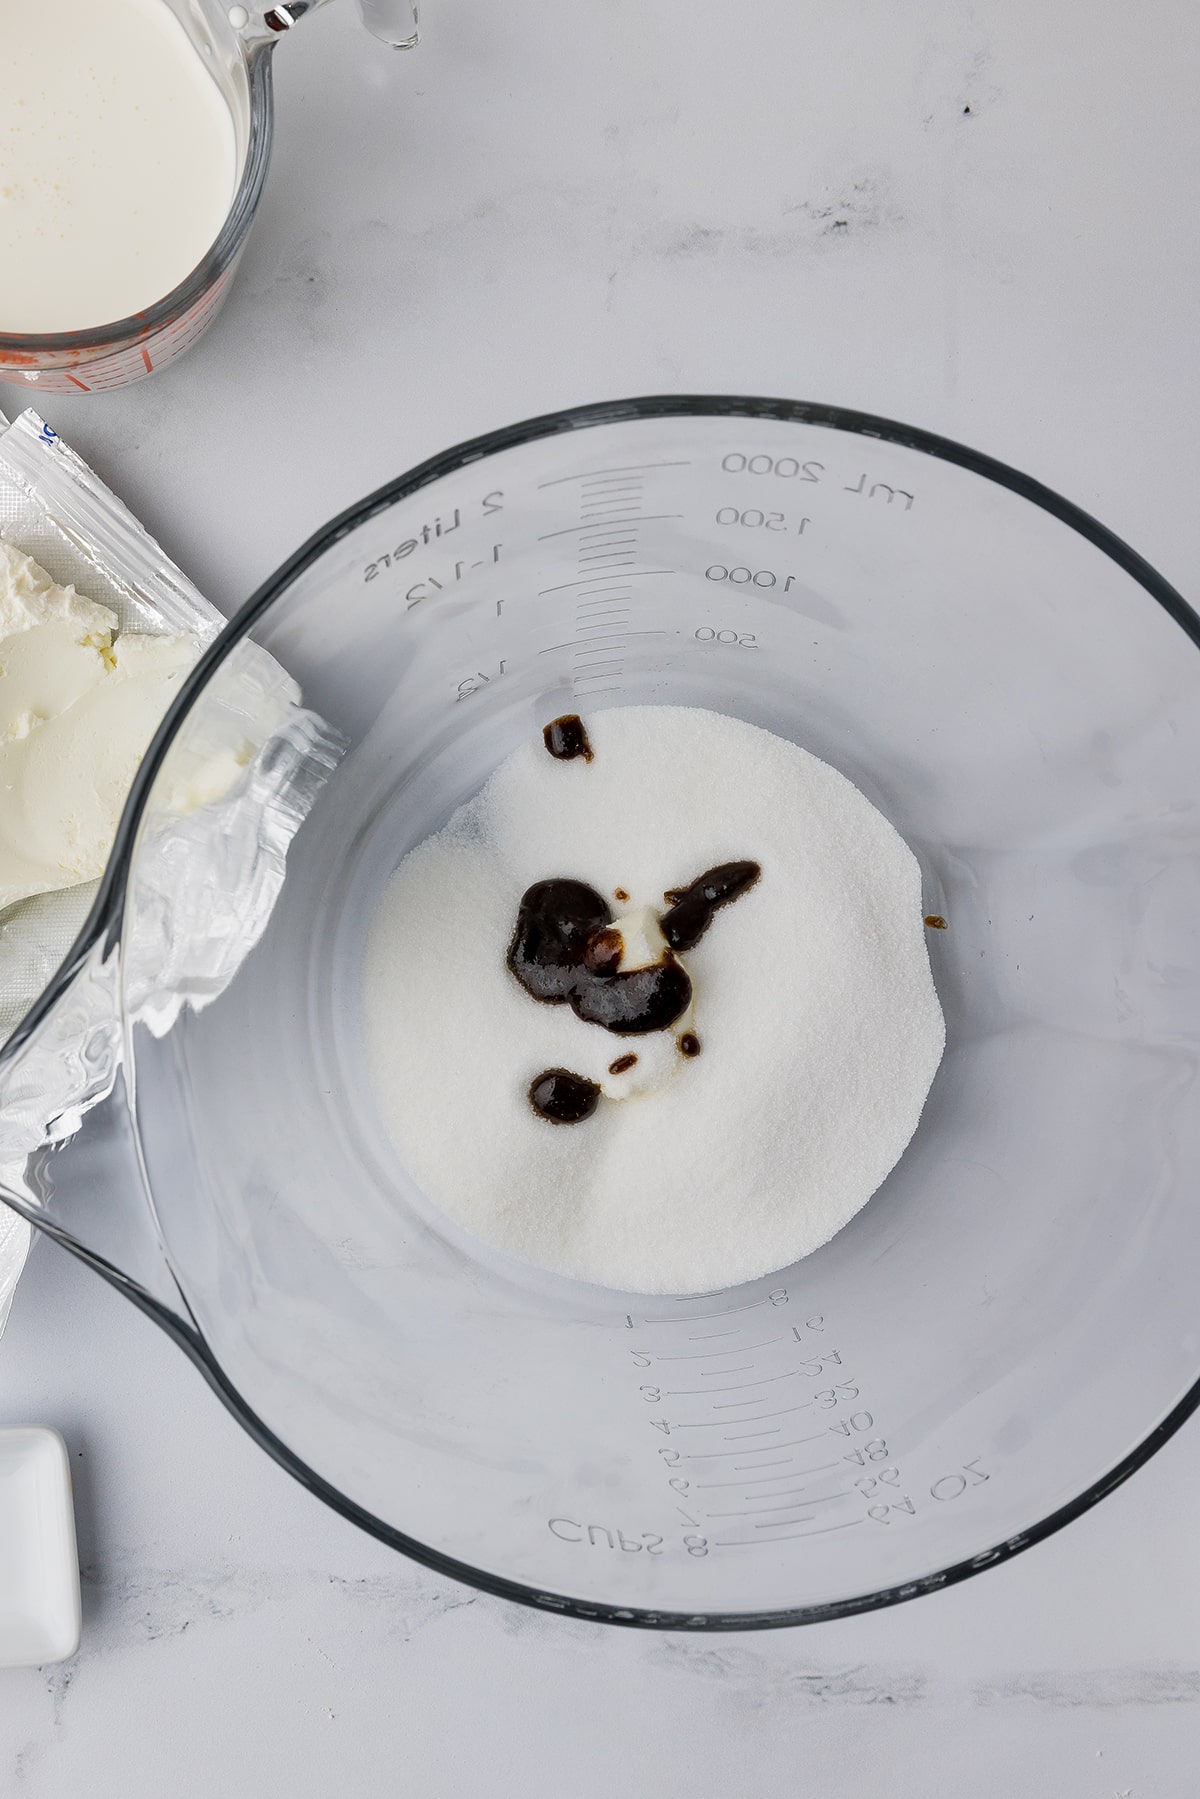
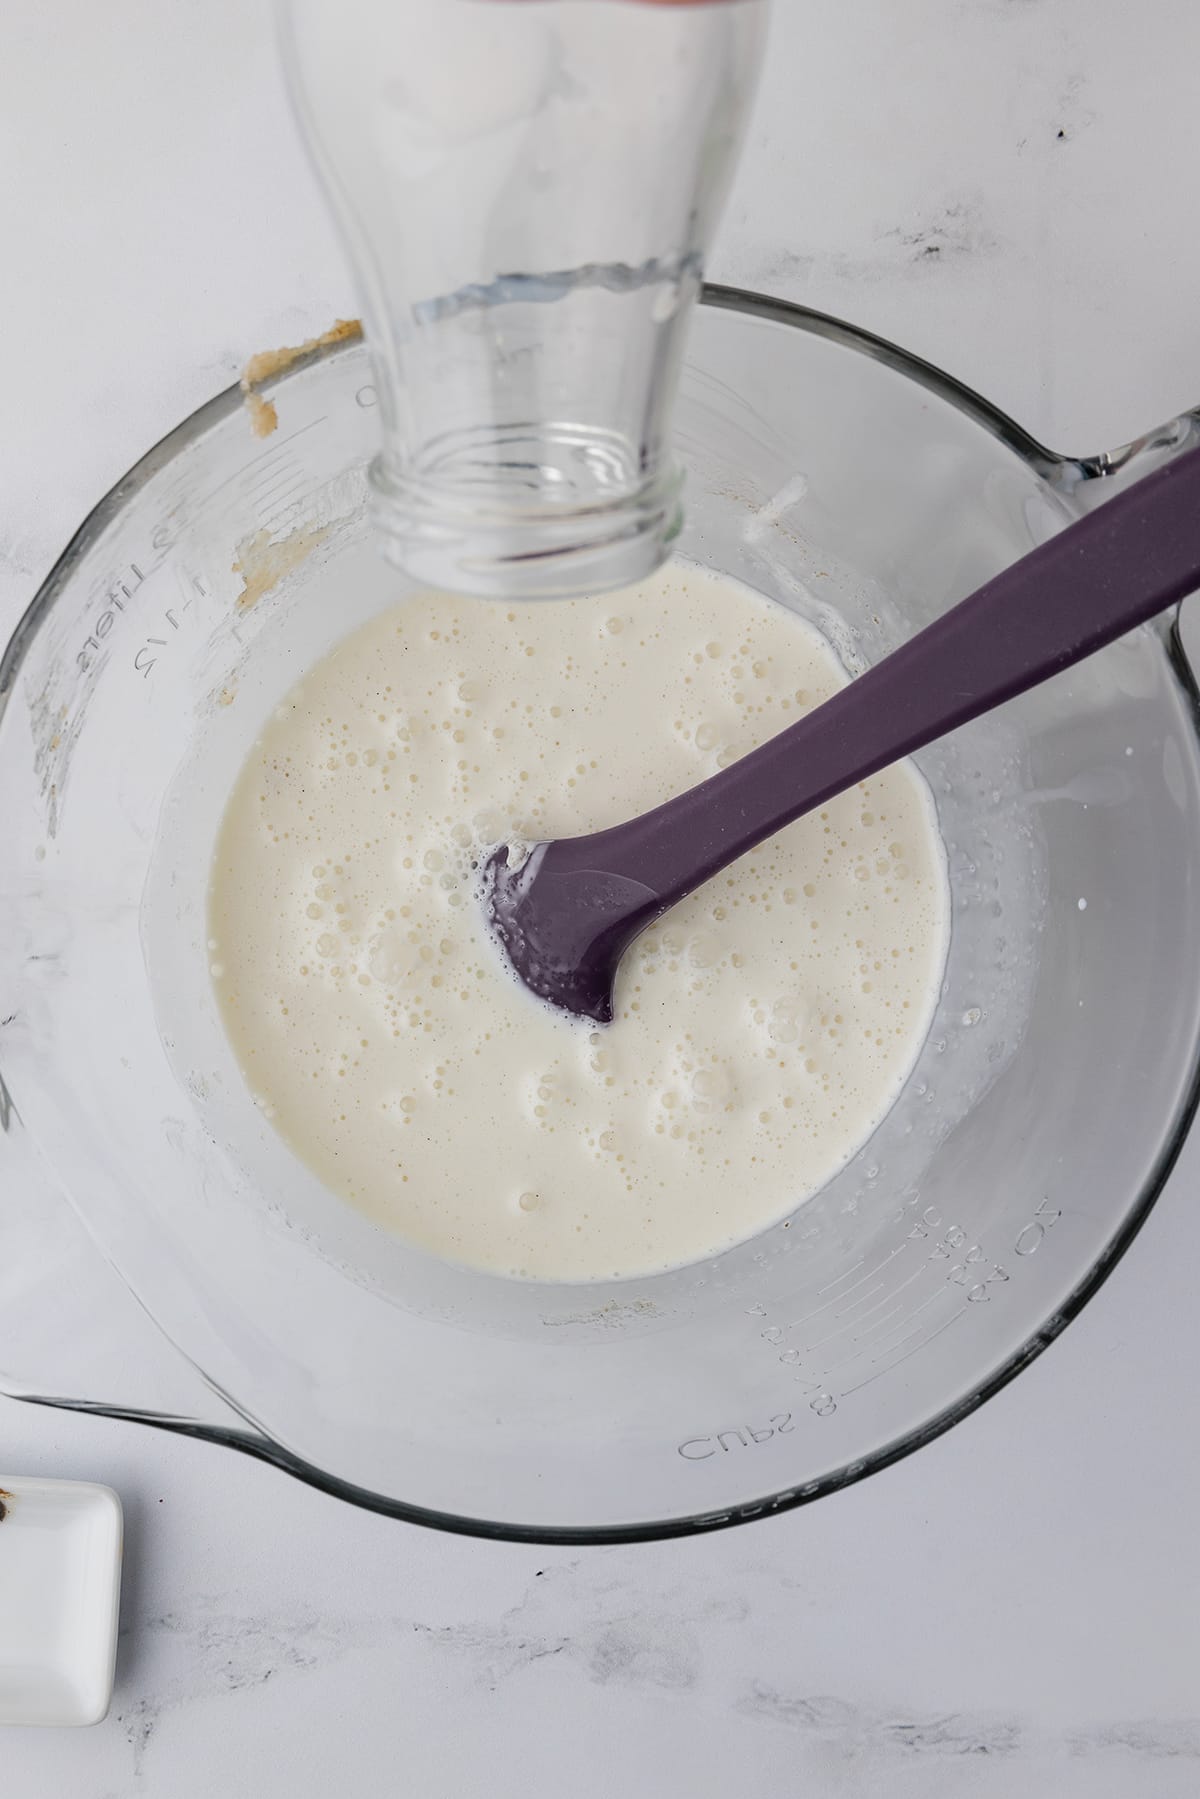
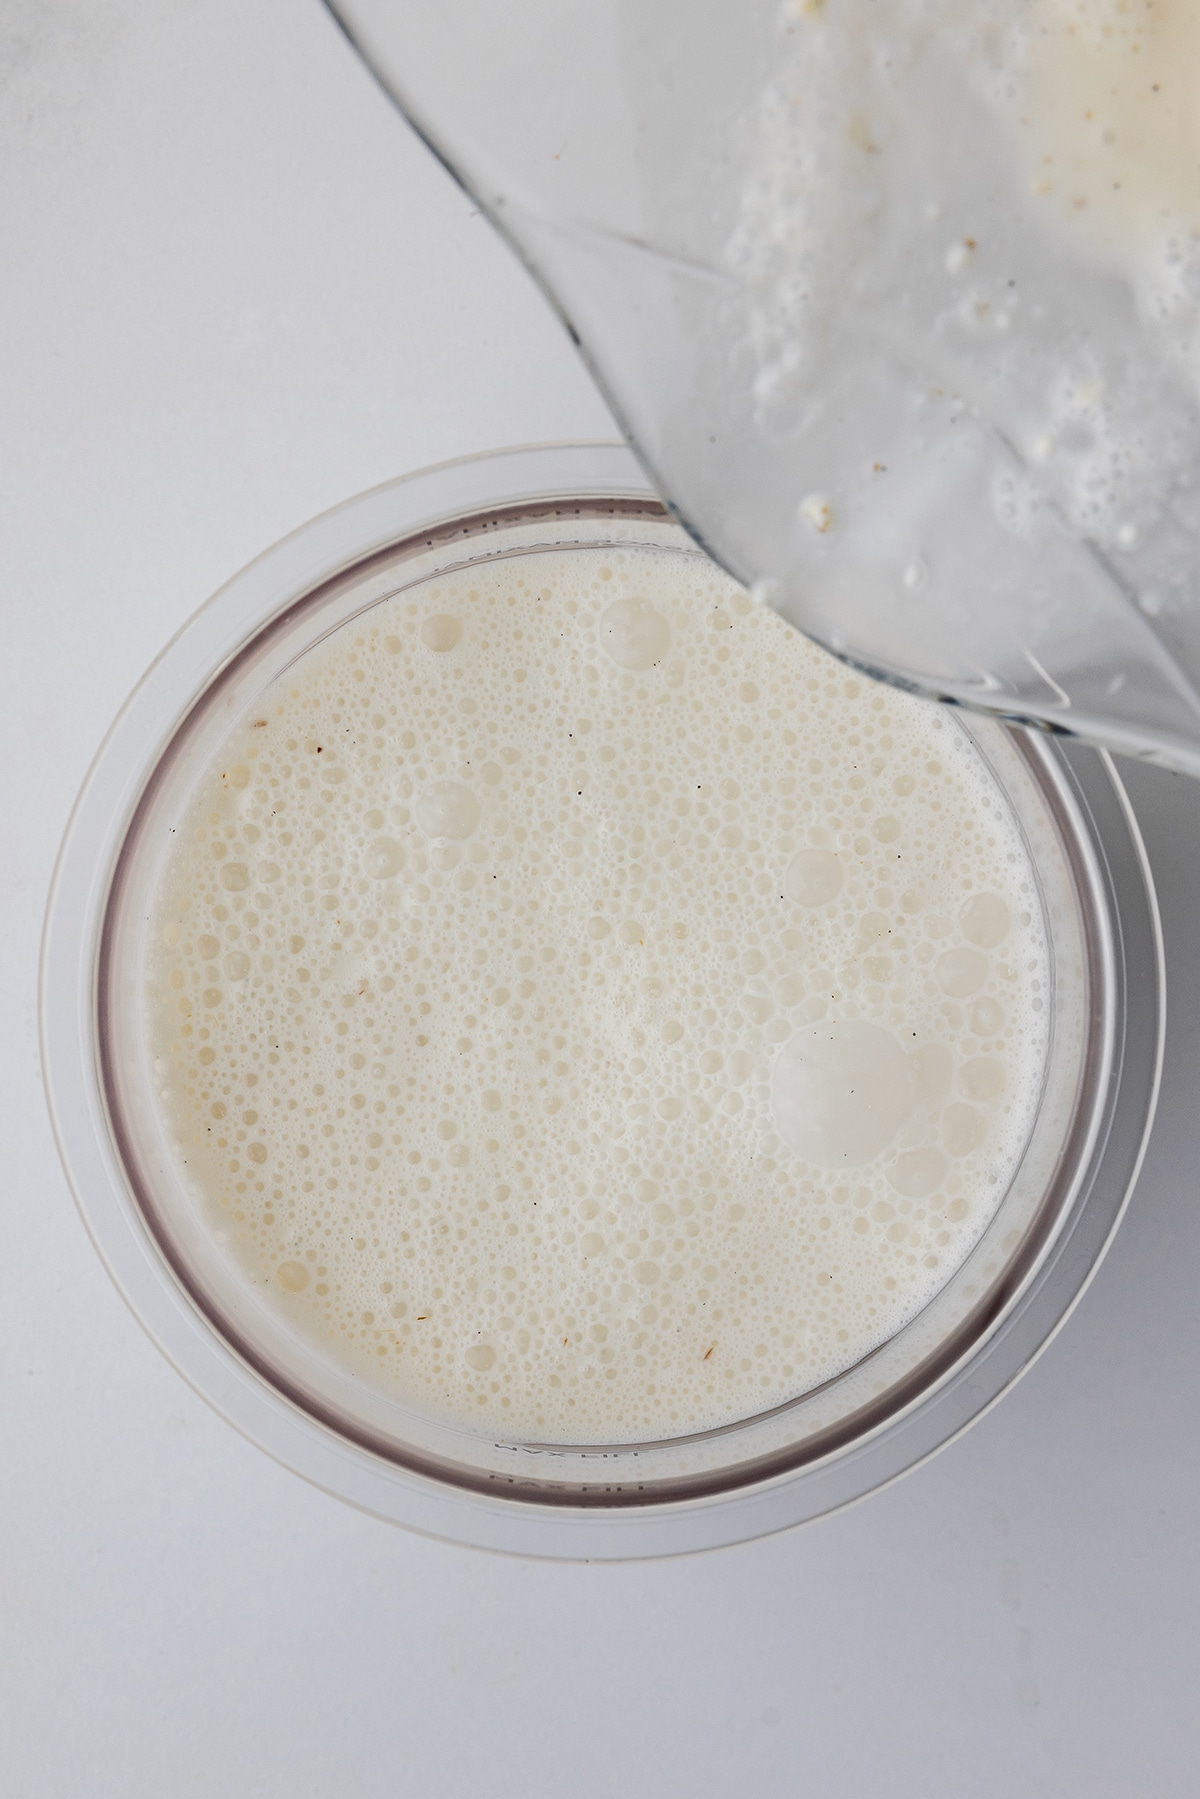
2. Mix It Up: Now, add the rest of the ingredients (sugar, vanilla, heavy cream, and milk) to the bowl. Give everything a good stir until the sugar is dissolved. No need for a fancy mixer here – a simple whisk or even a spoon will do the trick!
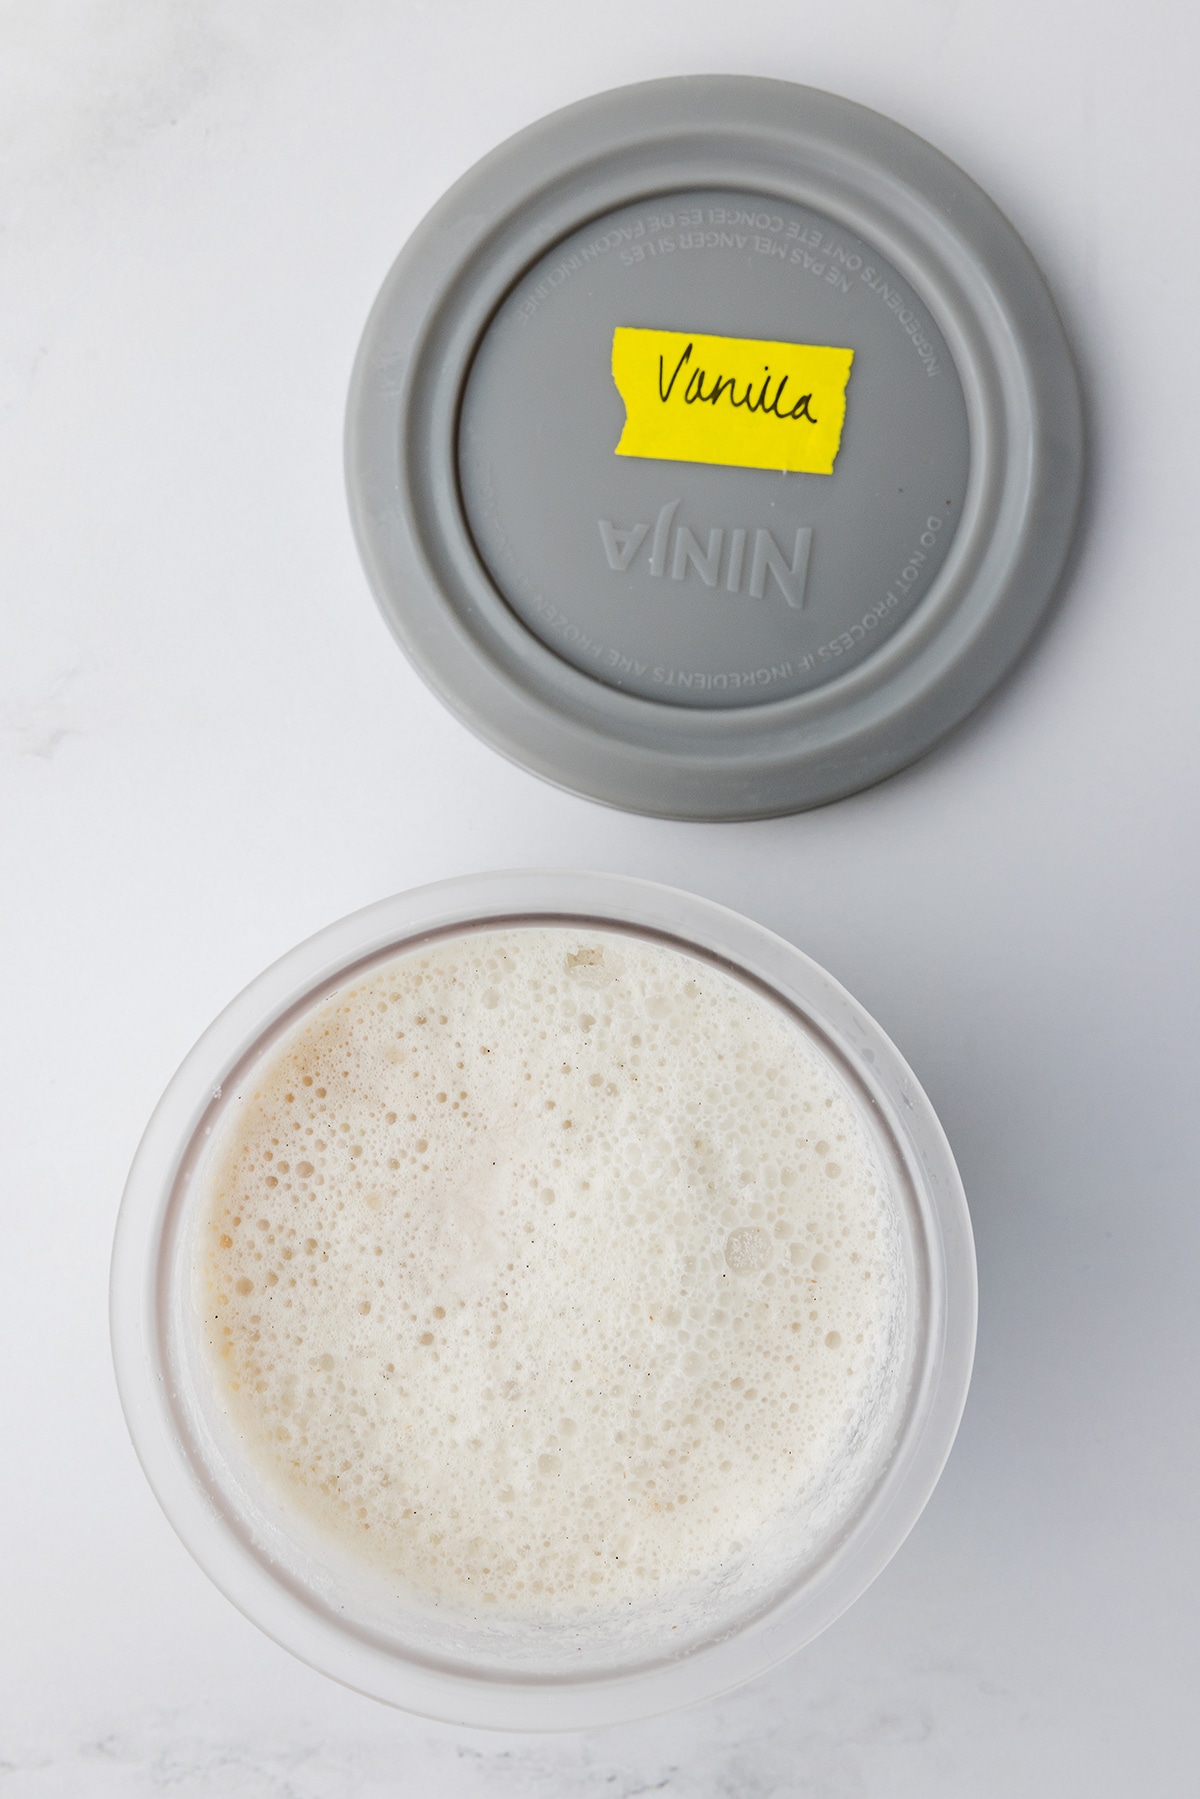
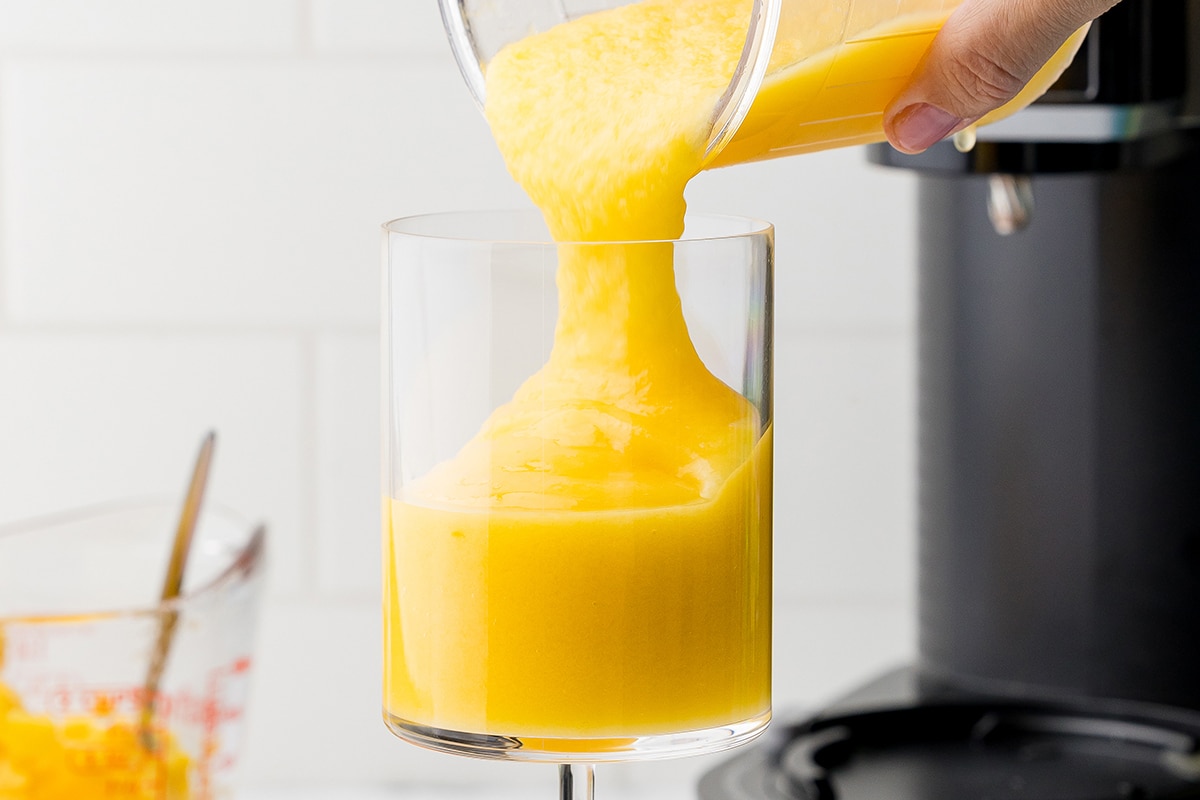
3. Creami Time: Pour your creamy mixture into your Ninja Creami pint container. Seal it up with the lid, and slide it into the freezer for 24 hours. (Yes, I know it’s hard to wait, but trust me, it’s worth it!)
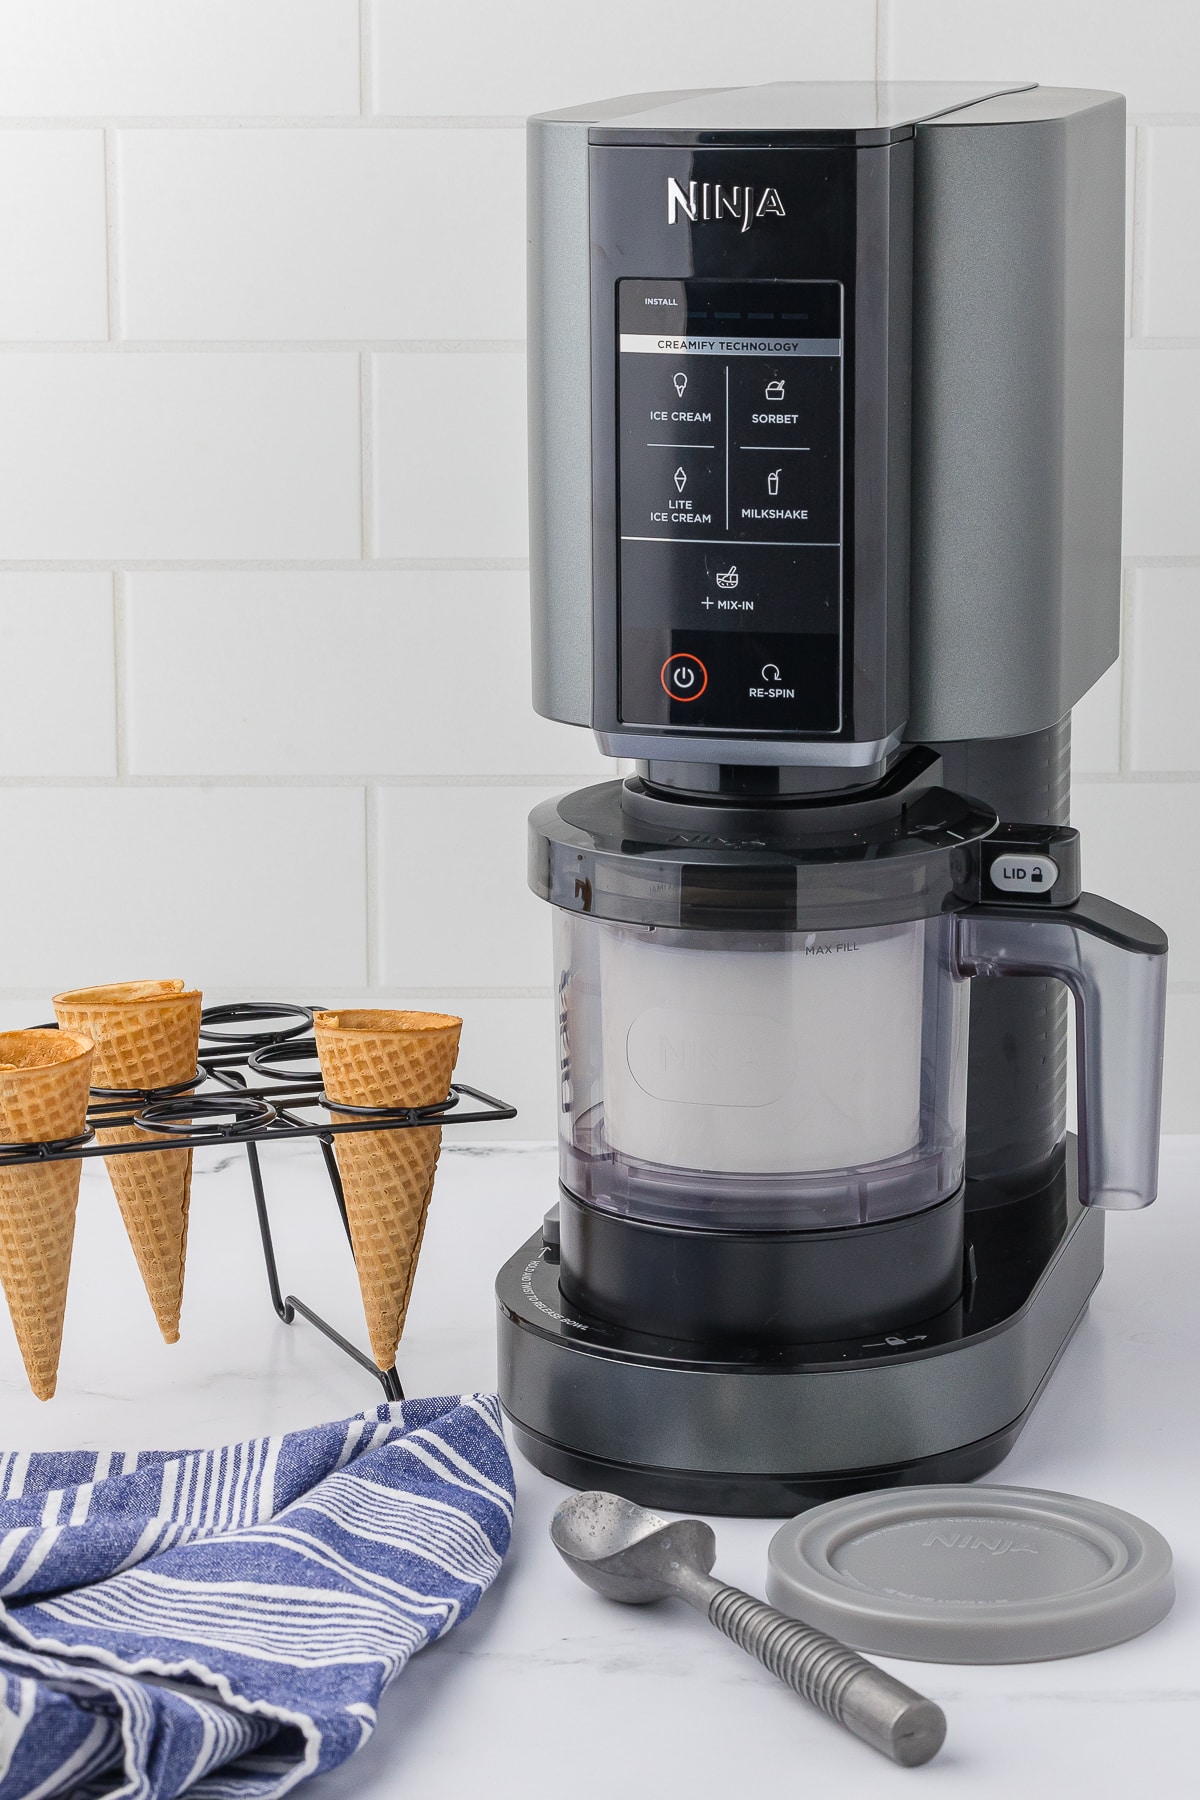
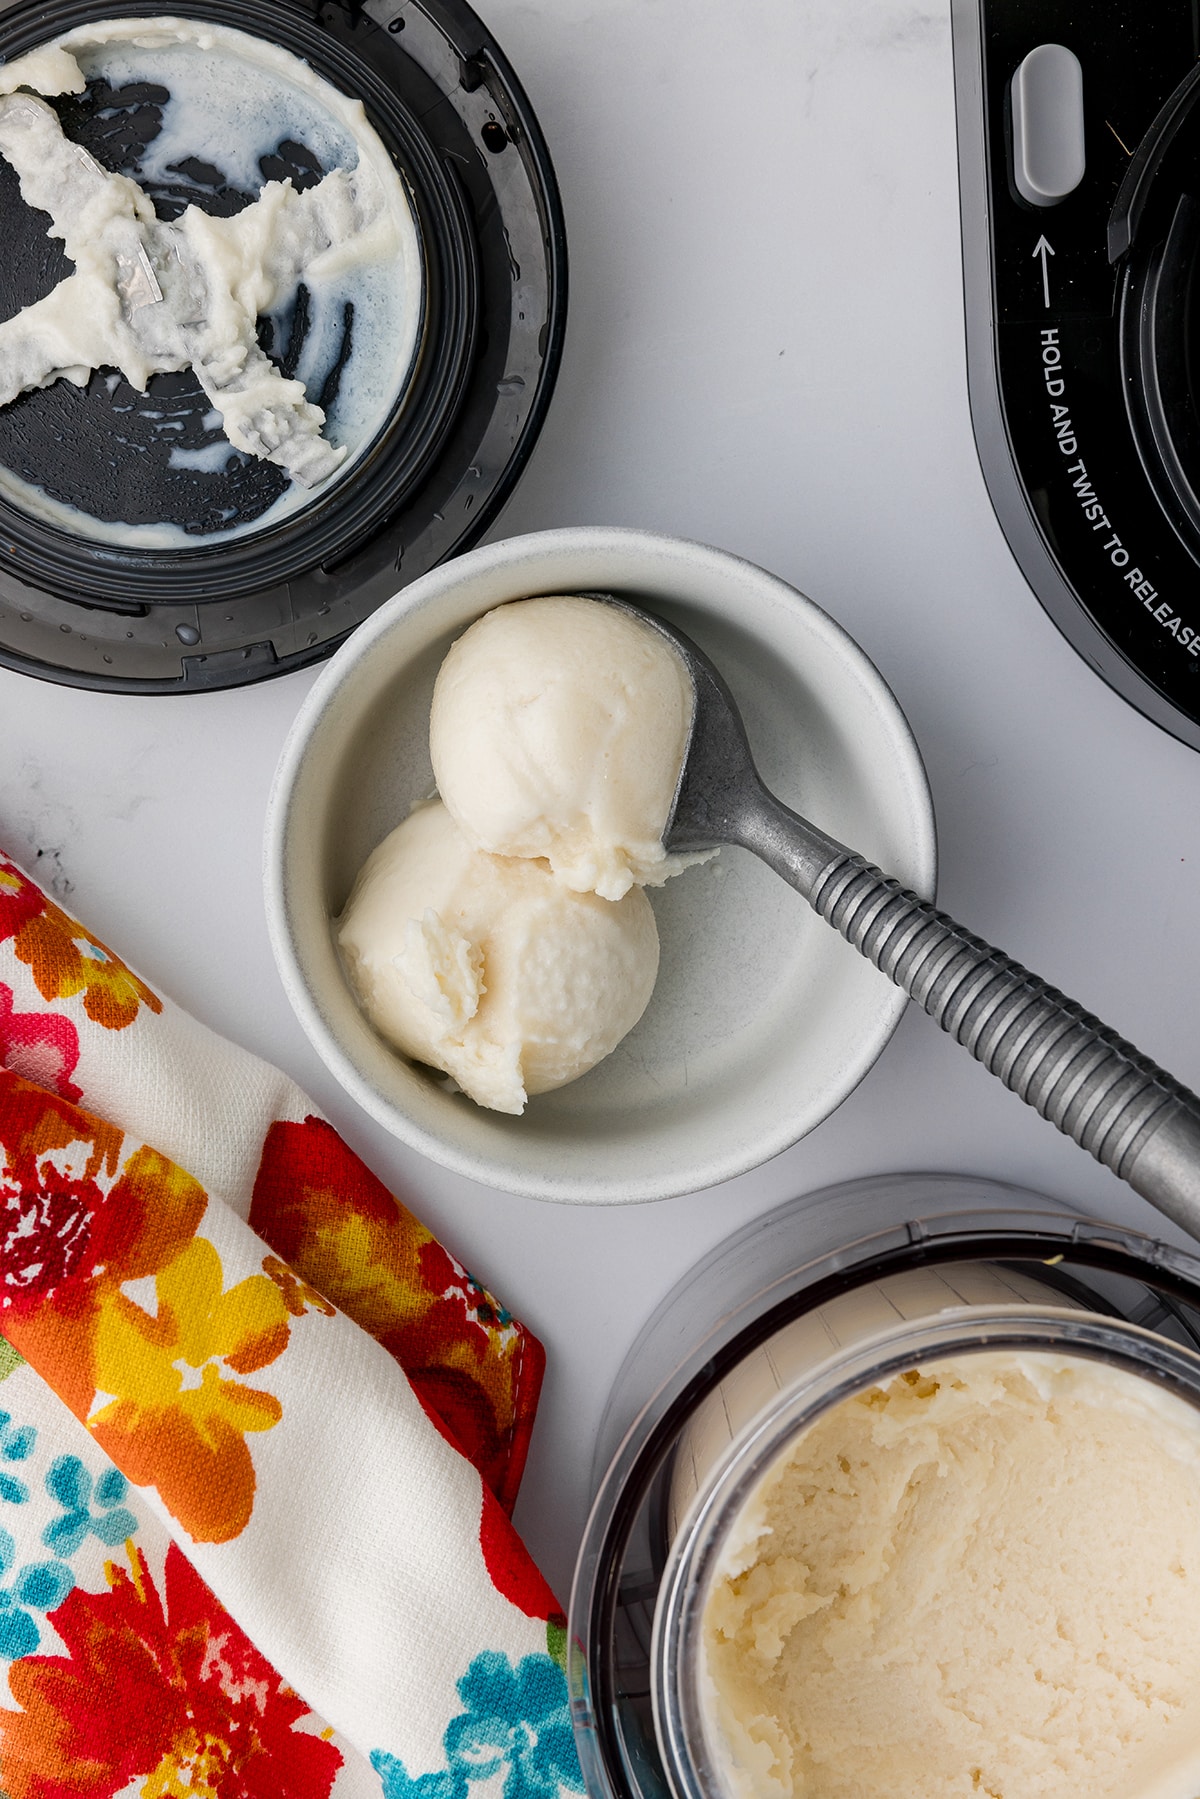
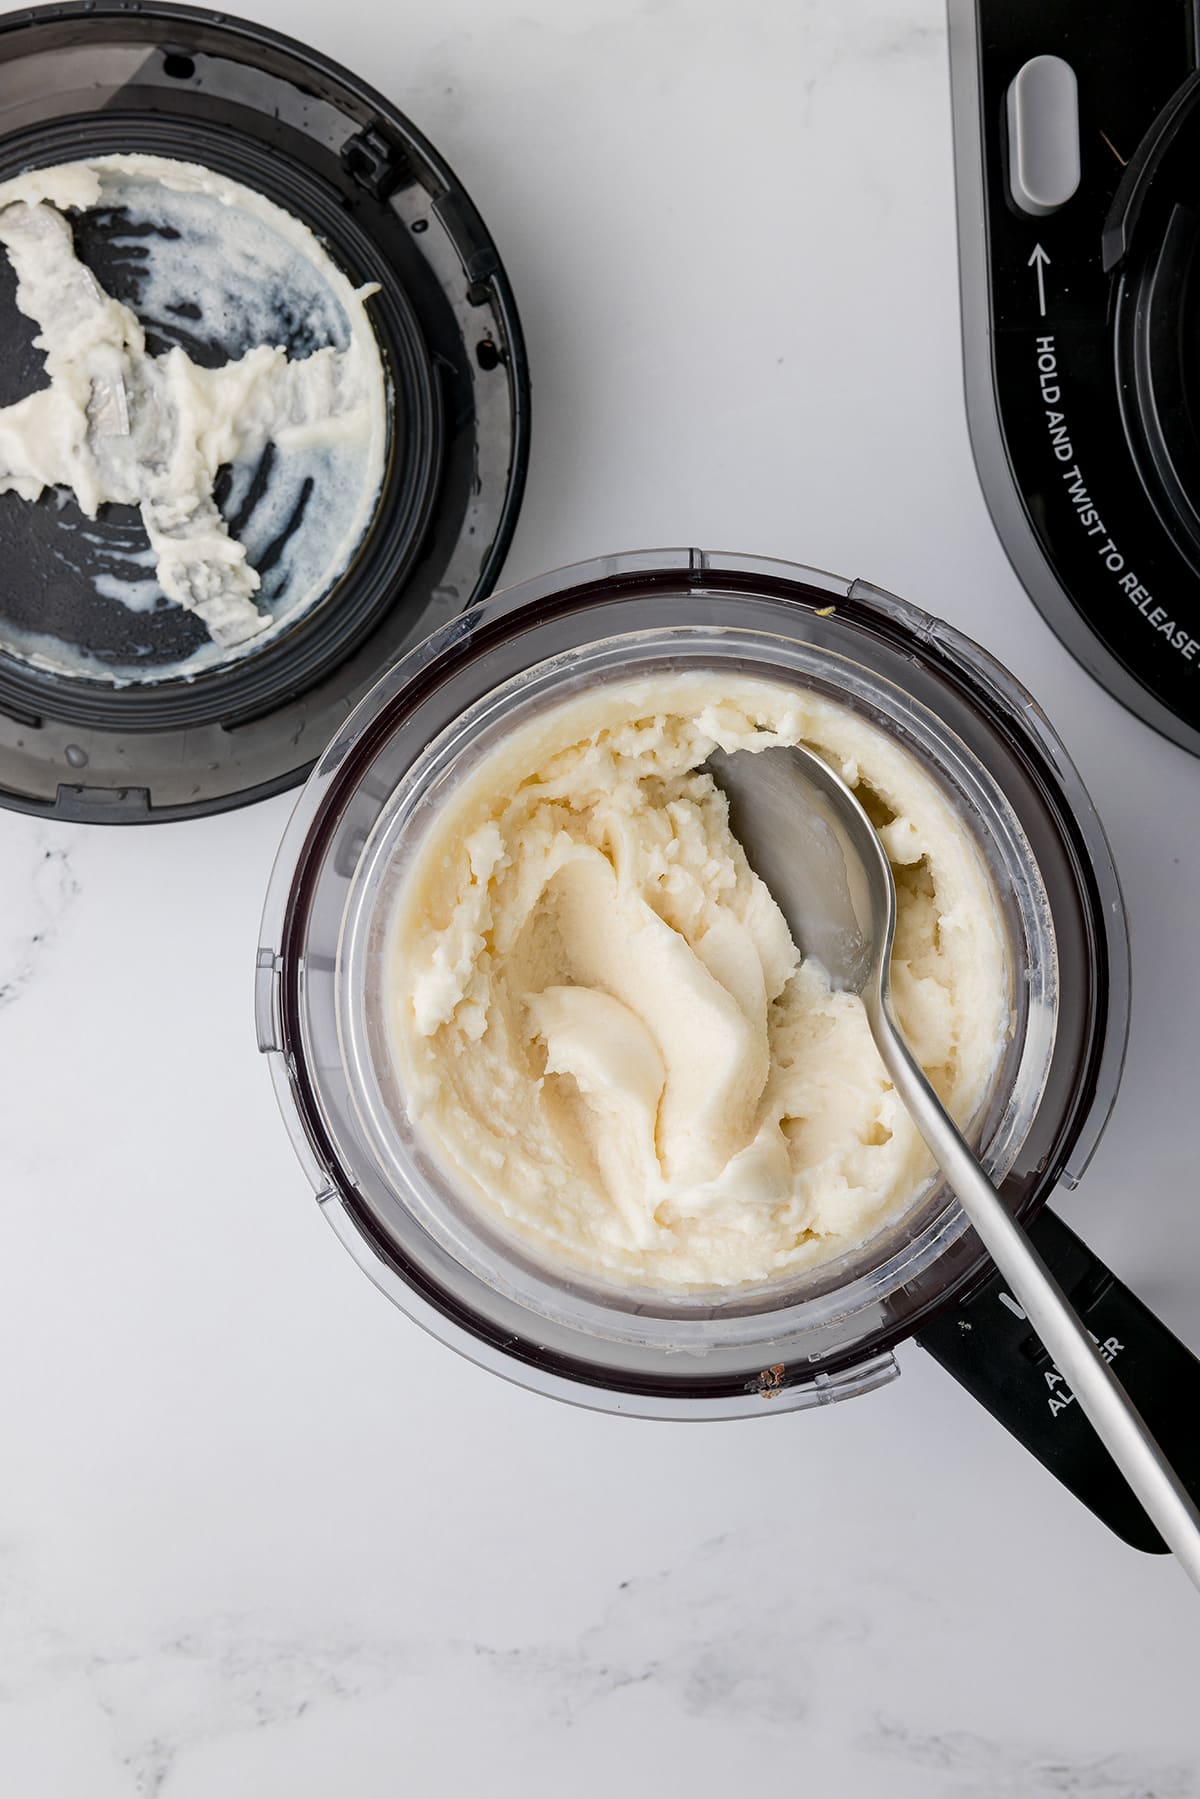
4. Spin It: After 24 hours, take the pint out of the freezer and pop it into your Ninja Creami. Select the “Ice Cream” function, and let the magic happen! In a few minutes, you’ll have perfectly churned, soft-serve-style vanilla ice cream.
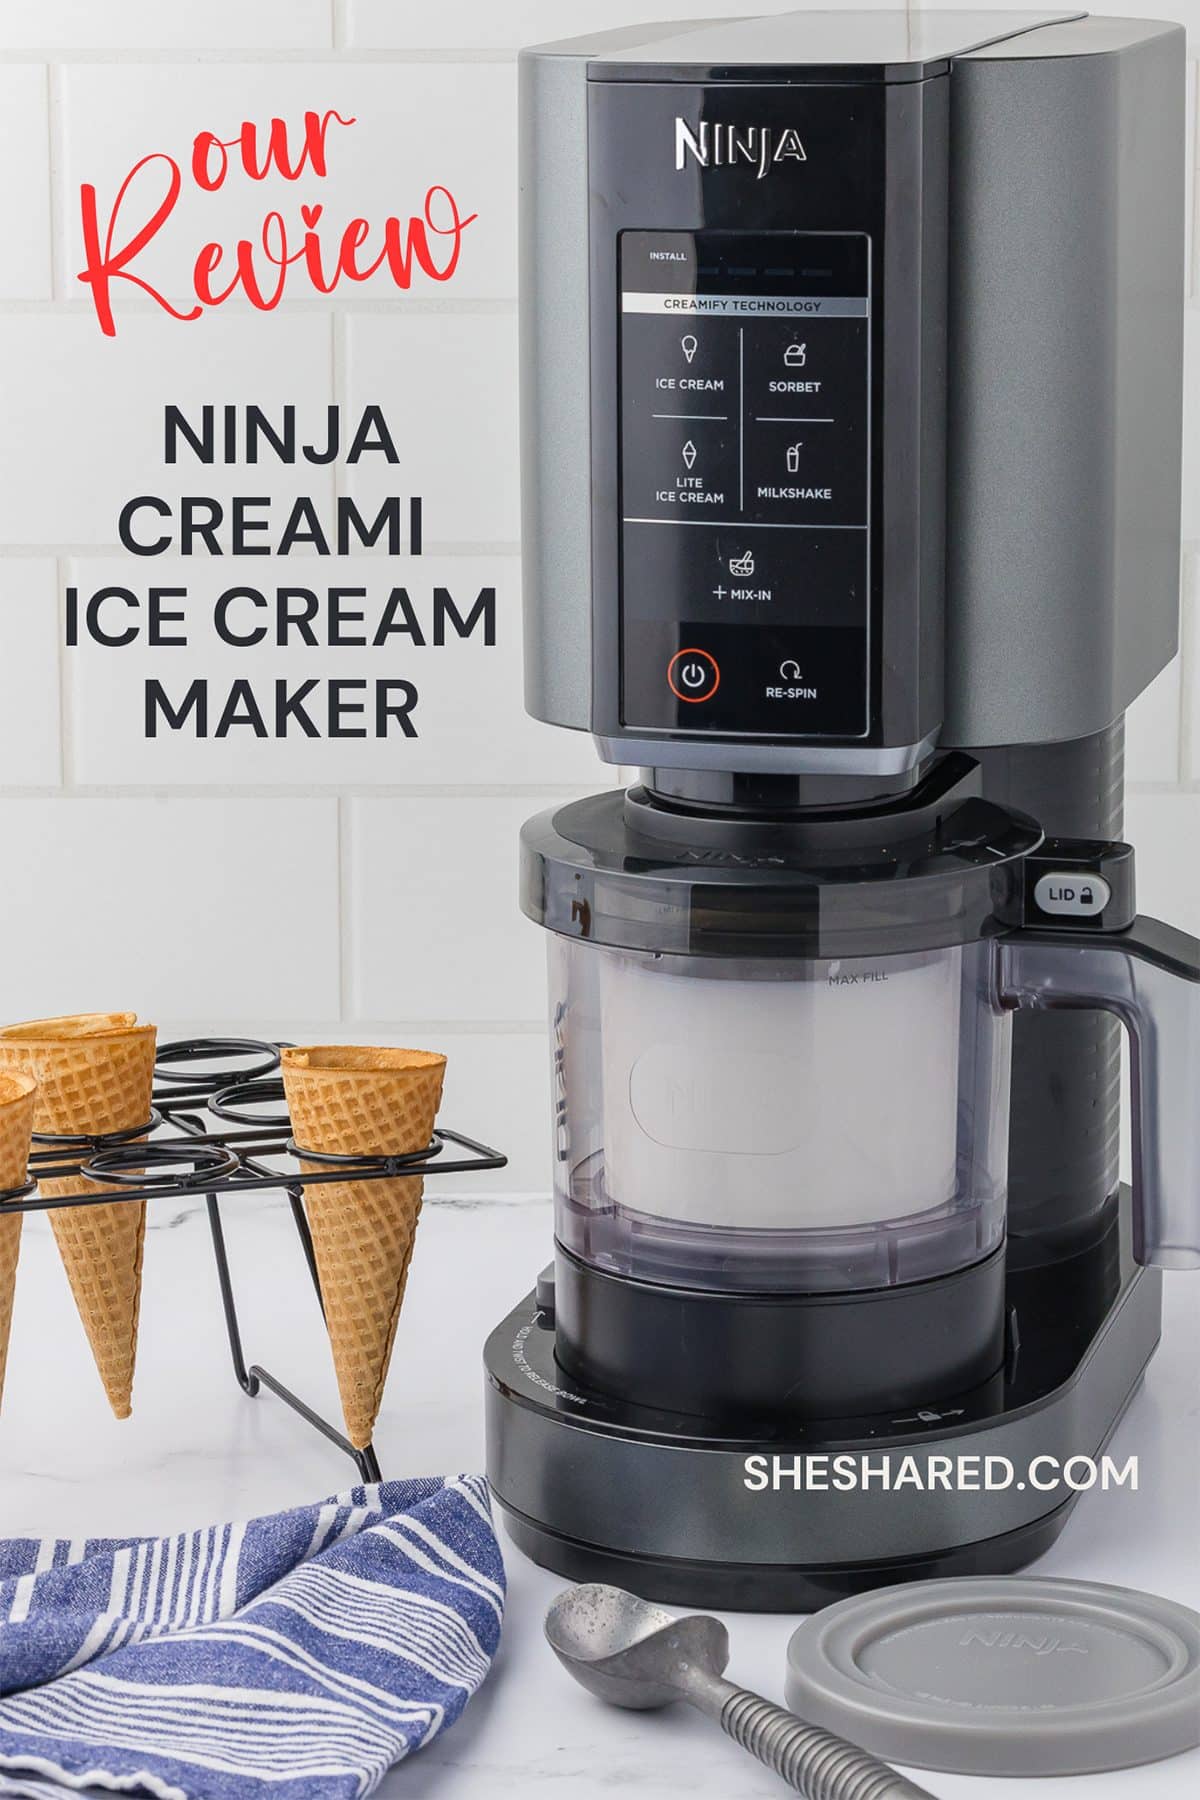
Our favorite things about the Ninja Creami machine?
- Sleek and compact
- Many color options
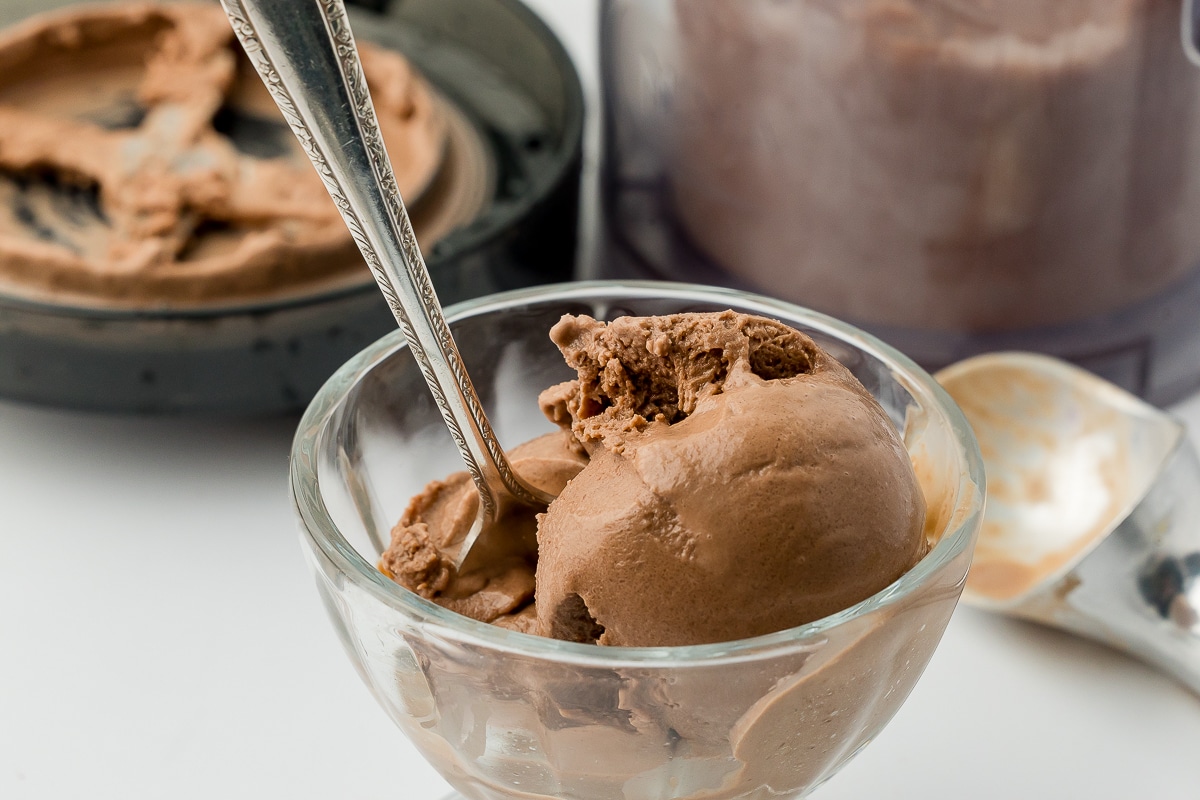
- Makes the BEST soft serve ice cream (incredible creamy texture!)
- Wonderful gift idea
- Excellent dessert option (without all the hard work)
- Possibilities are endless as you develop your own recipes
Things to add to your grocery store list for making Ninja recipes:
- Fresh Fruit
- Peanut Butter
- Chocolate Chips
- Mini M&Ms
- Protein Shakes (recipes coming soon!)
- Reese’s Peanut Butter Cups
- Protein Powder
Really, the possibilities are endless, and you’ll start to experiment with different flavors and add ins (that mix-in setting is kind of addicting!)
Tips and Troubleshooting:
Having trouble with your Ninja Creami? Not getting the creamy results you expected? No worries! Check out our super helpful Ninja Creami Tips and Tricks guide. It’s packed with everything you need to know to become a Creami pro!
Looking for more protein in your diet? Make sure to check out one of our very favorites, our Ninja Creami Protein ice cream … so good!!
And speaking of ice cream and dessert, don’t forget to check out these other favorite She Shared recipes for your sweet tooth:
Basic Ninja Creami Vanilla Ice Cream Recipe
Time to get rid of the traditional home ice cream maker. Ninja Creami is the new hot kitchen appliance in town! Who would have thought that you could make homemade ice cream this easily!? It's true and it's not only easy, it's delicious!!
Not only that, the Ninja Creami is a frozen treat maker that can assist you in making not only tasty ice cream, but it's also incredible for making smoothie bowls, Italian ice, frozen yogurt and even frozen custard!
Ingredients
- 1 tablespoon cream cheese
- 1/3 cup sugar (granulated white)
- 1 teaspoon vanilla paste (or vanilla extract, but the paste is worth it for that extra punch of flavor!)
- ¾ cup heavy cream
- 1 cup whole milk
Instructions
1. Quick Nuke: Pop the cream cheese in your microwave-safe bowl and heat it for 15 seconds. This makes it easier to mix everything together.
2. Mix It Up: Now, add the rest of the ingredients (sugar, vanilla, heavy cream, and milk) to the bowl. Give everything a good stir until the sugar is dissolved. No need for a fancy mixer here – a simple whisk or even a spoon will do the trick!
3. Creami Time: Pour your creamy mixture into your Ninja Creami pint container. Seal it up with the lid, and slide it into the freezer for 24 hours. (Yes, I know it's hard to wait, but trust me, it's worth it!)
4. Spin It: After 24 hours, take the pint out of the freezer and pop it into your Ninja Creami. Select the "Ice Cream" function, and let the magic happen! In a few minutes, you'll have perfectly churned, soft-serve style vanilla ice cream.
Notes
Optional Ice Cream Add-ons:
- Fresh Fruit
- Peanut Butter
- Chocolate Chips
- Mini M&Ms
- Reese's Peanut Butter Cups
- Protein Powder
Get creative! Once you get started with your Ninja Creami machine, the possibilities and cold dessert options are endless! This is one appliance that you are going to use a lot!
Nutrition Information:
Yield: 4 Serving Size: 1Amount Per Serving: Calories: 268Total Fat: 19gSaturated Fat: 12gTrans Fat: 1gUnsaturated Fat: 6gCholesterol: 60mgSodium: 49mgCarbohydrates: 21gFiber: 0gSugar: 21gProtein: 3g
*This calculation is just an estimate ~ results may vary!


7 Comments