She Said Yes Cake
This post may contain affiliate links. See our disclosure policy for more details.
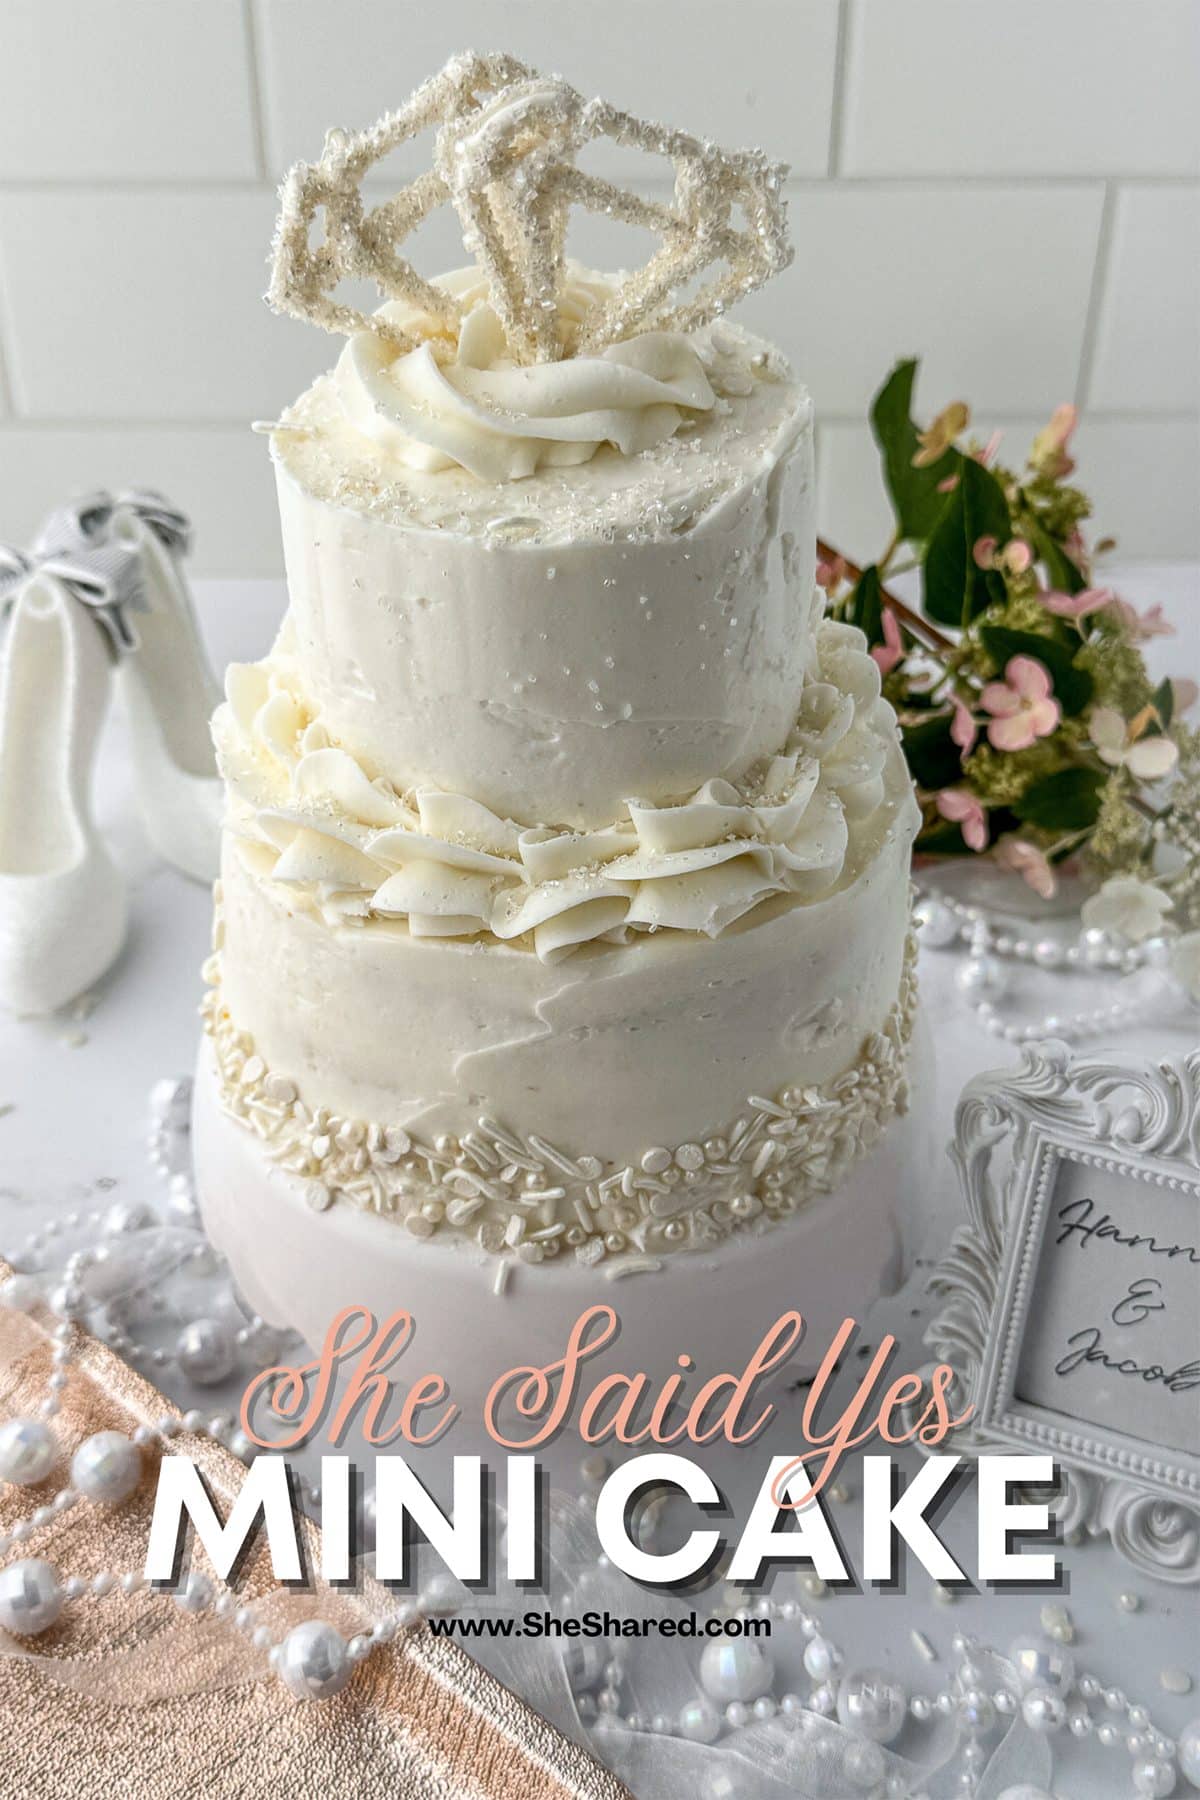
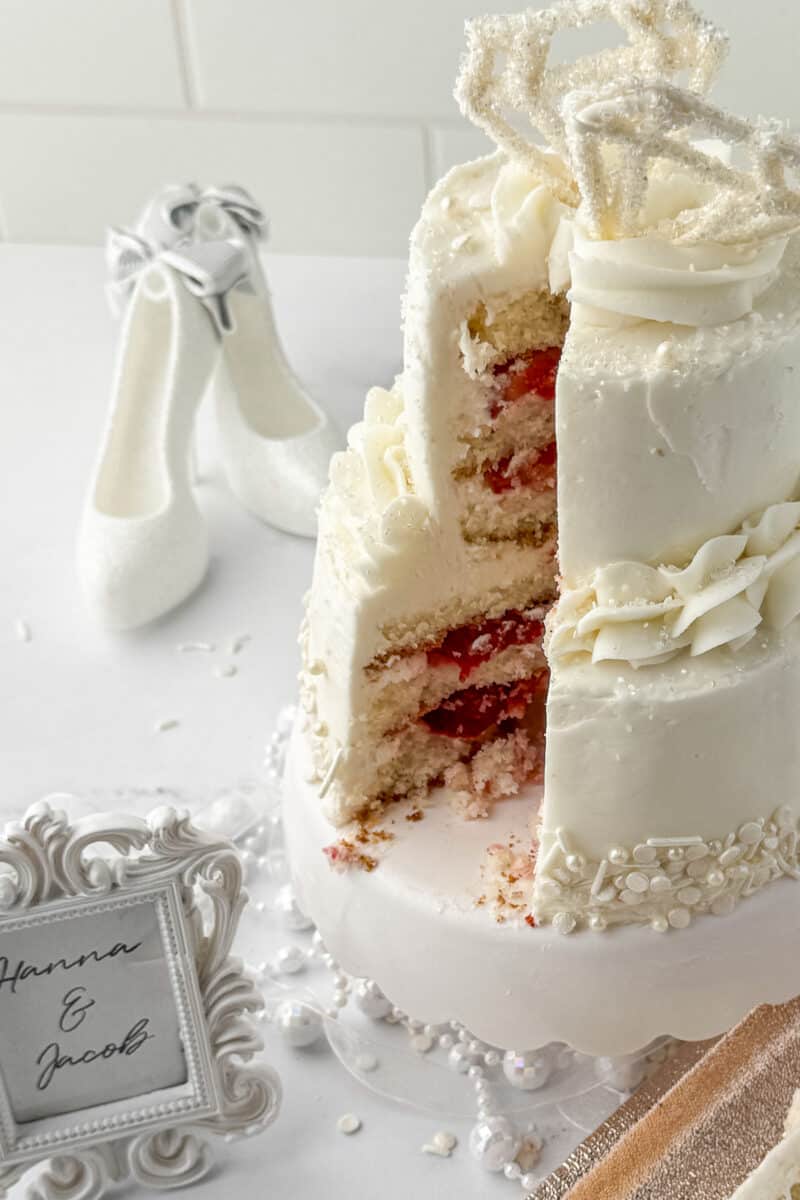
There’s something truly special about an engagement—it’s the start of a beautiful new chapter! And what better way to celebrate this milestone than with a beautiful, personalized She Said Yes cake?
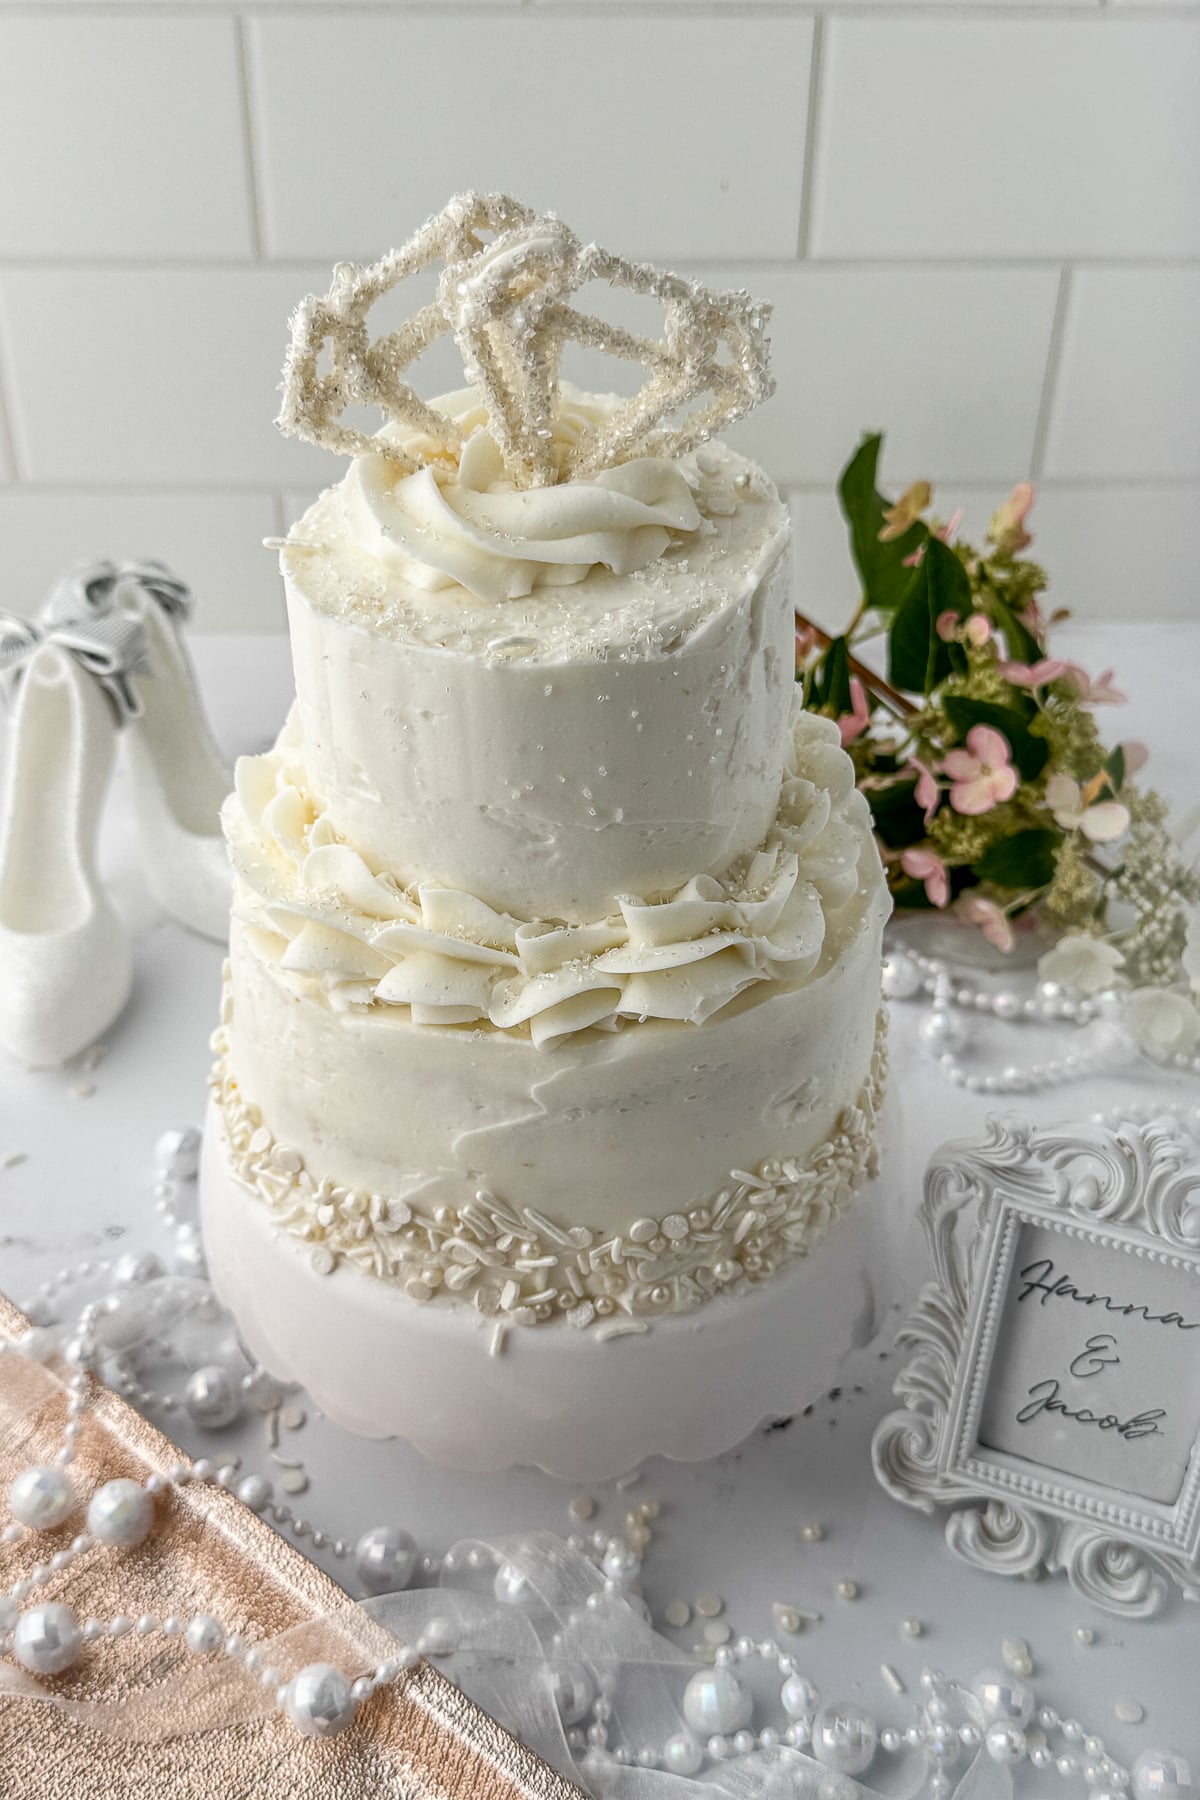
Celebrate Your Engagement with a Mini Layered “She Said Yes!” Cake
This recipe for a charming miniature tiered cake is not only delicious but also a fun and easy project that anyone can tackle, even if you’re a beginner baker.
With its elegant diamond toppers and fresh strawberry filling, it’s the perfect centerpiece to share the news with family and friends or simply to enjoy as a sweet treat for two.
Let’s get baking and create a delicious moment you’ll never forget.
Ingredients
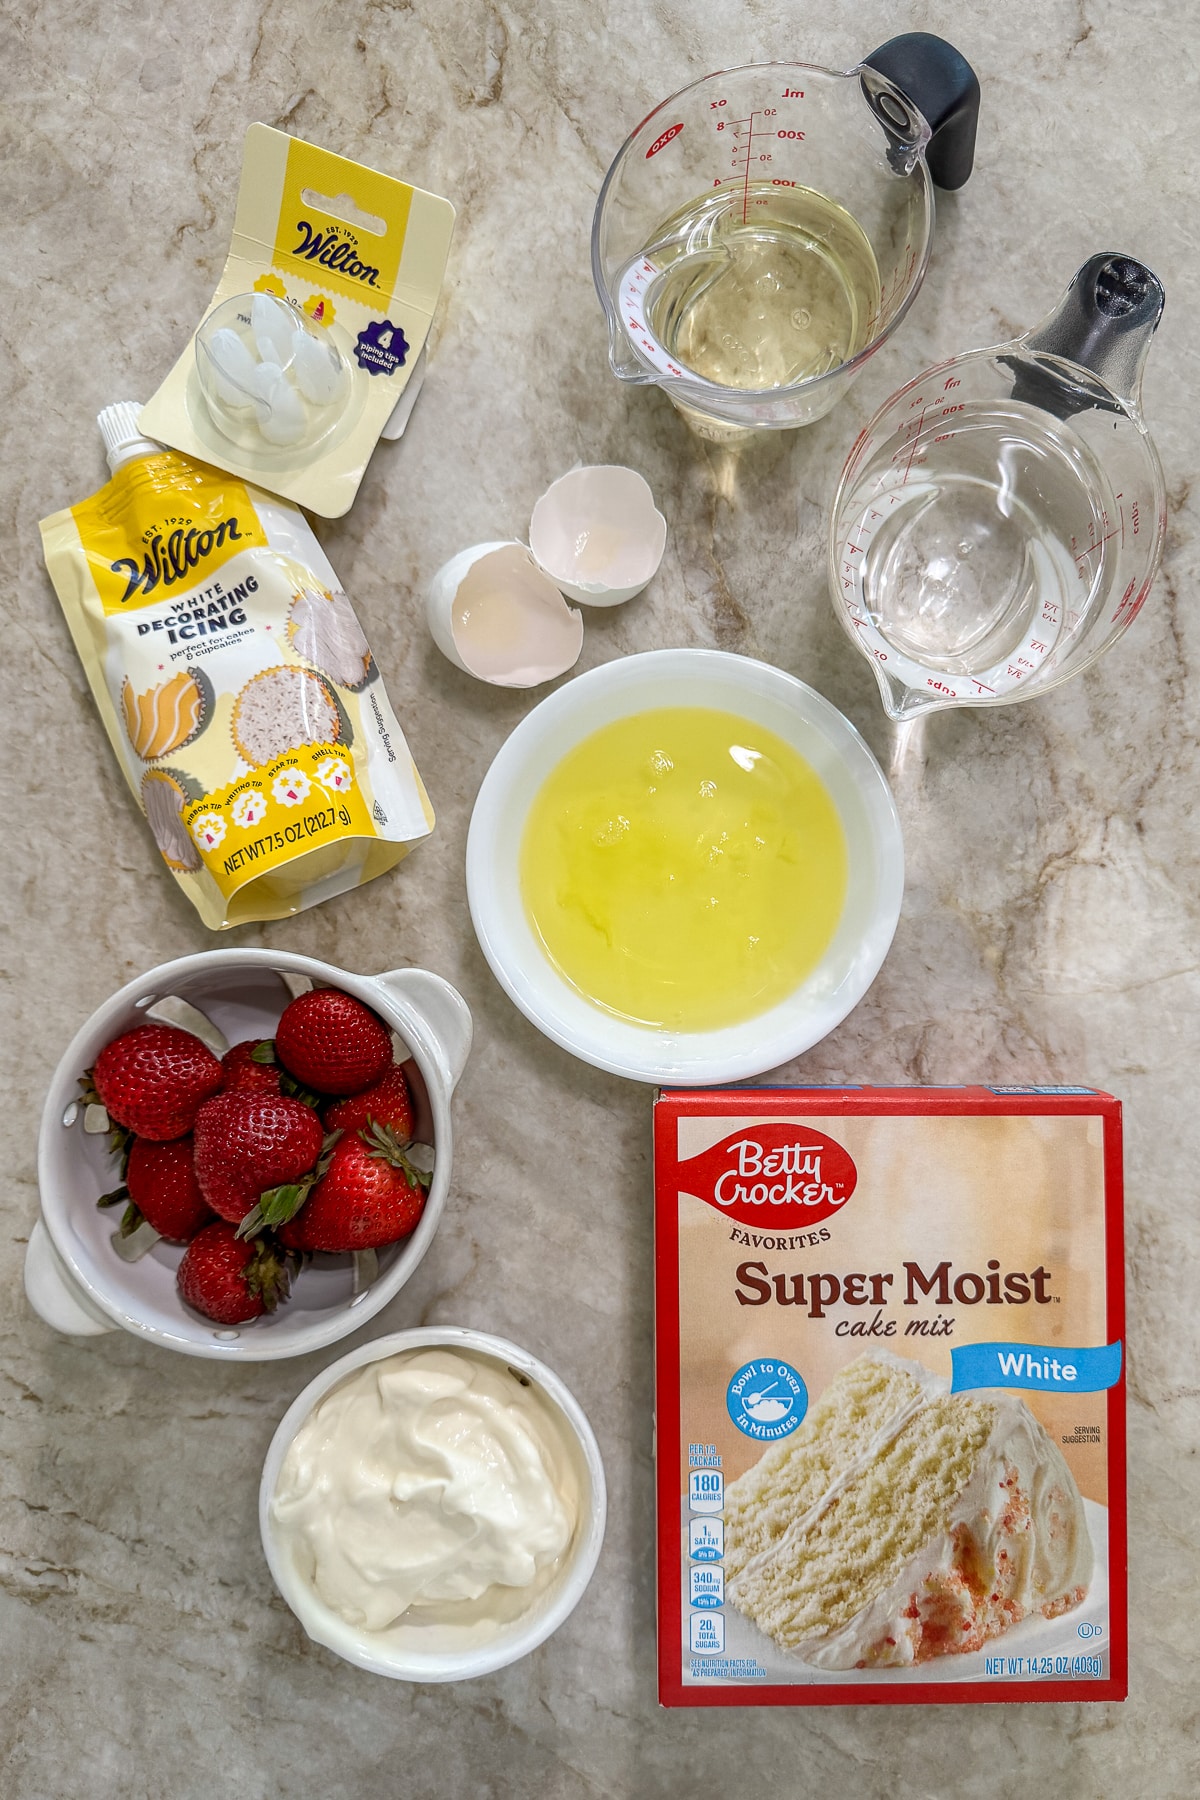
- 1 box Betty Crocker Super Moist White Cake Mix
- 3 large egg whites
- 1 cupu water
- 1/2 cup vegetable oil
- 6 oz vanilla honey Greek yogurt
- Sliced strawberries for filling
- Wilton White Decorator Frosting (for filling)
- Buttercream frosting (store-bought or homemade)
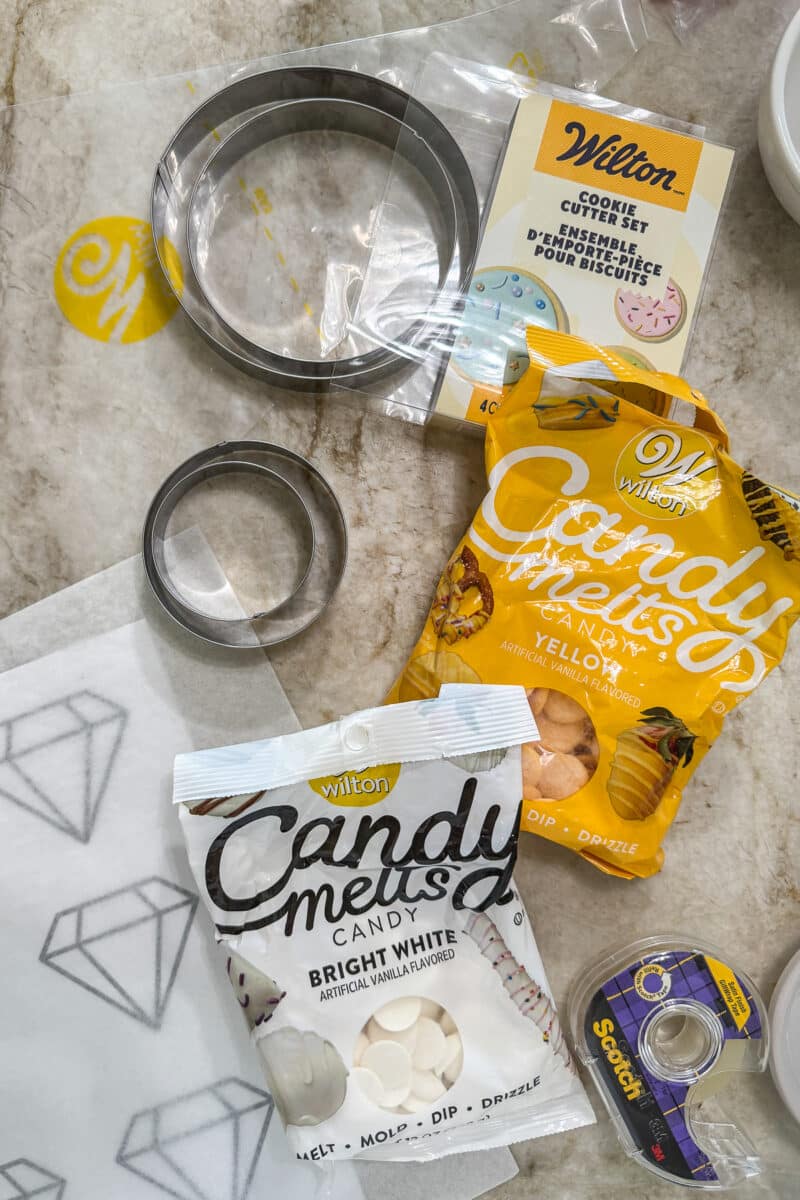
- Wilton White Candy Melts
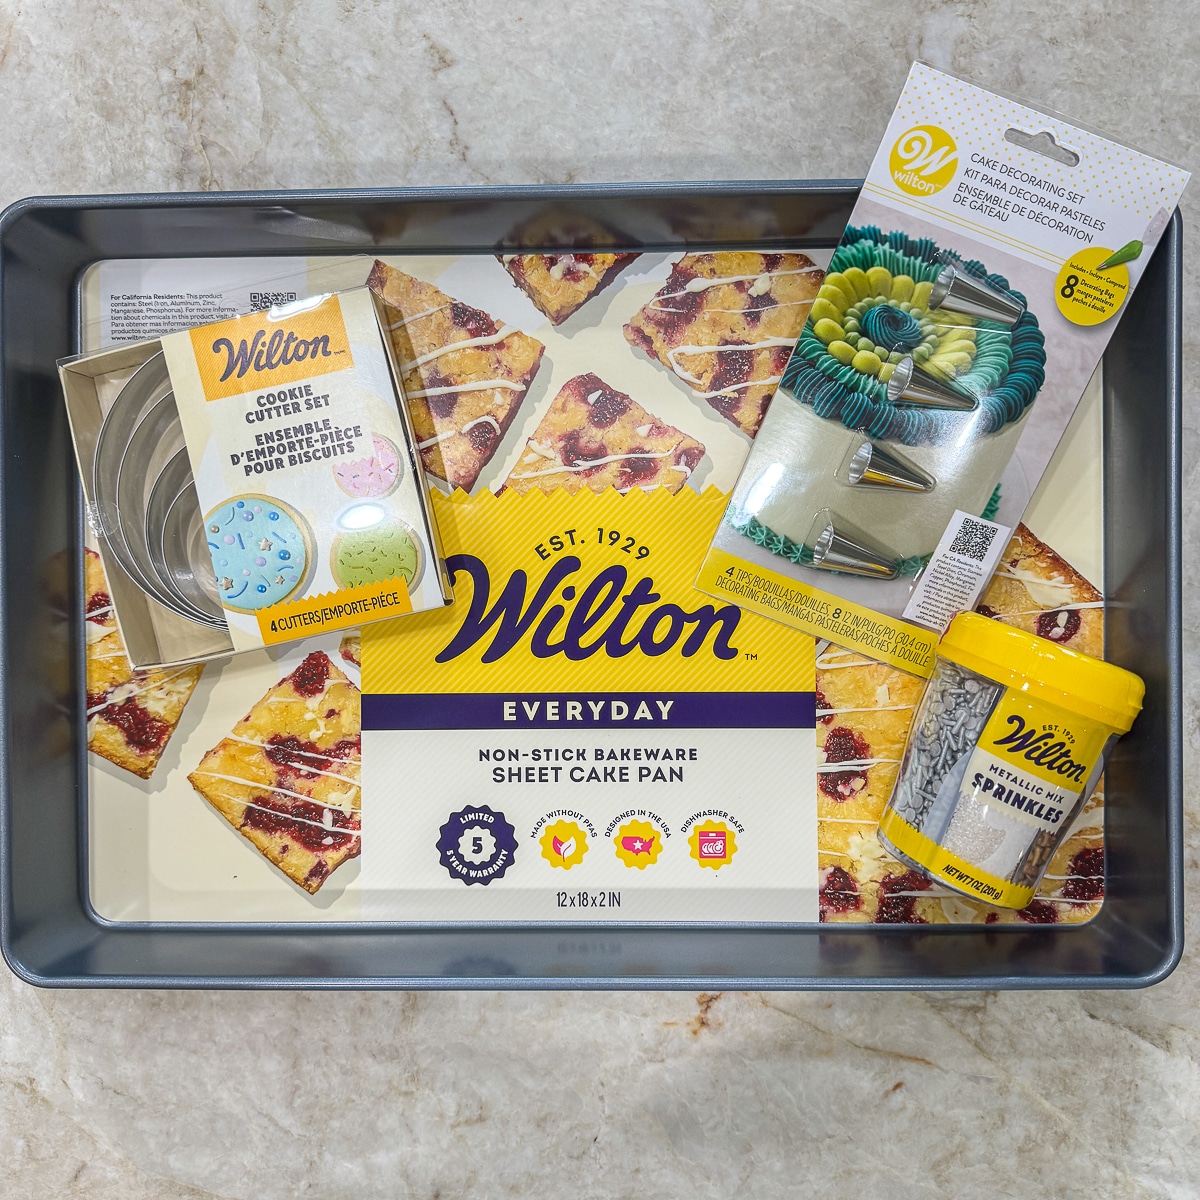
- Wilton White Metallic Sprinkles
Equipment
- Strawberry slicer
- Wilton Cookie Cutter Set (for cutting circles)
- Wilton Sheet Cake Pan
- Wilton Decorating Tips
- Wilton Piping Bags
- Mini cake stand
- Scissors
- Cookie sheet
- Parchment paper
- Printed diamond pattern
- Skewer (optional)
Directions
1. Bake the Cake Layers
- Preheat your oven and prepare the sheet cake pan as instructed on the cake mix box.
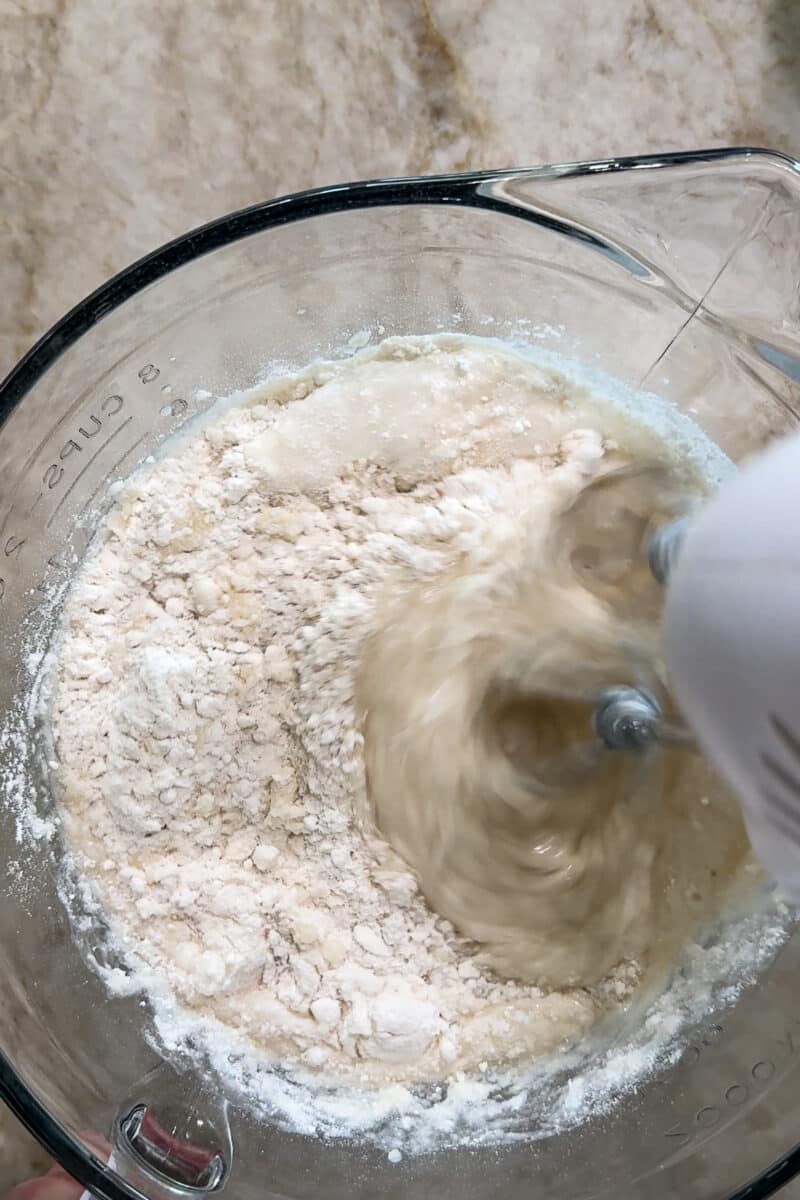
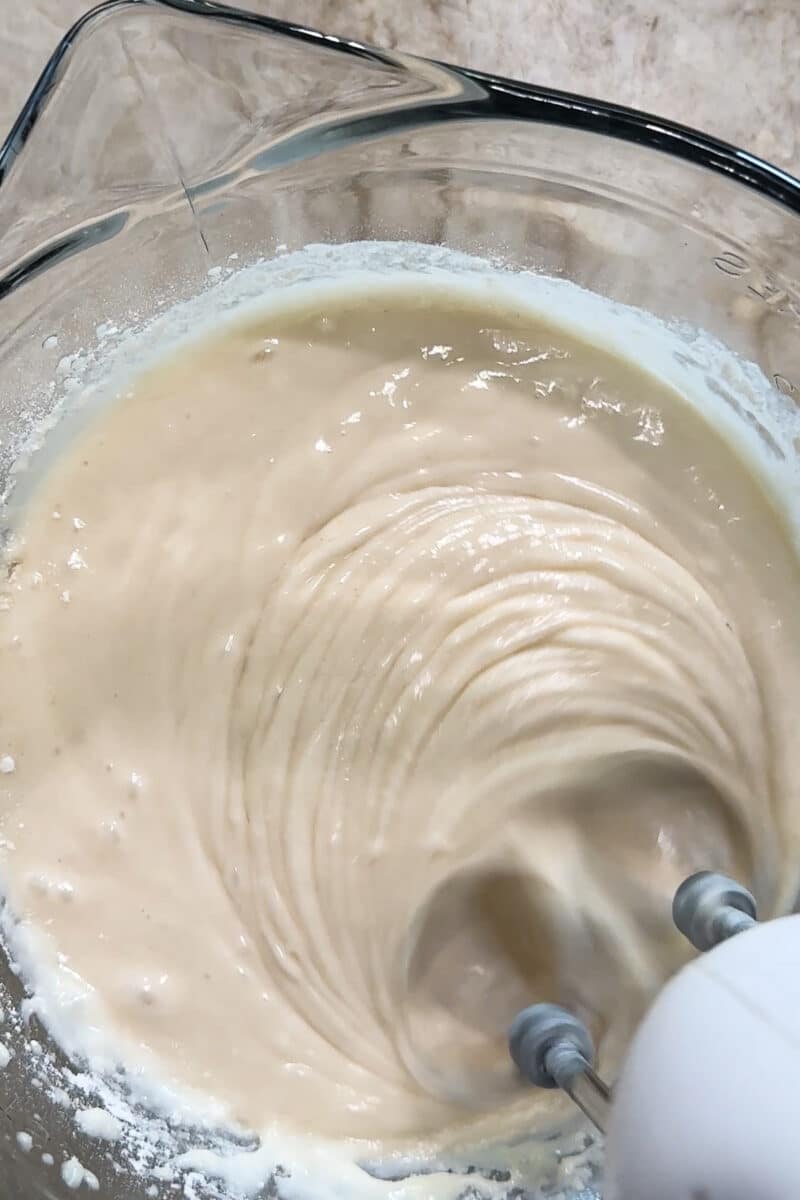
- In a large bowl, combine the cake mix, egg whites, water, and vegetable oil. Mix until smooth.
- Stir in the 6 oz of Greek yogurt. This is the secret ingredient that gives the cake a wonderful, moist texture!
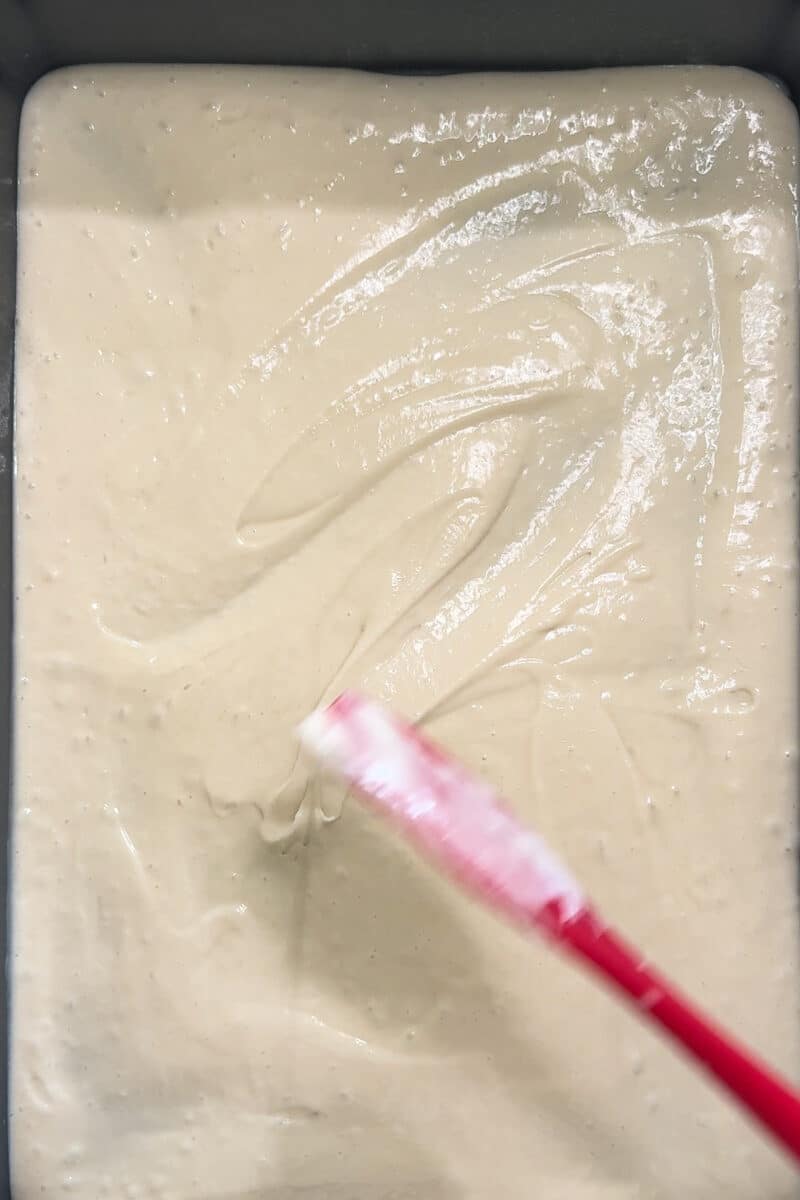
- Pour the batter into the prepared sheet pan and bake according to the package directions. Let the cake cool completely.
2. Cut and Fill the Cakes
- Once the cake is cool, use the circle cookie cutters to cut out three 6-inch rounds and three 4-inch rounds.
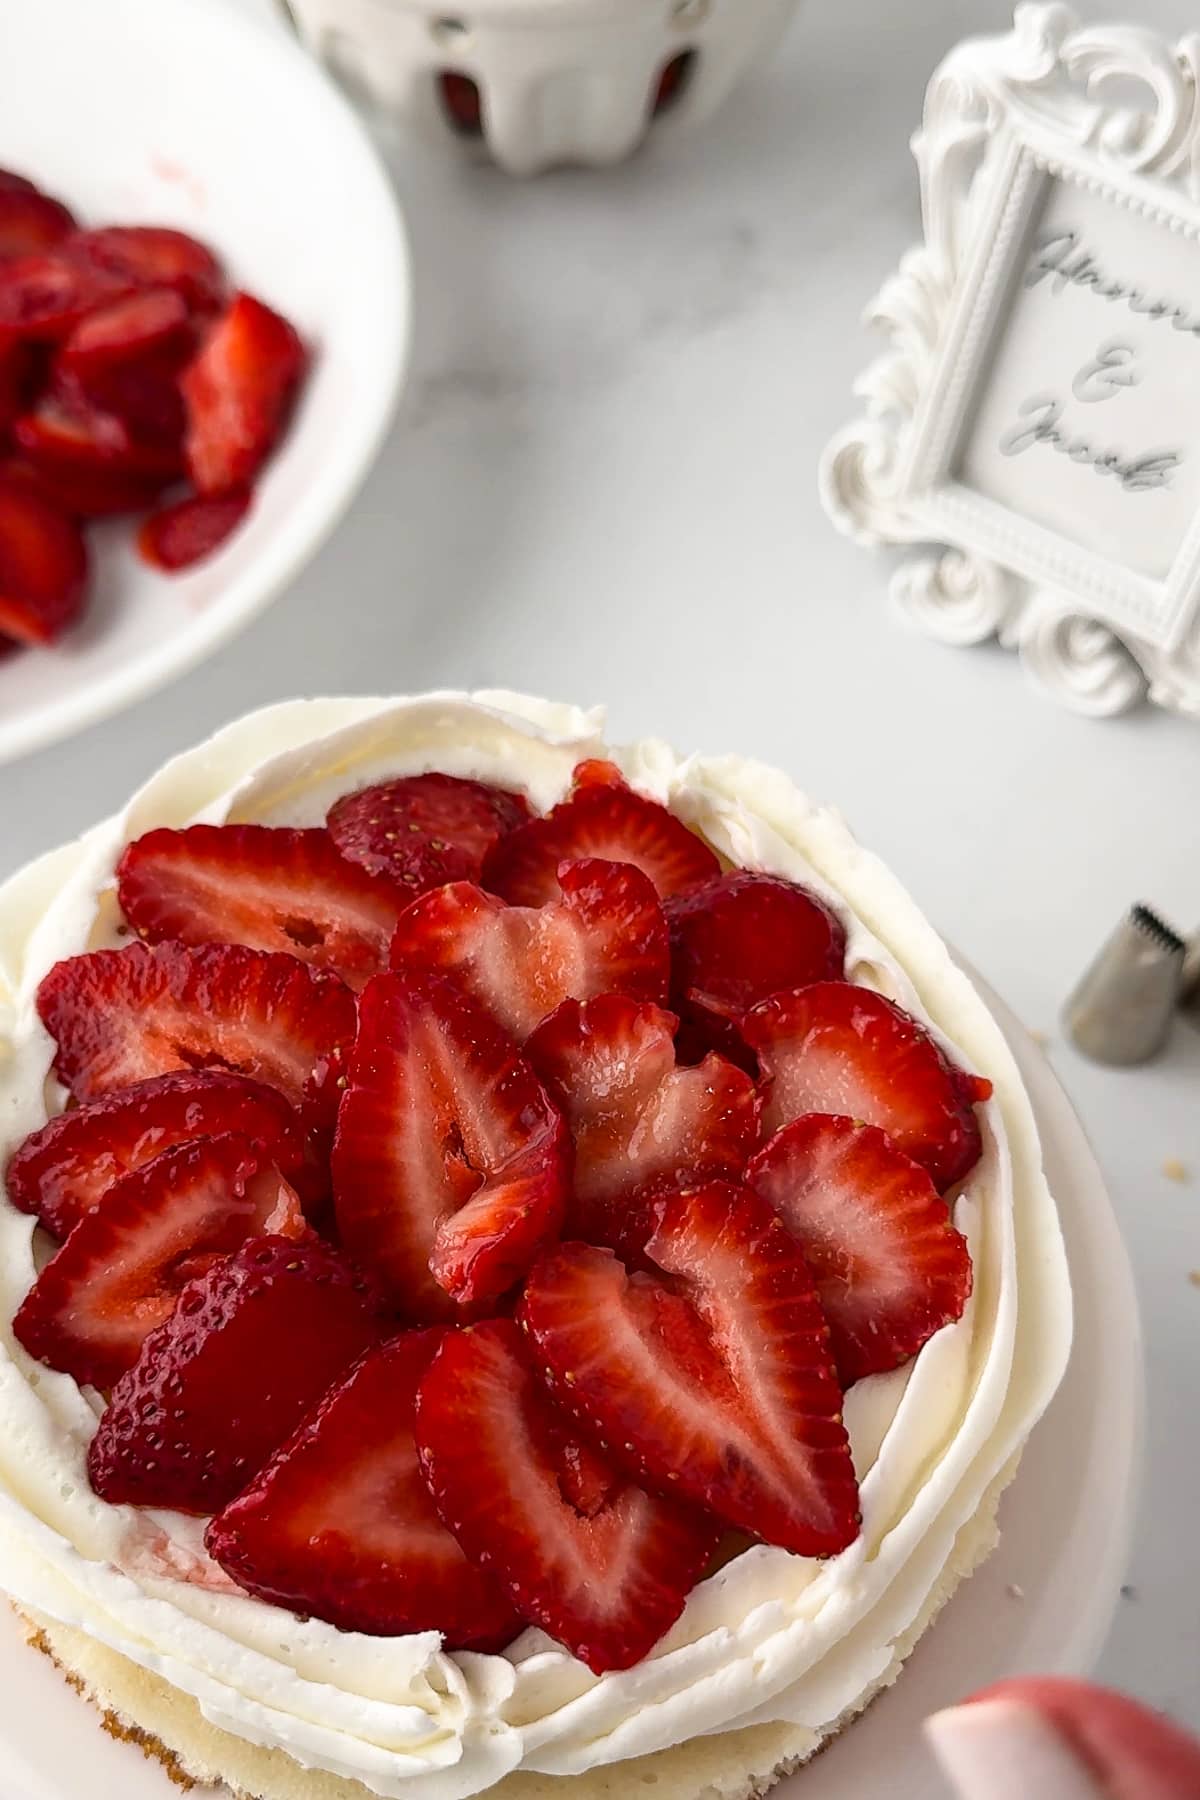
- Place the first 6-inch cake layer on your mini cake stand. Use a piping bag with Wilton Decorator Frosting to create a circle of icing around the edge. Fill the center with a layer of sliced strawberries.
- Repeat this process for the remaining 6-inch layers, stacking them to form a three-layer cake.
- Do the same with the three 4-inch cake layers, stacking them separately. You will now have one large cake and one small cake.
3. Crumb Coat and Assemble
- Apply a thin, even layer of buttercream frosting to both the 6-inch and 4-inch cakes. This is called a crumb coat—it seals in all the loose crumbs and creates a smooth base for the final frosting layer.
- Place both cakes in the refrigerator for at least 20 minutes to allow the crumb coat to firm up.
- Once chilled, frost both cakes with a thicker, final layer of buttercream.
- Carefully place the 4-inch cake on top of the 6-inch cake. For extra stability, especially if transporting the cake, you can gently push a skewer down through the center of the top cake and into the bottom cake.
4. Create the Diamond Toppers
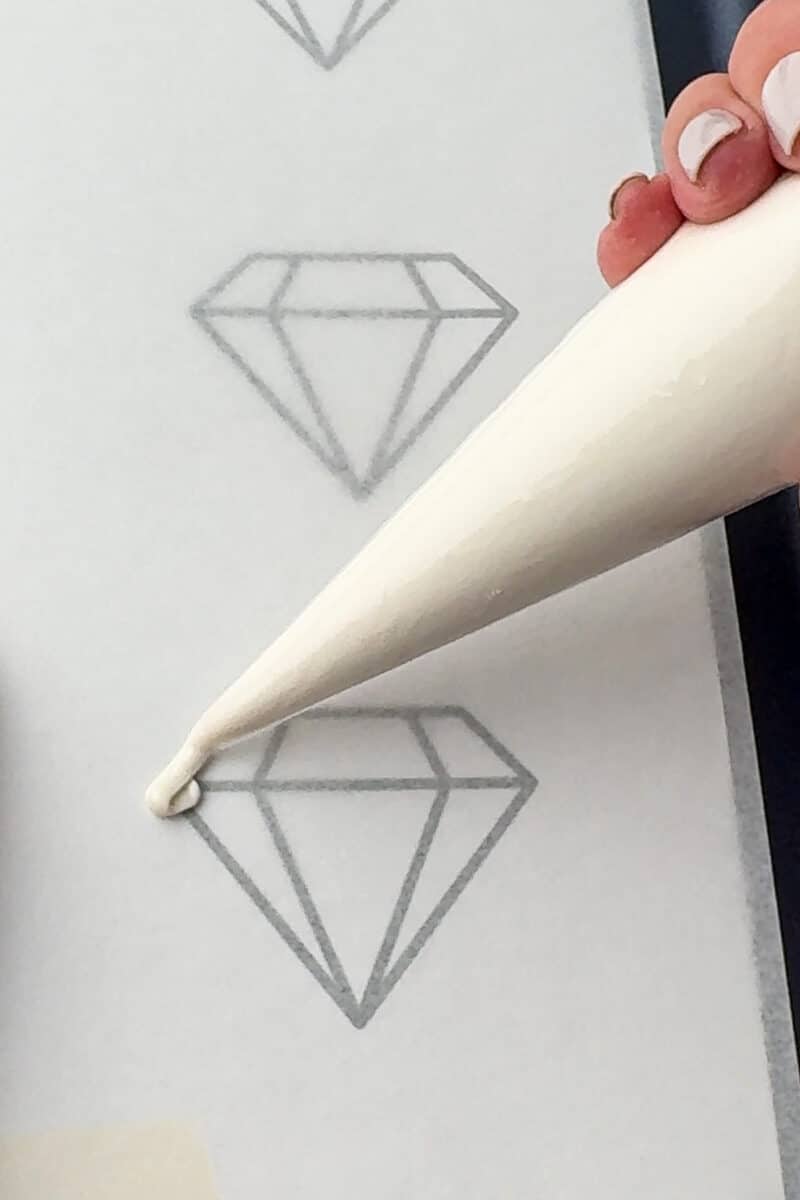
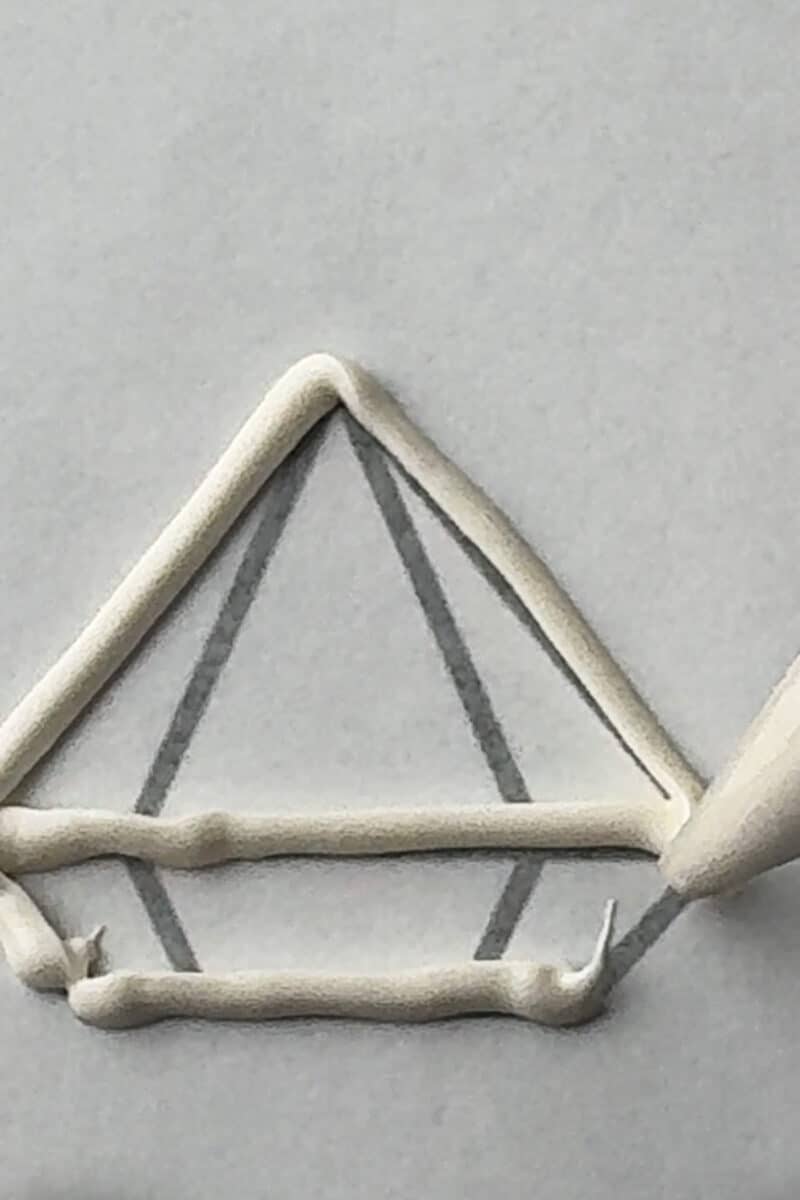
- Print out your diamond pattern template. Tape it to a cookie sheet and then cover it with a piece of parchment paper, taping the parchment paper in place as well.
- Place the white candy melts in a Wilton piping bag. Microwave in 45-second intervals, kneading the bag in between, until the candy melts are completely smooth and liquid. Be careful not to overheat.
- Snip a very small hole in the tip of the piping bag and carefully trace the diamond pattern onto the parchment paper.
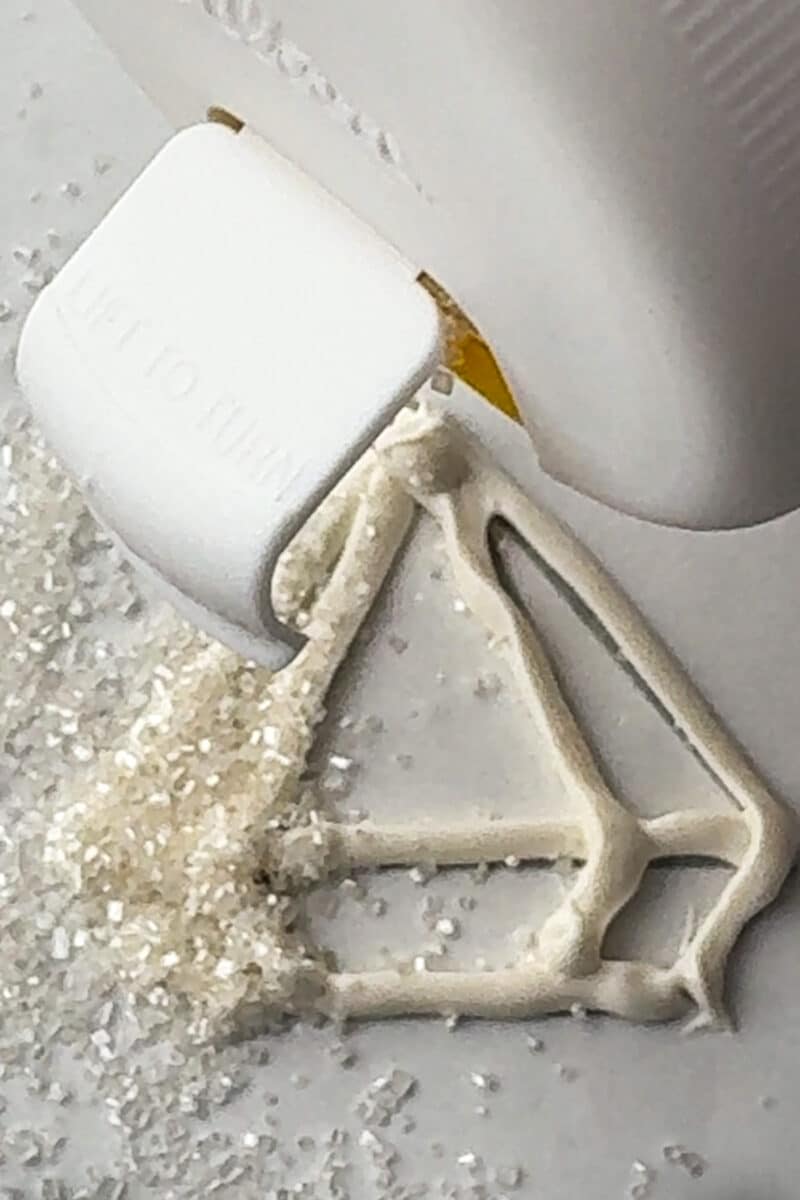
- While the candy is still wet, sprinkle the diamonds generously with the white metallic sprinkles. Let them cool and harden completely.
- Once cool, carefully peel the diamonds from the parchment paper. Trace the back of each diamond with a thin line of melted candy and add more sprinkles to the back for a complete, sparkling finish.
5. Decorate and Finish
- Place white sprinkles in your hand (I like to use a glove for this) and press against the bottom of the cake.
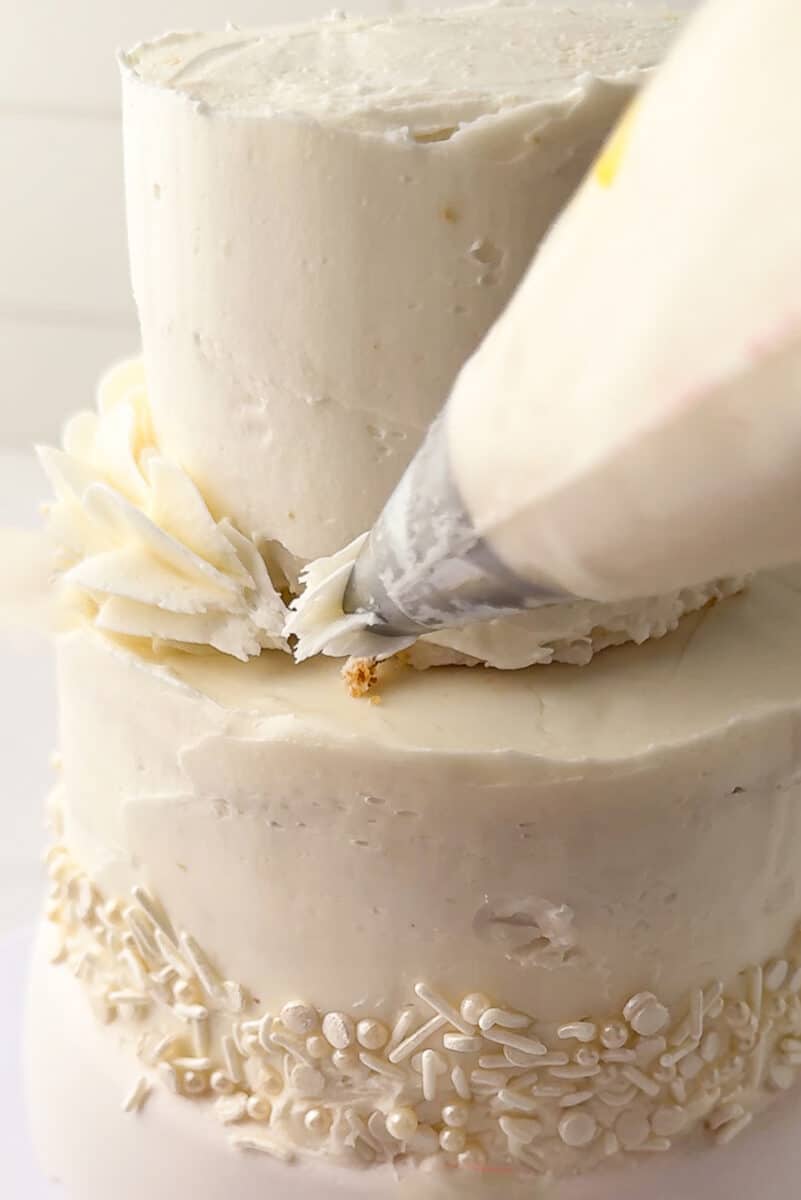
- Using a piping bag and a decorating tip, pipe a decorative border where the two cakes meet.
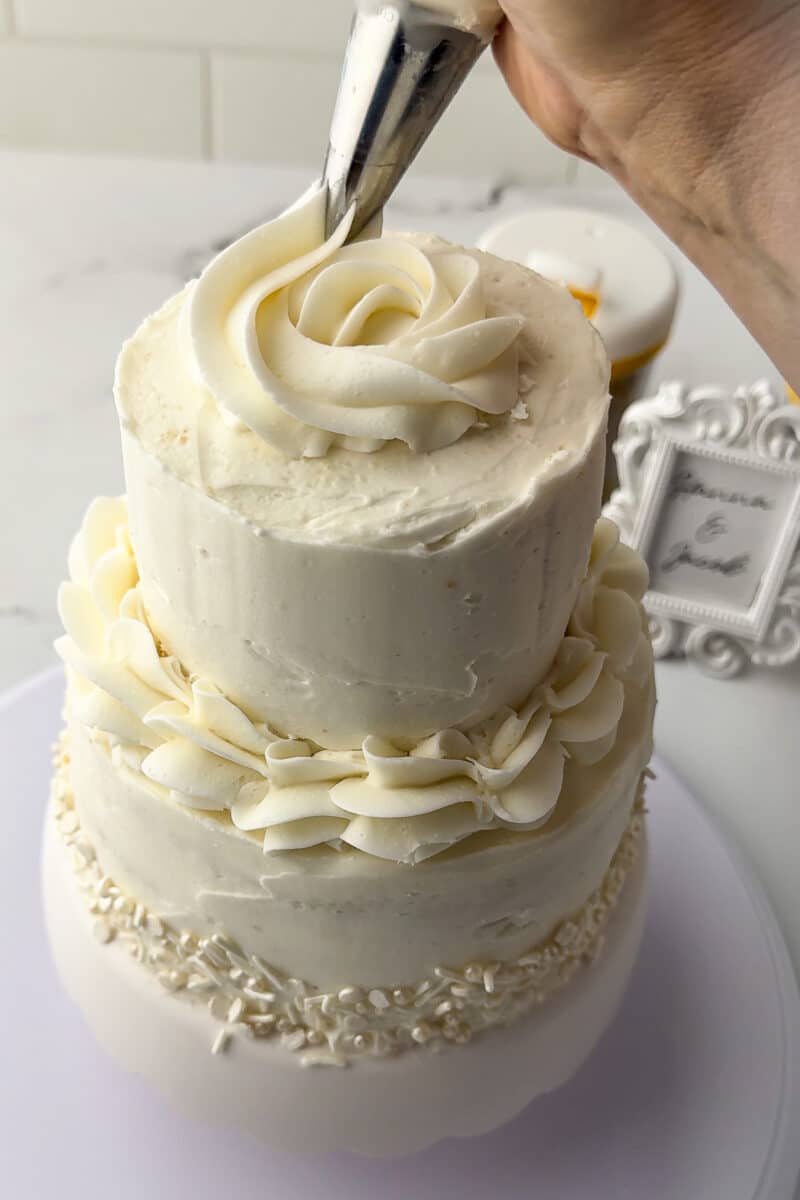
- Pipe a beautiful rosette in the center of the top 4-inch cake layer.
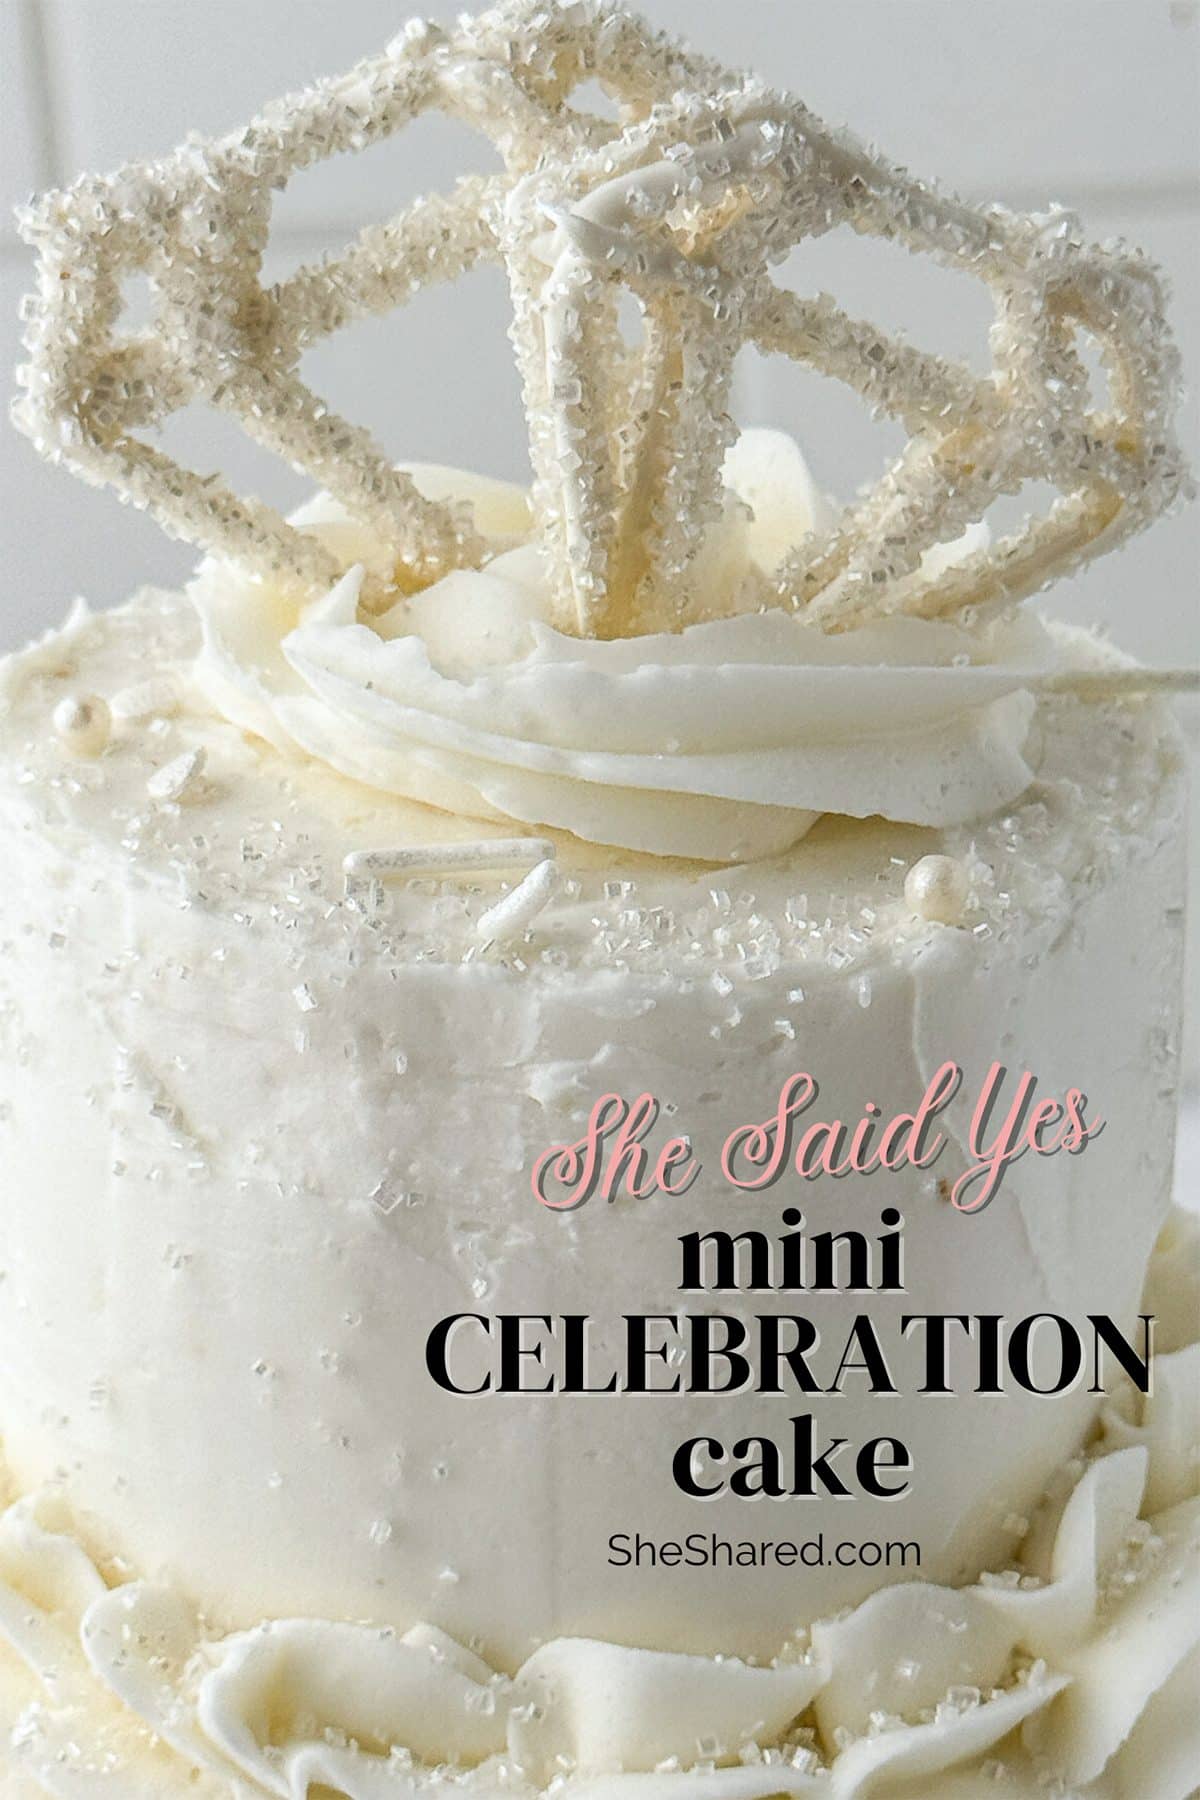
- Carefully press two of your finished candy melt diamonds into the rosette.
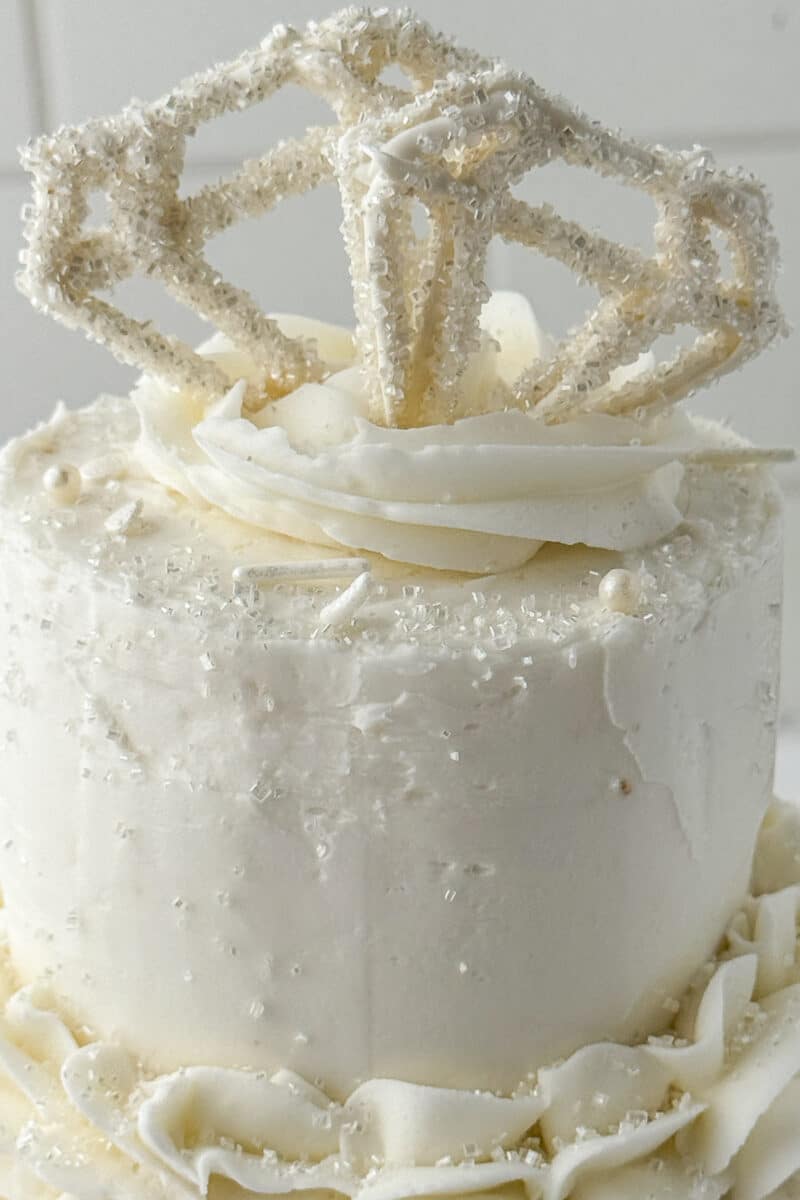
And there you have it—a stunning, layered cake perfect for celebrating a new engagement!
Mini Layered Cake FAQ
Q: Can I use a different type of cake mix?
Yes! You can use any boxed cake mix you prefer.
Q: What kind of frosting should I use?
You can use store-bought buttercream or make your own. Store-bought is a great time-saver! We recommend using a good quality one that is easy to spread.
Q: Can I use different fruits for the filling?
Absolutely! Raspberries or even a lemon curd would be a delicious alternative to the strawberries.
Q: What if I don’t have a mini cake stand?
No problem! You can simply assemble and serve the cake on any flat plate or cake board. Sources
Looking for more special occasion recipes?
We’ve got you covered! Bring out your best dishes and tableware for these life changing moments and of course, bring out the best recipes! Here are some of our favorites recipes for special occasions:
- Caprese Salad with Dittmann’s Balsamic Pearls
- Brie Puff Pastry Bites
- 7 Layer Greek Dip
- Tulip Tomato Appetizers
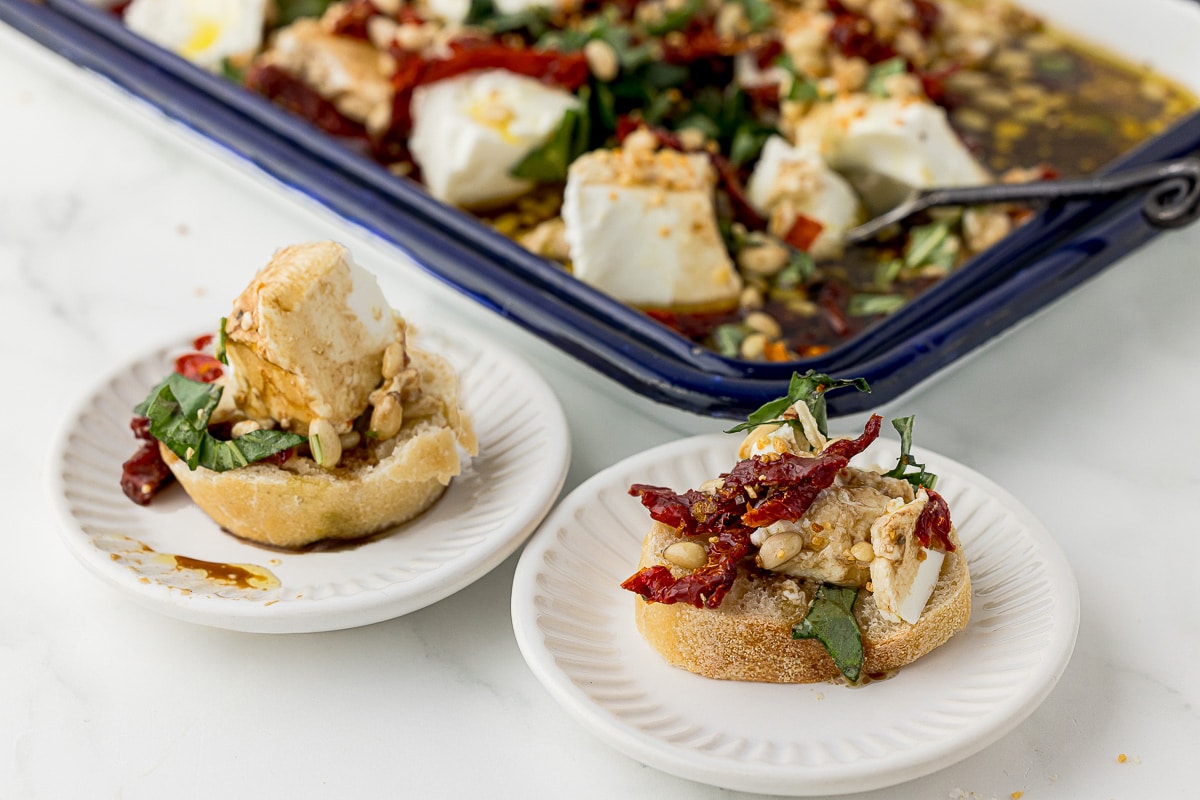
- Goat Cheese Appetizer with Sun-dried Tomatoes and Basil