Ñoquis Recipe (Gnocchi in Italian) The Secret to Perfect Homemade Potato Ñoquis: My Grandmother’s Recipe
This post may contain affiliate links. See our disclosure policy for more details.
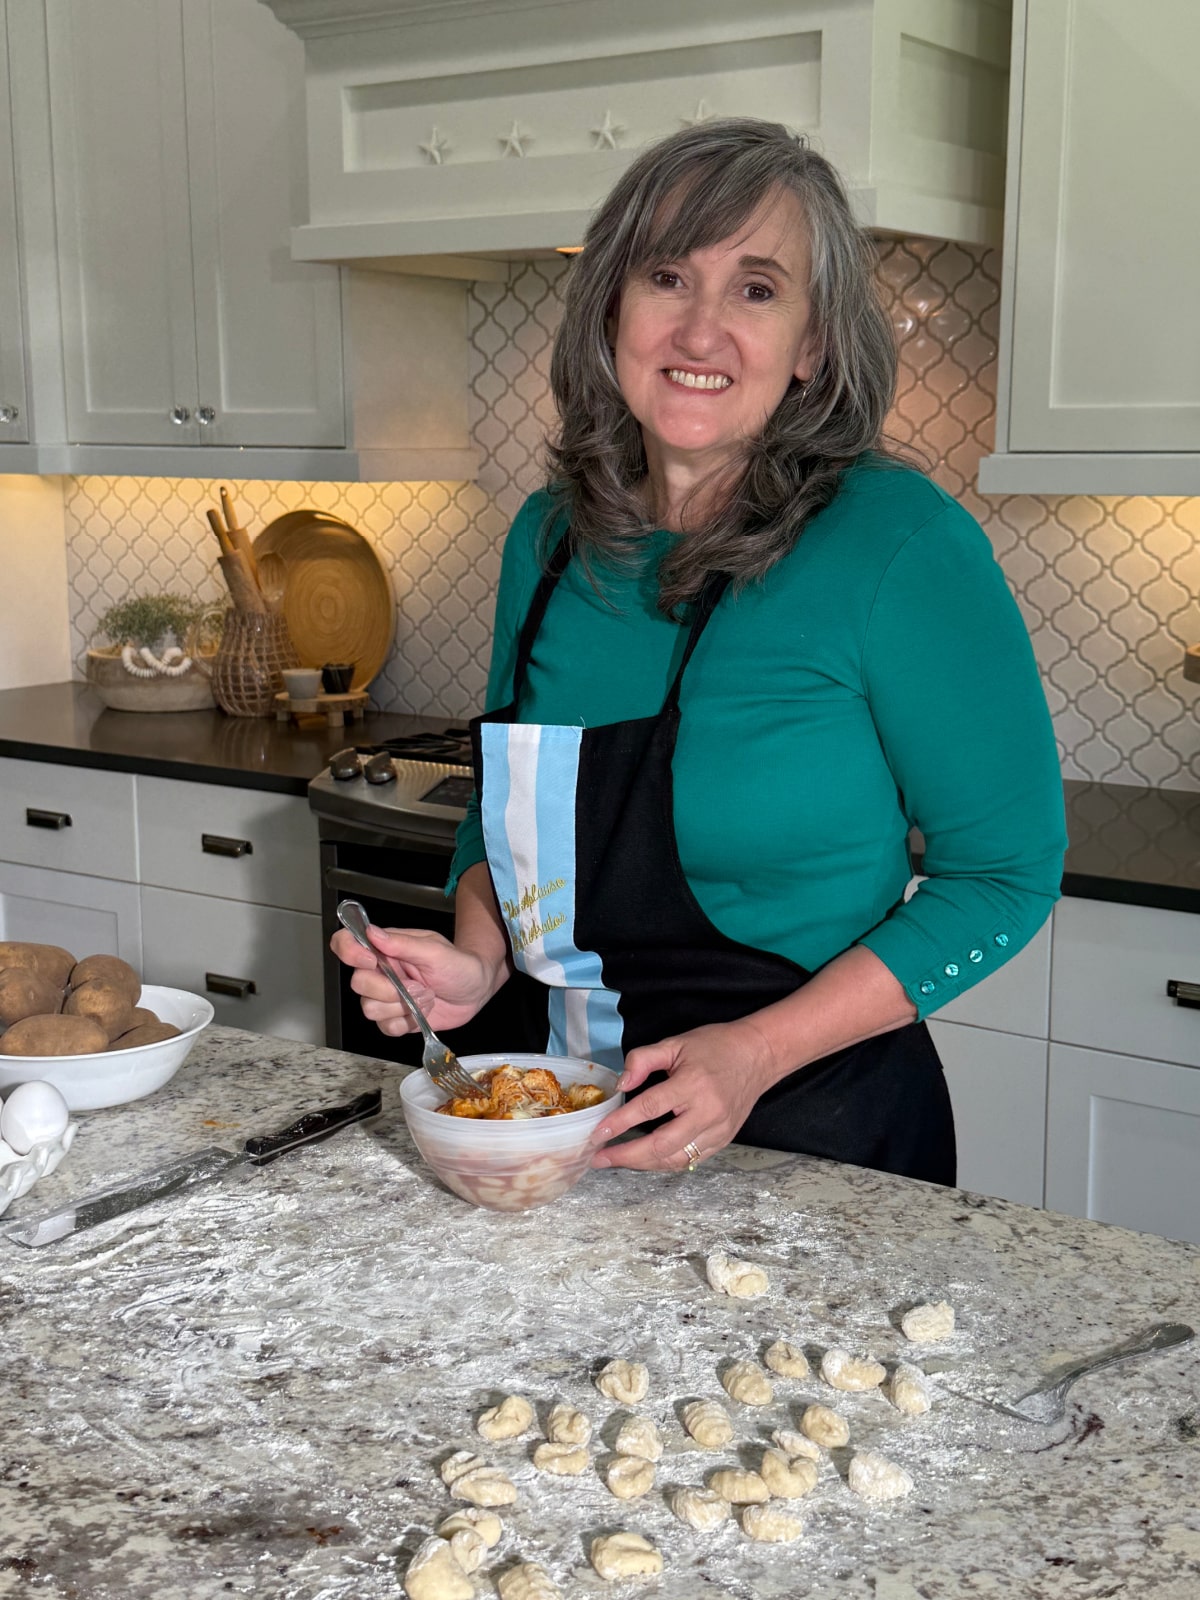
I am so excited to share this ñoquis recipe with you. I hold it dear to my heart because as a child in Argentina, I started rolling these small, potato pasta dumplings when I was just four years old. I’ve been making these homemade ñoquis for over 35 years, and they are a staple in my family.

There’s something special about bringing a dish that’s a part of my heritage to life in my own kitchen. I’ve been lucky enough to refine my grandmother’s recipe over the years, and I’m excited to share my family’s secret with you.
Homemade Ñoquis Recipe
This recipe is incredibly simple, but it does require a little bit of patience. The key is to use the right tools and ingredients. My biggest tip? Use a potato ricer. This simple tool will make your gnocchi light and fluffy, not dense and chewy.
I also want to note that the flour in Argentina is very fine, which makes a huge difference. For this recipe, I use 000 fine flour to replicate that same perfect texture.
Ñoquis Ingredients
- 5 pounds russet potatoes
- 2 cups 000 fine flour
- 2 eggs
- 1/4 cup shredded Parmesan cheese
- 1 teaspoon salt
Ñoquis Directions
- Prepare the Potatoes: Peel and dice the potatoes. Place them in a large pot and cover with cold water. Bring to a boil and cook until they are fork-tender. This usually takes about 15-20 minutes.
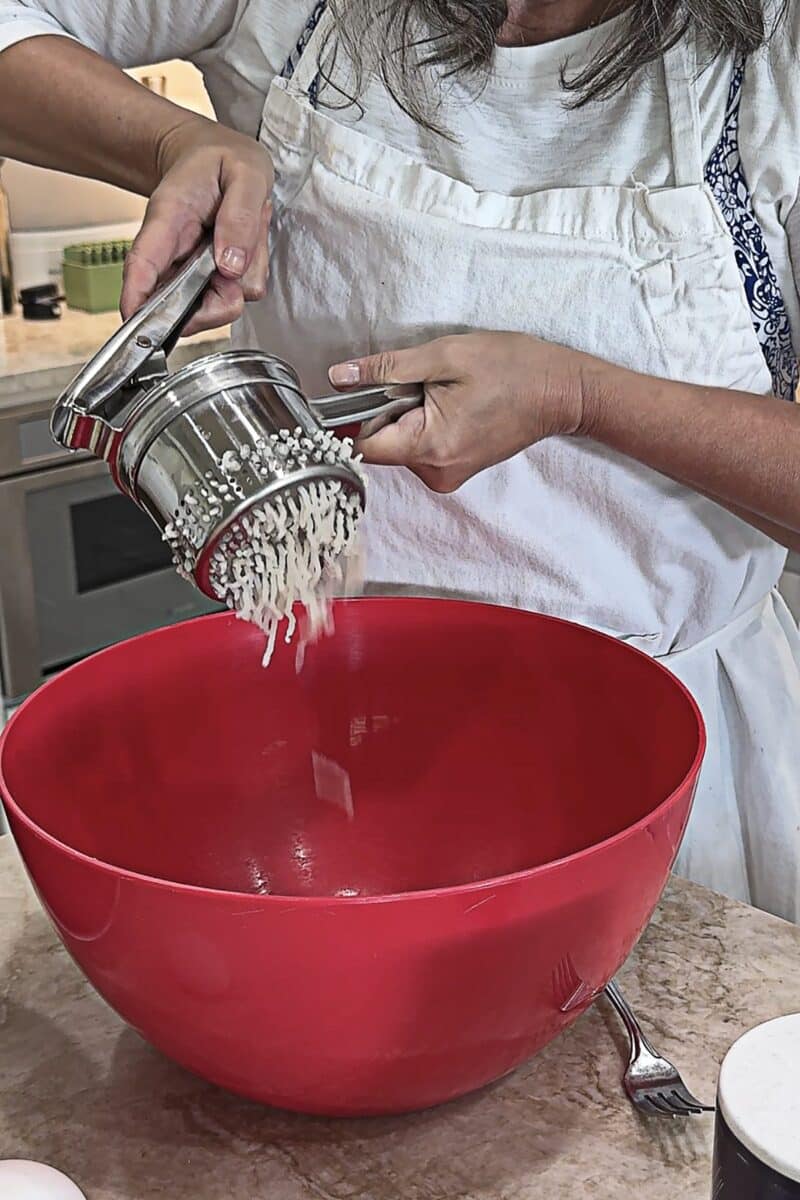
- Rice the Potatoes: Drain the potatoes immediately and pass them through a potato ricer into a large mixing bowl. It may take a few batches to get all the potatoes processed. Ricing them while they’re still hot is crucial for the best texture.
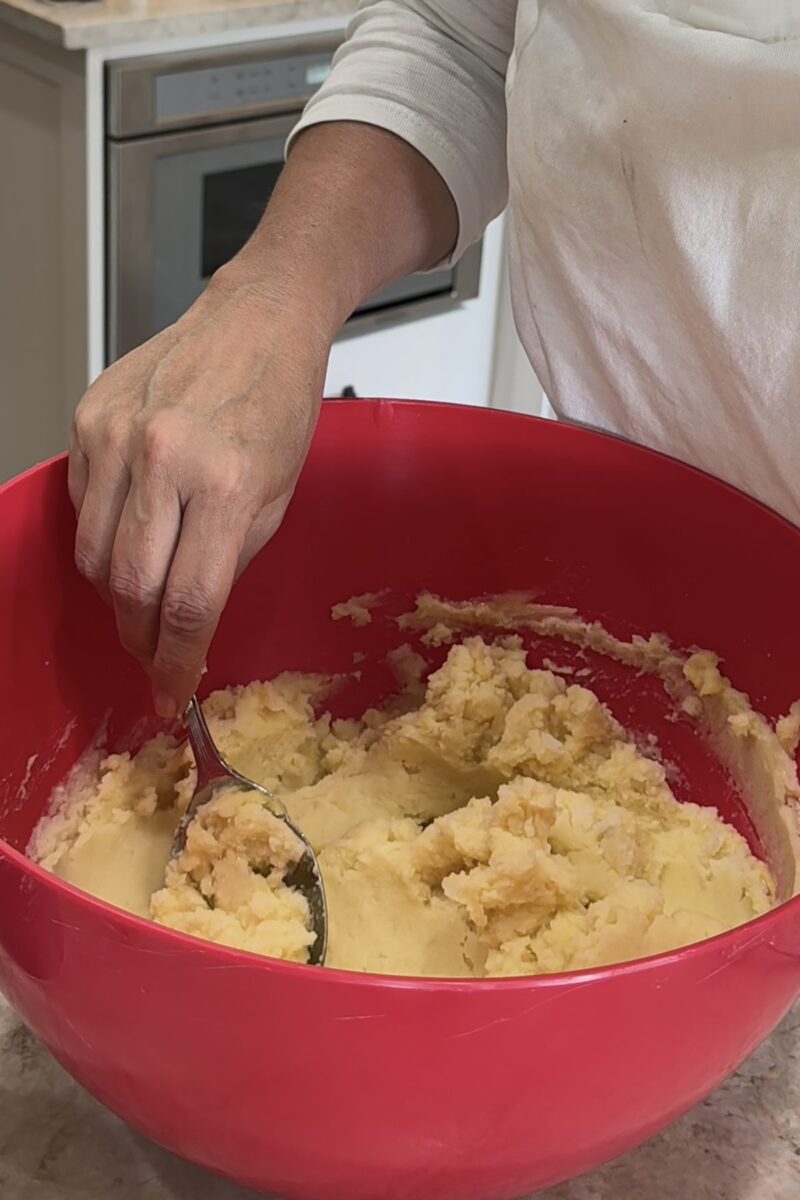
- Form the Dough: First, add the eggs to the riced potatoes and mix well. Then, add the Parmesan cheese and mix thoroughly. Next, incorporate the salt, ensuring it’s well distributed. Finally, add the flour, mixing everything with a large spoon until a rough dough forms. Be careful not to overmix the dough.
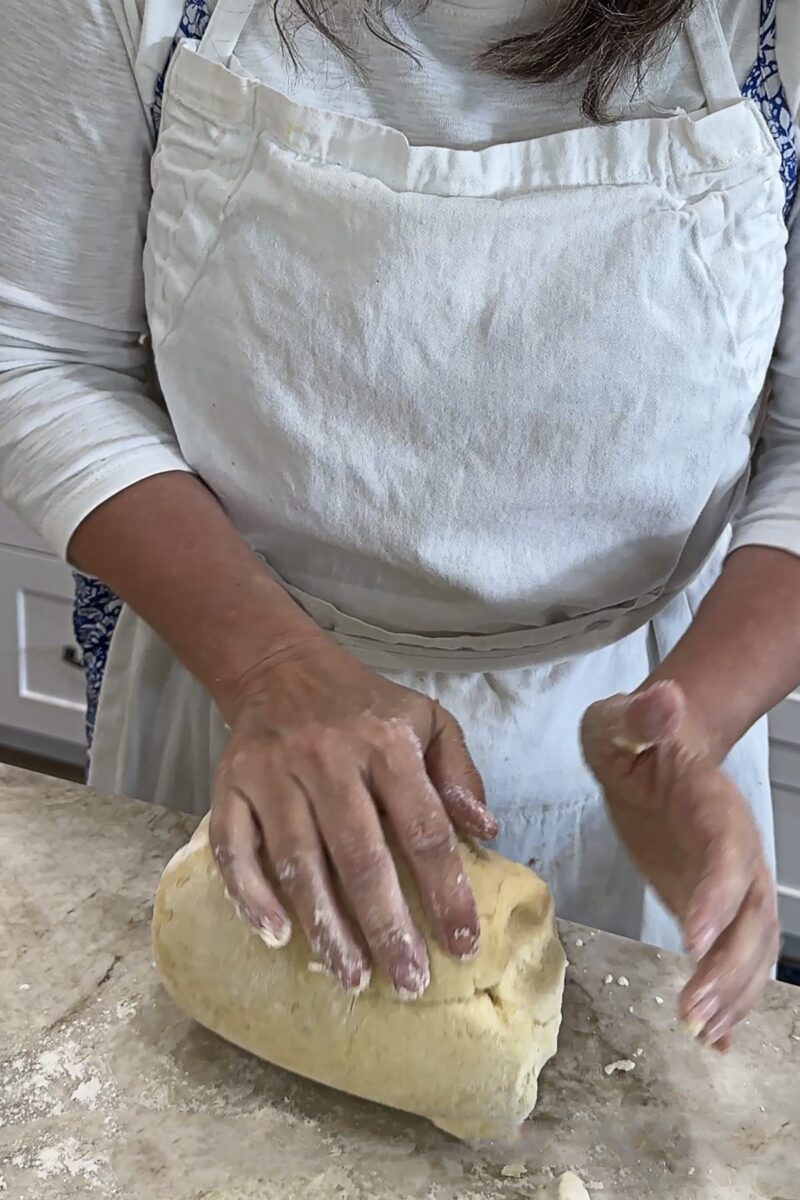
- Knead and Rest: Transfer the dough to a lightly floured countertop. Knead the dough for just a couple of minutes until it forms a smooth ball. Let the dough rest for about 5 minutes.
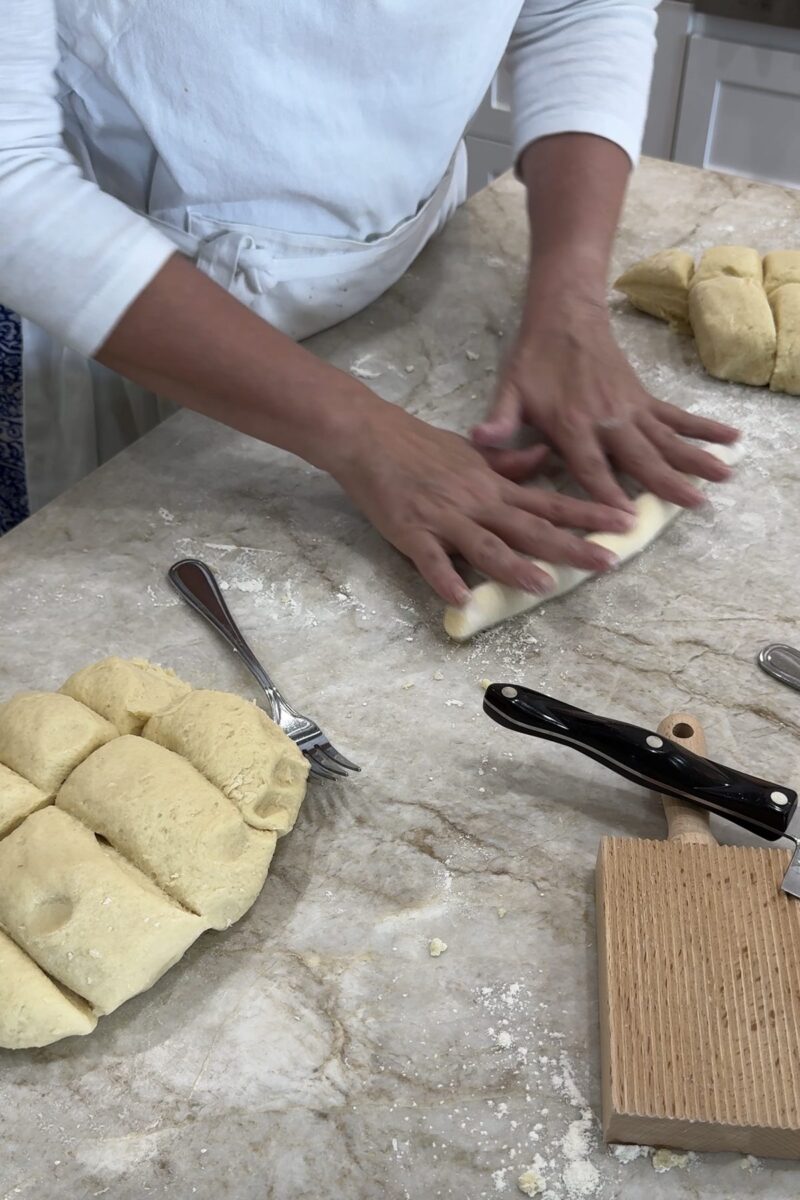
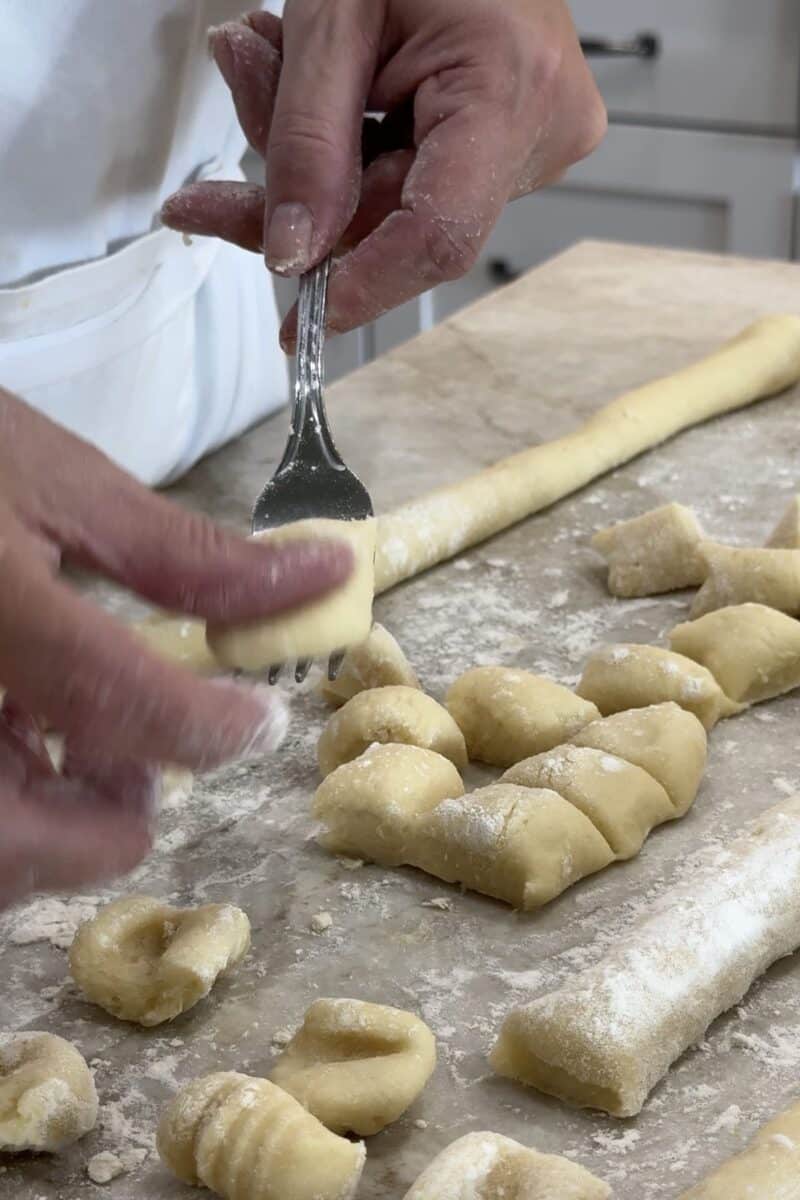
- Roll the Ropes: Cut the dough ball into 6-8 pieces. Working with one piece at a time, roll it into a long rope, about the thickness of your thumb.
- Cut the Gnocchi: Using a sharp knife or a bench scraper, cut the ropes into 1-inch pieces.
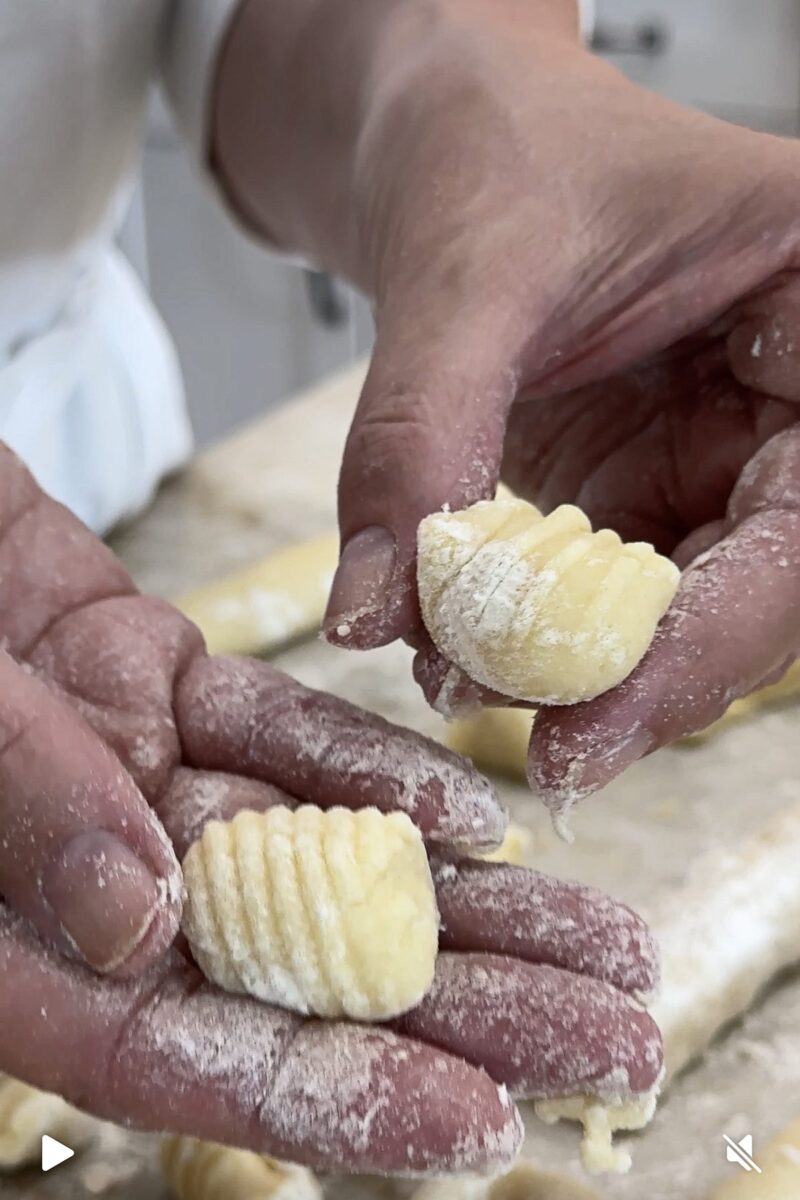
- Shape the Gnocchi: To create the classic ridges, take a 1-inch piece and gently press it against the tines of a fork. Using your thumb, apply slight pressure while rolling the dough down and off the fork. This creates the classic shape that holds sauce beautifully.
How to Cook Gnocchi
- Boil the Water: While you’re shaping the gnocchi, start a large pot of salted water to boil.
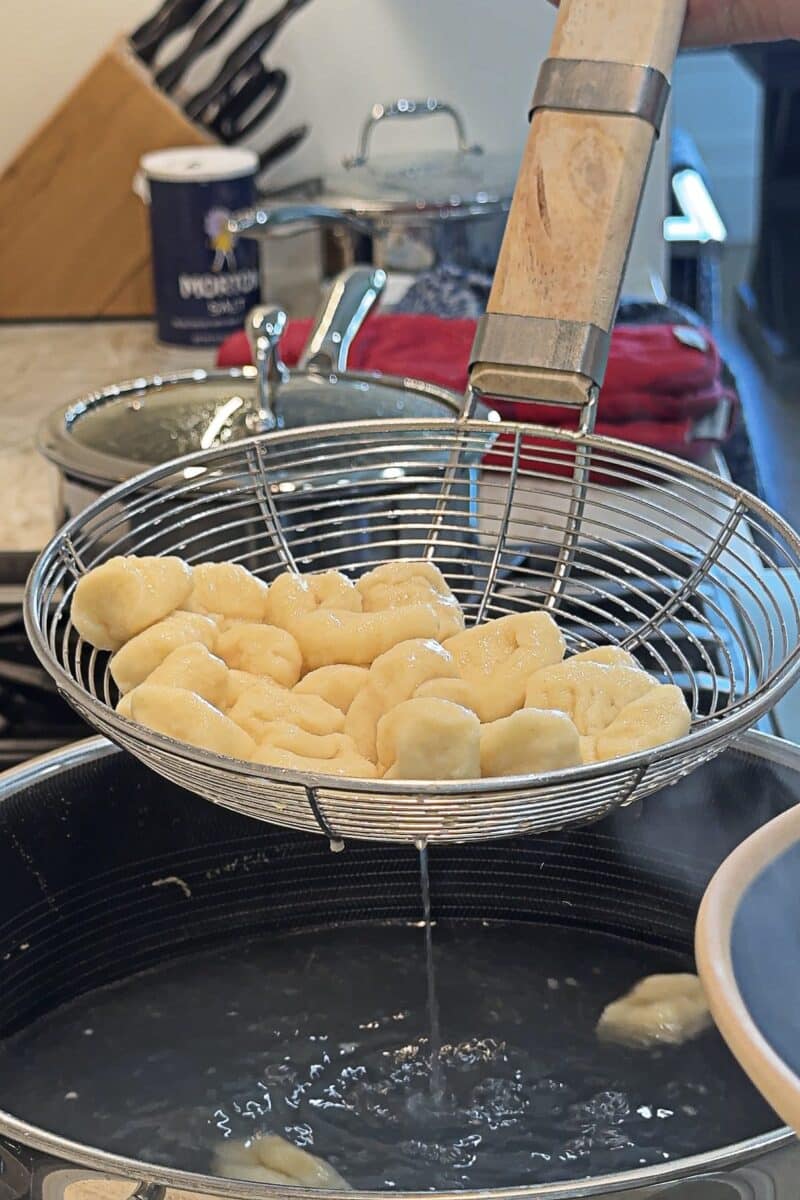
- Cook in Batches: Place your gnocchi in the boiling water. I recommend doing this in 2-3 batches to avoid overcrowding the pot.
- Wait for Them to Float: The gnocchi will sink to the bottom at first. Use a slotted spoon to remove them from the water as soon as they float to the surface (this typically takes 2-3 minutes).
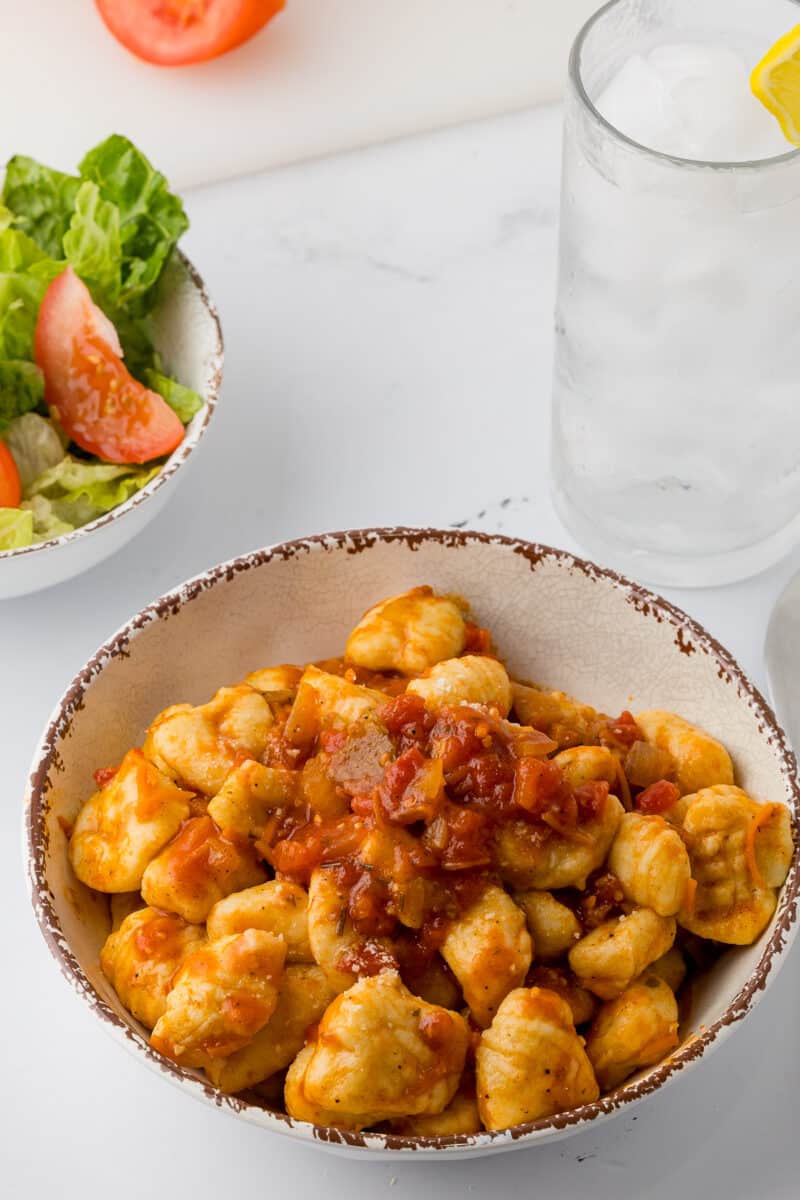
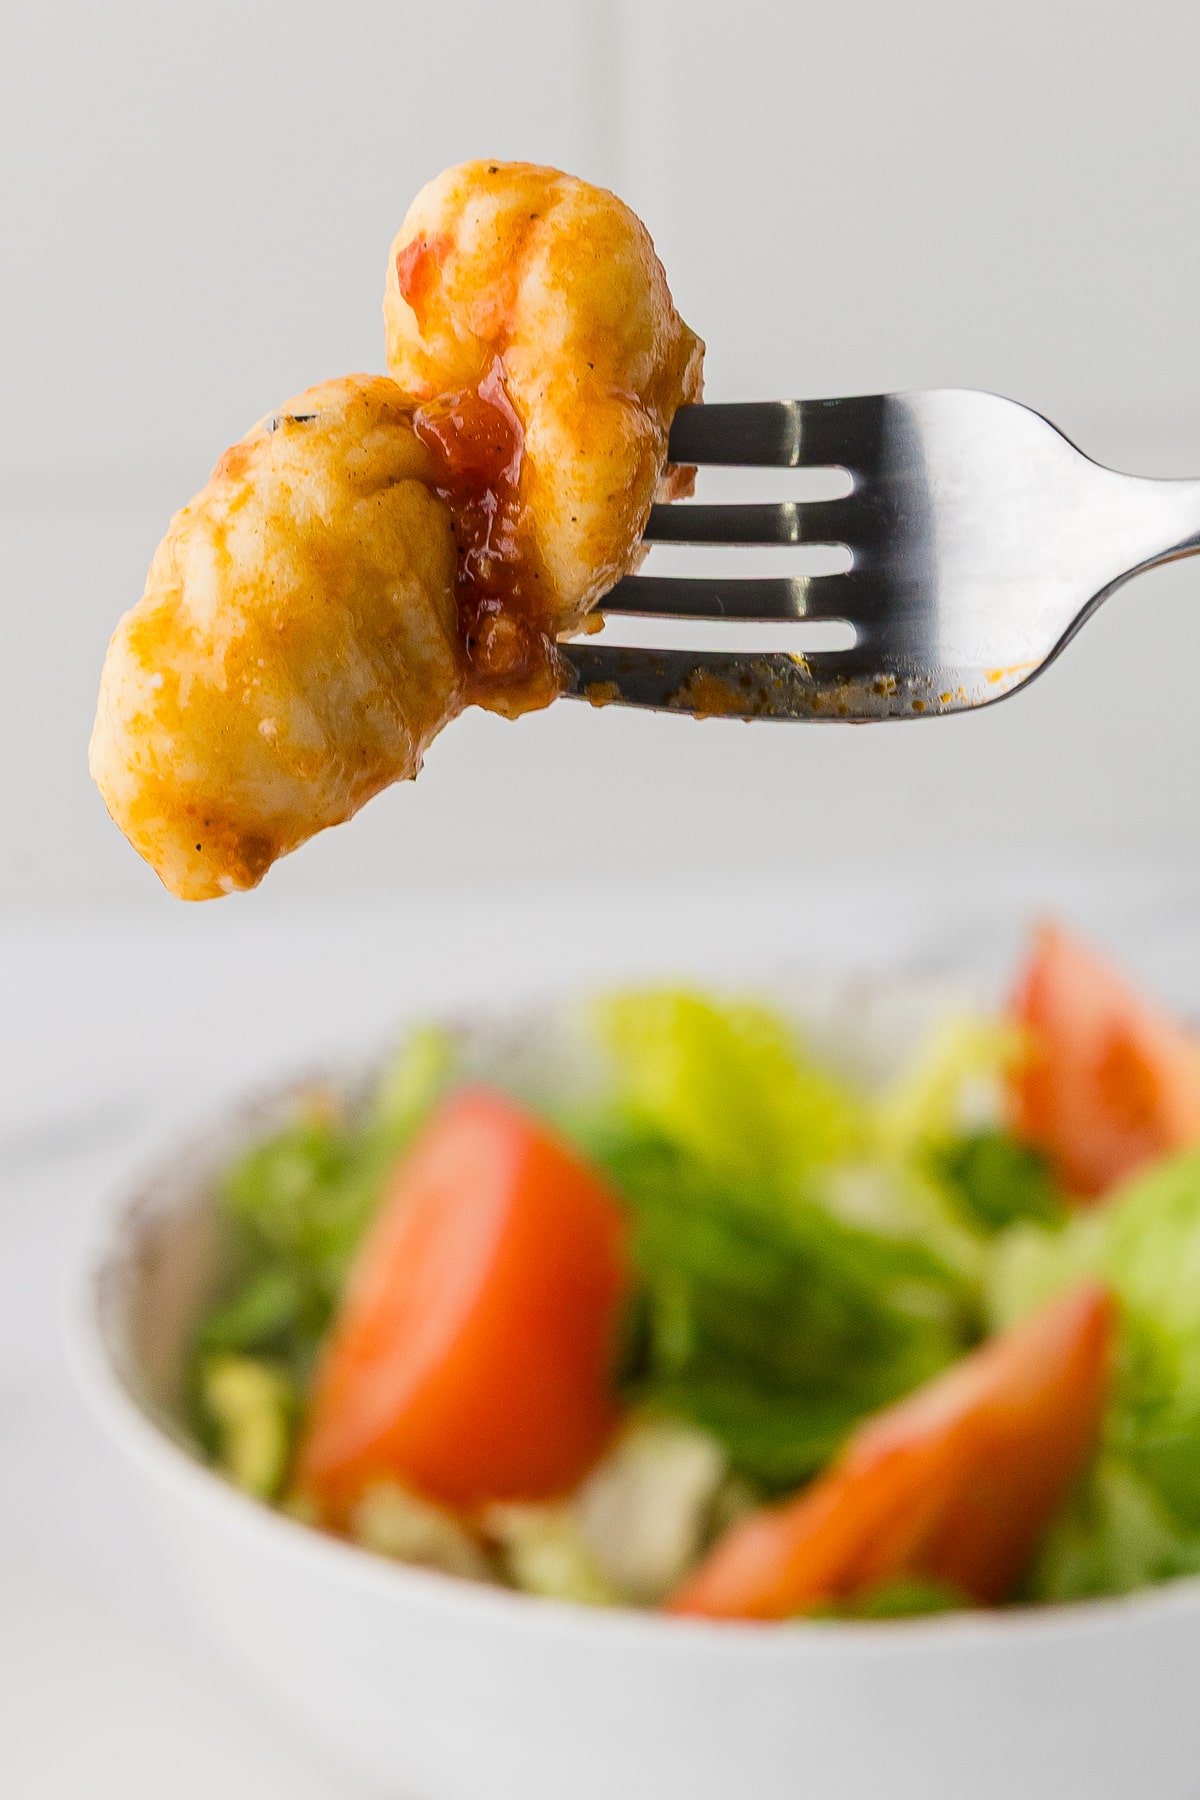
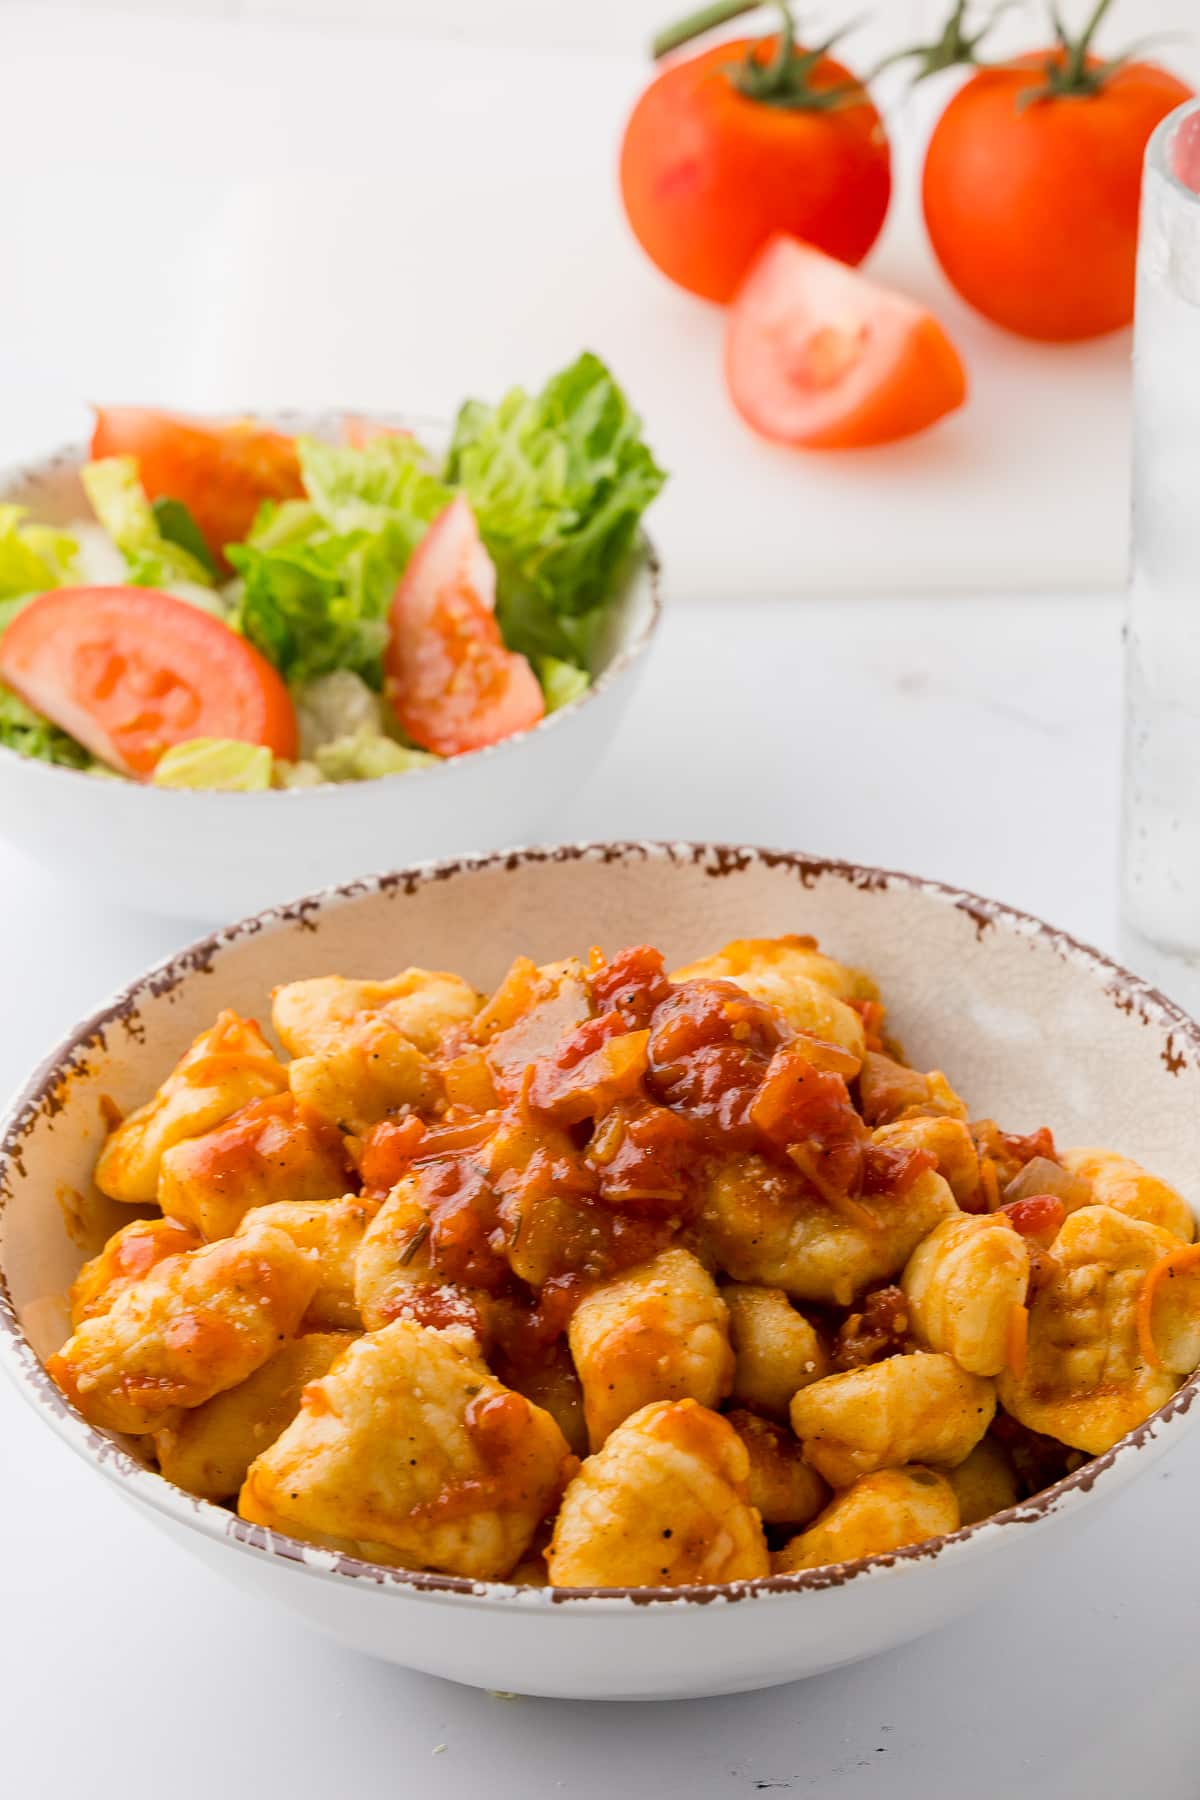
- Serve: Transfer the cooked gnocchi to your serving dish. Top with your favorite pasta sauce. We love using my family’s “Little Joe’s” sauce, a perfect pairing for these light, tender dumplings.
Tips for Perfect Gnocchi
- Don’t skip the potato ricer! Using a masher or a fork will make your gnocchi dense and heavy. The ricer ensures they are light and airy.
- Don’t add too much flour. The amount of flour can vary depending on the potatoes, so add it gradually until a workable dough forms. Too much flour will result in tough gnocchi.
- Work quickly. The key to light gnocchi is not overworking the dough. The less you handle it, the better.
- The ridges are not just for looks! The grooves created by rolling the dough off a fork or a gnocchi board are essential for catching and holding onto your sauce.
How to Store Gnocchi
- Refrigerating: If you plan to cook your gnocchi within 1-2 days, you can store them in an airtight container in the refrigerator. Lightly dust them with flour to prevent sticking.
- Freezing: Gnocchi freeze beautifully and are great to have on hand for a quick meal.
- Lay Them Flat: First, arrange the uncooked gnocchi in a single layer on a floured baking sheet. Make sure they aren’t touching so they don’t stick together.
- Freeze Until Solid: Place the baking sheet in the freezer for about 30 minutes to an hour, or until the gnocchi are completely frozen.
- Transfer to Bag: Once frozen solid, transfer the gnocchi to a freezer-safe bag or airtight container. They can be stored for up to 3 months.
- Cook from Frozen: You can cook the frozen gnocchi directly from the freezer; just add them to the boiling water and they will cook in the same amount of time.
Frequently Asked Questions (FAQ)
Q: Why are my gnocchi dense and chewy? A: This is a common issue and is almost always caused by one of two things:
- Overworking the dough: The less you handle the dough, the better. Mixing too much develops the gluten, making the gnocchi tough.
- Using the wrong potatoes or preparation: It’s crucial to use starchy potatoes like russets and to pass them through a ricer while they are hot. Mashing them will result in a dense texture.
Q: What is 000 fine flour, and can I use regular all-purpose flour instead?
000 fine flour is a finely milled flour commonly used in Argentina and Italy for pasta and breads. It has a lower protein content than typical all-purpose flour. While you can use all-purpose flour, your gnocchi may not be quite as light. If you can’t find 000 flour, a good substitute is a mix of all-purpose and cake flour.
Q: Do I have to shape the gnocchi with a fork?
You don’t have to, but it’s highly recommended! The ridges created by the fork (or a special gnocchi board) are not just for looks. They help the gnocchi “grab” and hold onto the sauce, which makes every bite more flavorful.
Recipes Can Be Cherished Family Traditions
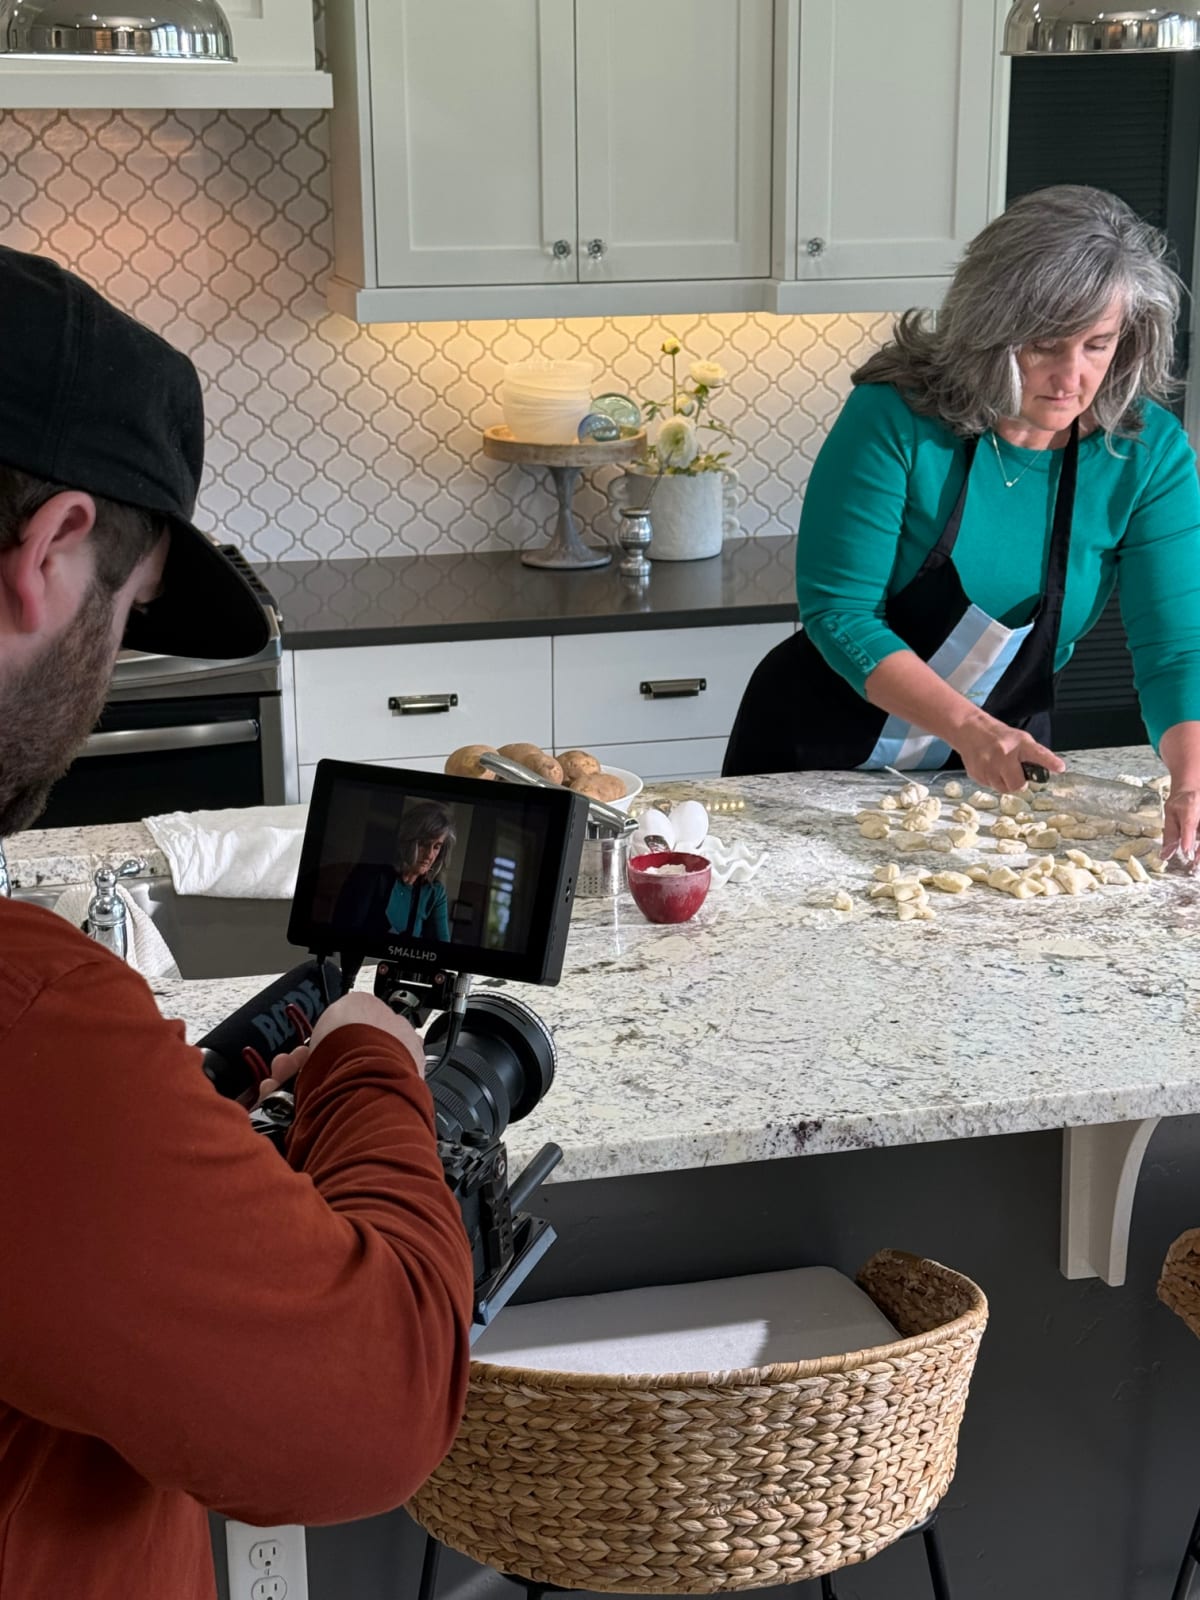
I hope you enjoy this recipe, it’s been very special to me for almost my entire life. So special in fact, that I made it for the camera crew when the media team from Remento flew out to interview me for a brand shoot.
You can read more about my Remento review and how I included my cherished family ñoquis recipe in my Remento book to be passed on to future generations. Sharing this recipe and my memories about making it with my own grandmother mean the world to me.
Thinking that future generations will pass it on, means even more!
I’ve shared many favorite family recipes on the blog, here are a few more favorites: