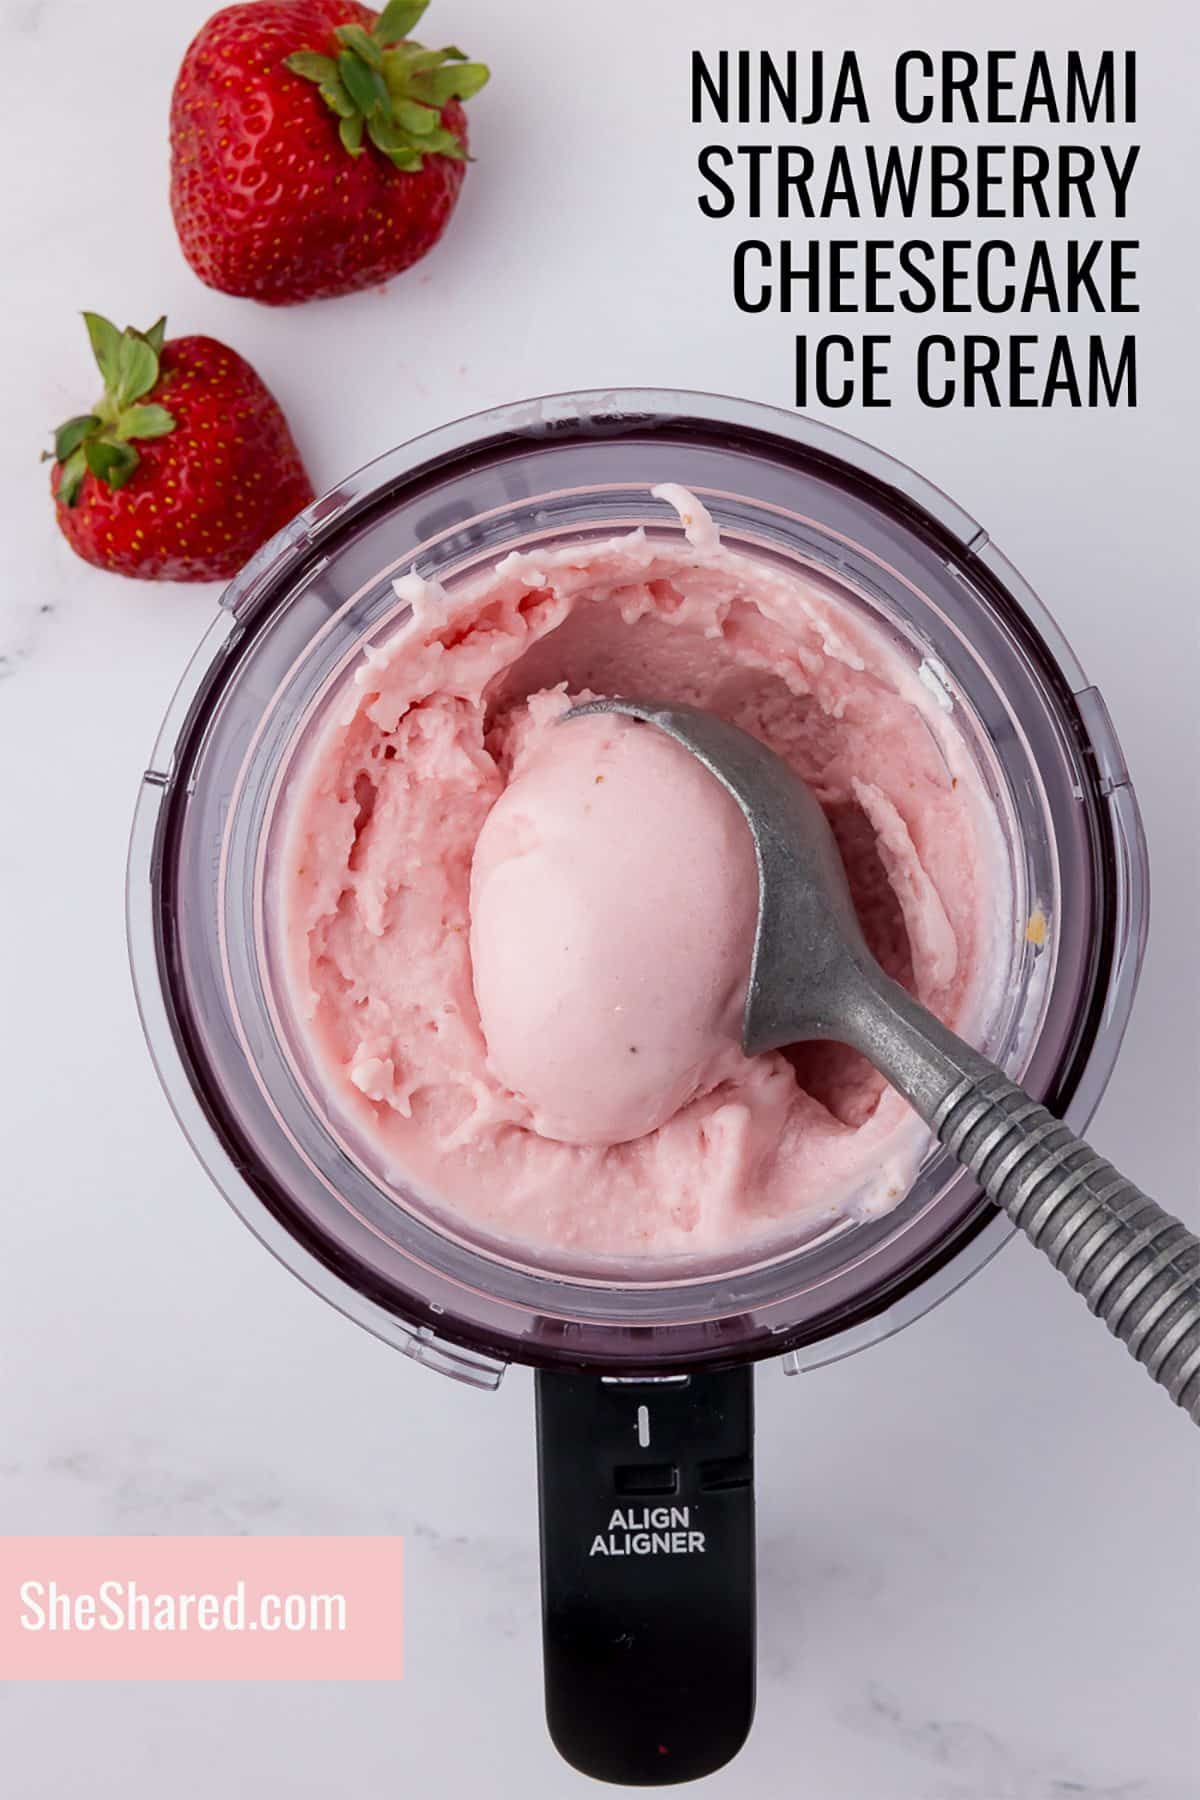
Ninja Creami Strawberry Cheesecake Ice Cream
This post may contain affiliate links. See our disclosure policy for more details.
Creamy, dreamy, no-bake strawberry cheesecake ice cream? Yep, it’s possible (and ridiculously easy) with this Ninja Creami recipe.
I get it. We’re busy. Life is a whirlwind of school drop-offs, grocery runs, and endless to-do lists. But sometimes, we need a treat, right? A little something sweet and indulgent without the fuss.
That’s where this Ninja Creami strawberry cheesecake ice cream comes in. It’s my secret weapon for satisfying those dessert cravings, and it takes less time than waiting in the Starbucks drive-thru line.
Plus, with the Ninja Creami ice cream maker, you’ve got a kitchen superhero that can whip up all sorts of delicious Ninja Creami recipes.
Ninja Creami Tips and Tricks:
- Cream Cheese: It’s crucial that the cream cheese is softened to room temperature before blending. This will ensure a smooth and creamy ice cream base.
- Frozen Fruit: If using frozen strawberries, a few extra pulses in the blender will help break them down for a smoother texture.
- Flavor Variations: For a strawberry cheesecake protein ice cream twist, add a scoop of your favorite vanilla protein powder. Want a lighter option? Try low-fat cream cheese or substitute some of the whole milk with unsweetened almond milk.
- If your first spin results in a crumbly texture, don’t worry! Just add a splash of milk and respin. Most Ninja Creami recipes recommend 2 re-spin cycles for optimal creamy texture.
- Ninja Creami Mix-Ins: The possibilities are endless! You can add chopped strawberries, crushed graham crackers, or even a swirl of cheesecake flavored instant pudding mix during the re-spin cycle.
- No Ninja Creami? While a Ninja Creami is the easiest way to make this recipe, you can still achieve a delicious frozen treat using a traditional ice cream maker. However, the Ninja Creami is definitely the shortcut savant’s best friend!
- See more about the Ninja Creami here.
FAQs:
- Can I use other types of milk in this recipe? Absolutely! Any milk will work, but keep in mind that whole milk will yield the creamiest results.
- What if my Ninja Creami ice cream is too soft? It might need more time in the freezer. After spinning, pop the pint back in the freezer for another hour or two before scooping. You can also make sure that your freezer is cold enough. According to Ninja’s official guidelines, the optimal freezer temperature for the Ninja Creami is between 9°F and -7°F
- How can I make this recipe higher in protein? Add a scoop of your favorite vanilla protein powder when blending the ice cream base.
Supplies Needed:
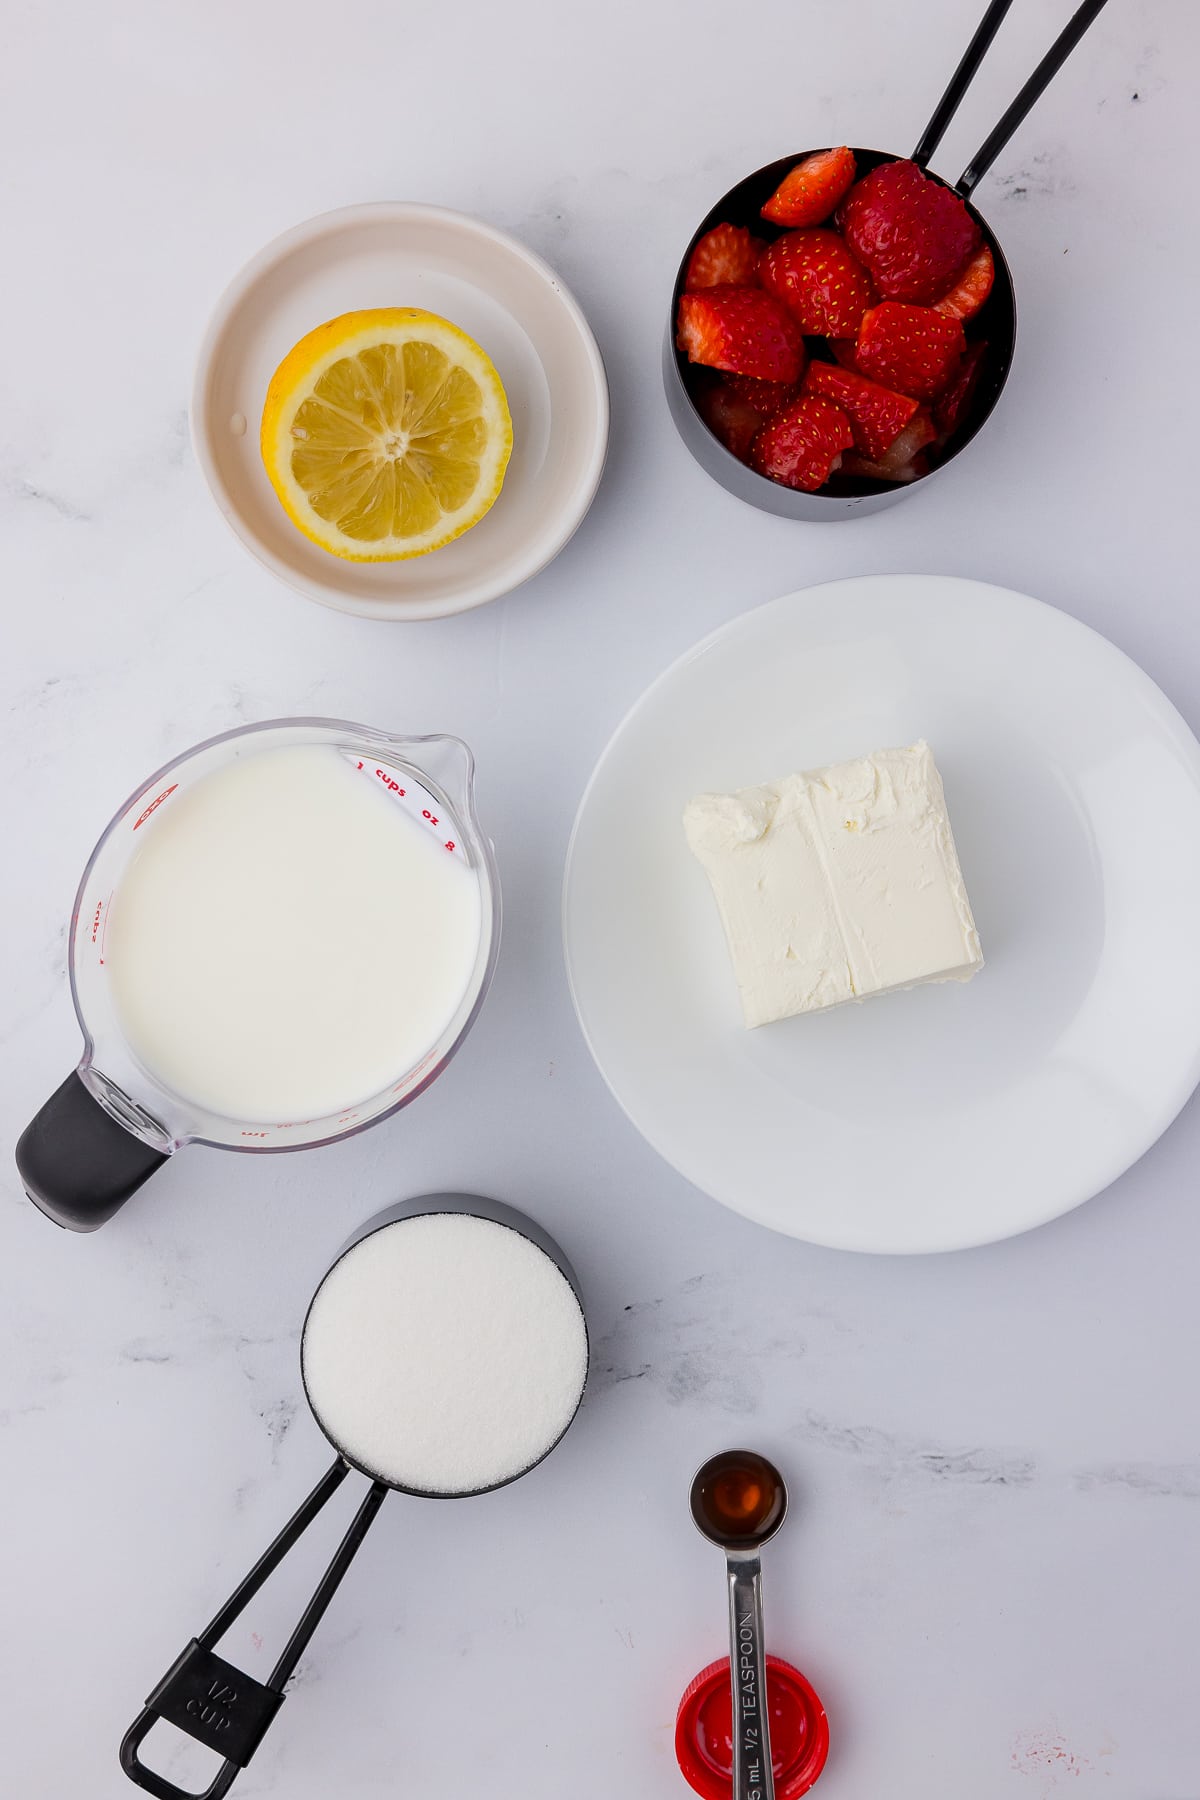
Ingredients for strawberry cheesecake ice cream
- 1 cup whole milk (or your favorite milk substitute like unsweetened almond milk, soy milk, or coconut milk)
- 4 oz cream cheese, softened (full-fat or low-fat, your choice!)
- 3/4 cup fresh strawberries or frozen strawberries (if frozen, let them thaw slightly)
- 1/2 cup granulated sugar (adjust to your sweetness preference)
- 1/2 teaspoon vanilla extract
- Squeeze of fresh lemon juice (just a touch to brighten the flavor)
Strawberry Cheesecake Ice Cream Directions:
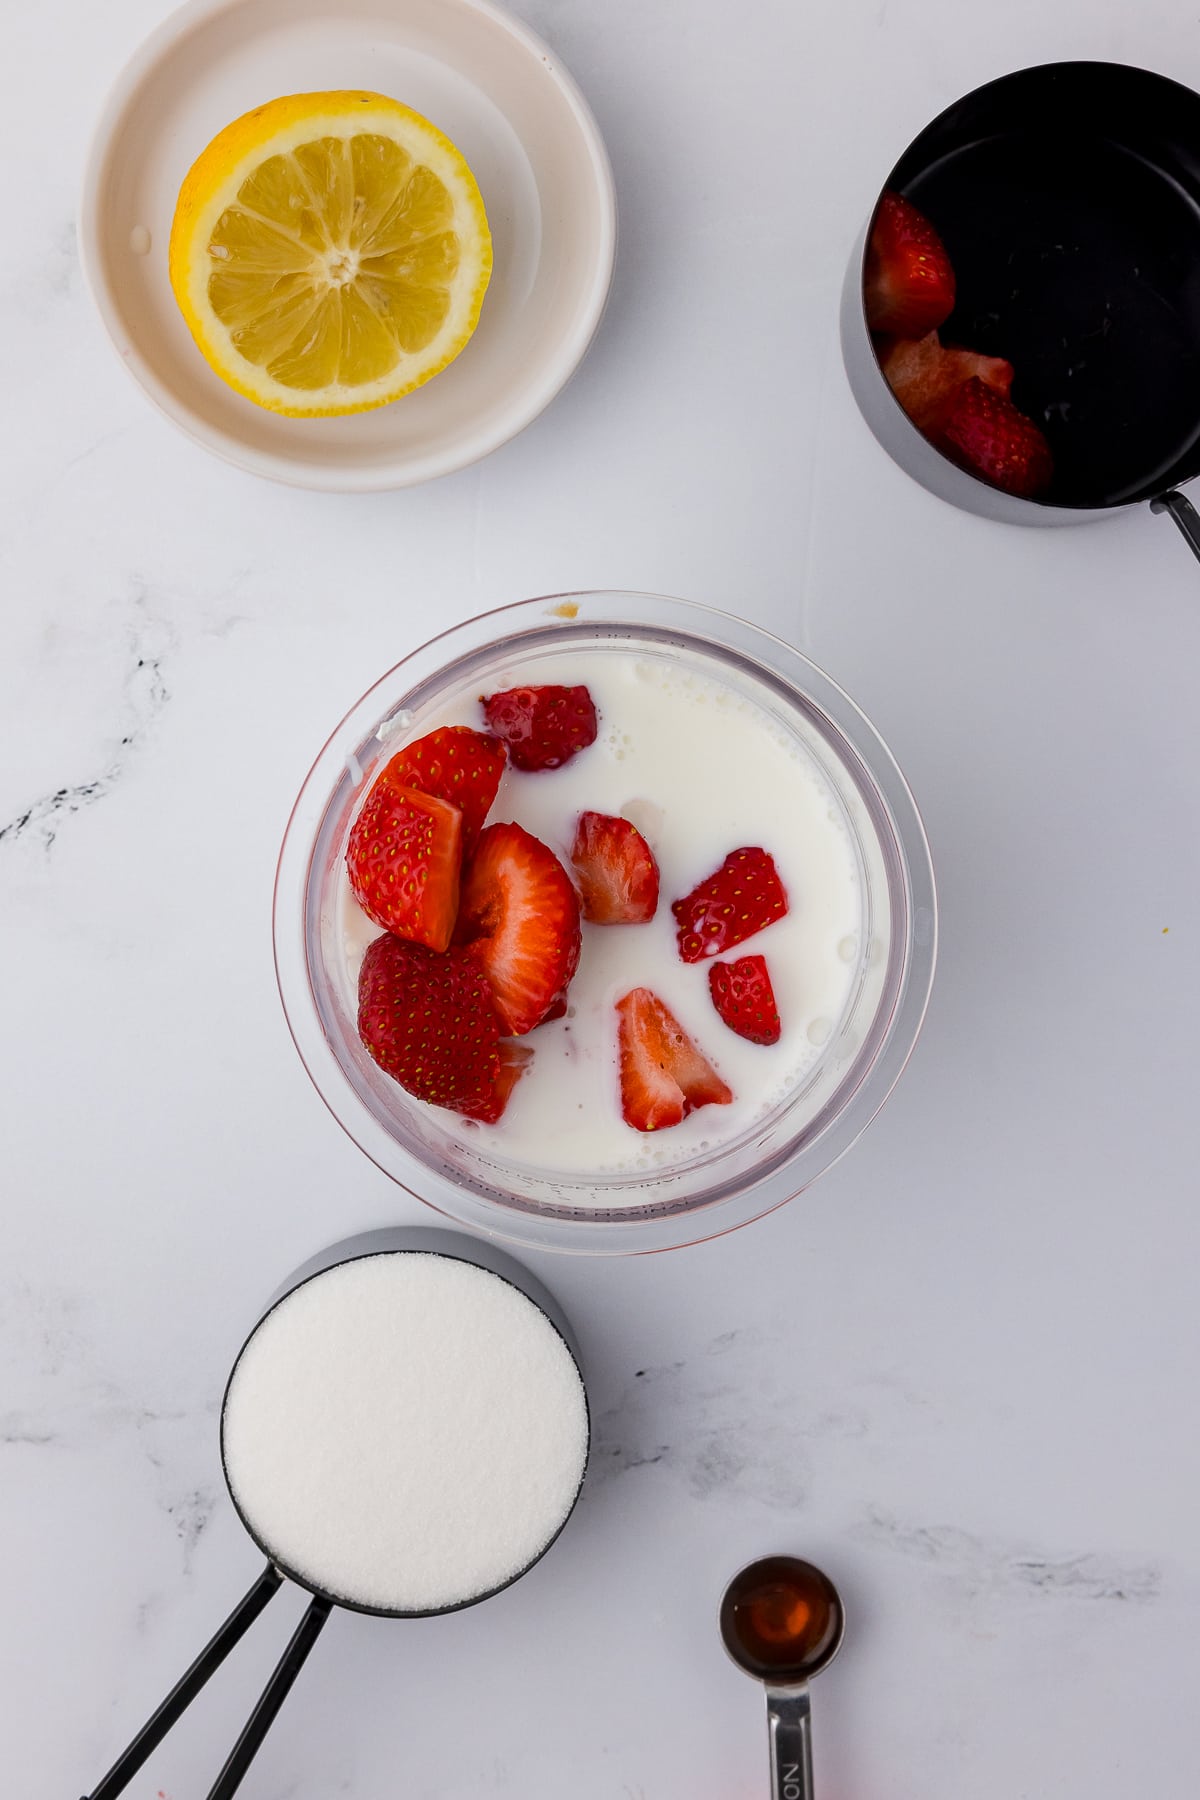
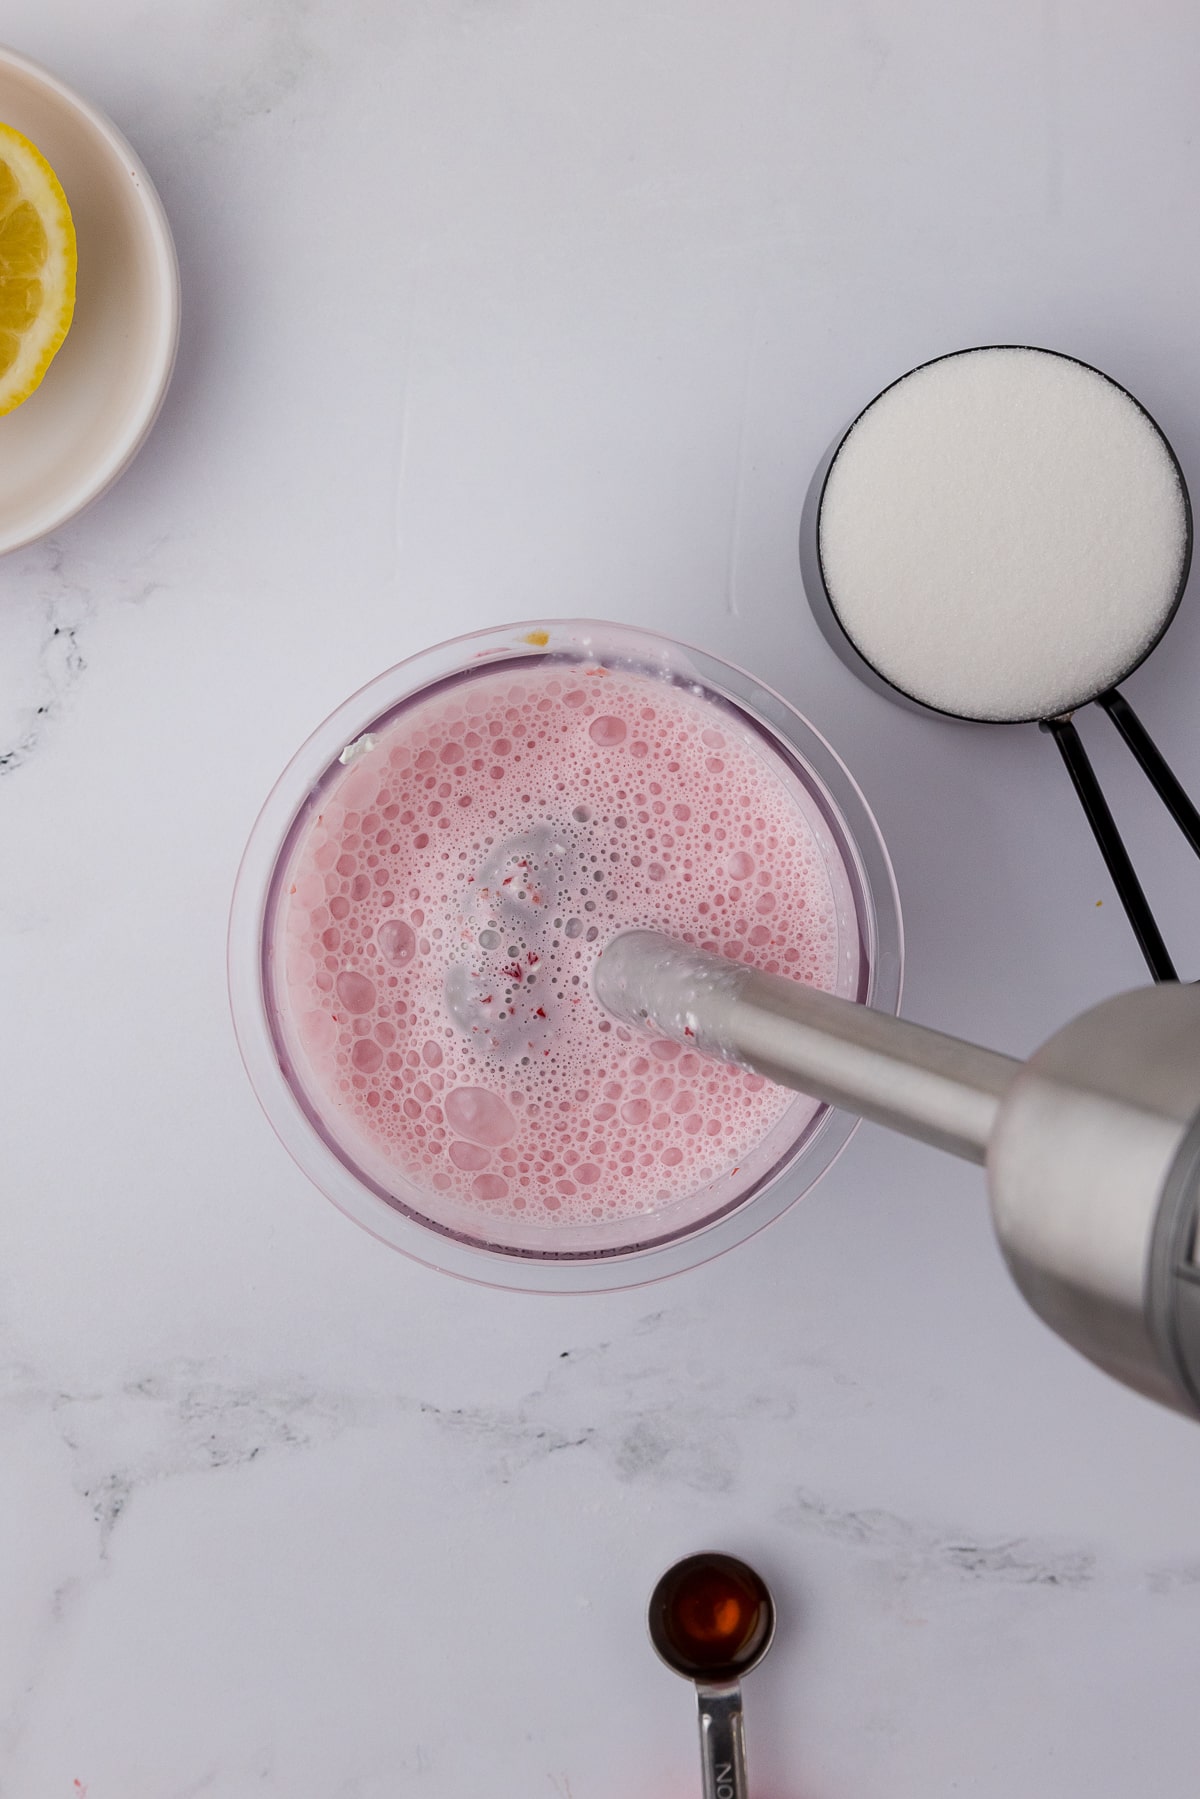
1. For the Ice Cream Base, in your blender, combine all the ingredients listed above: milk, cream cheese, strawberries, sugar, vanilla extract, and that little squeeze of lemon juice. Blend until smooth and creamy, making sure there are no lumps of cream cheese.
*If you’re using frozen strawberries, you might need to pulse a few times to break them down. The Ninja Creami community is full of tips for getting the perfect texture, but a good, high-powered blender will make a huge difference here.
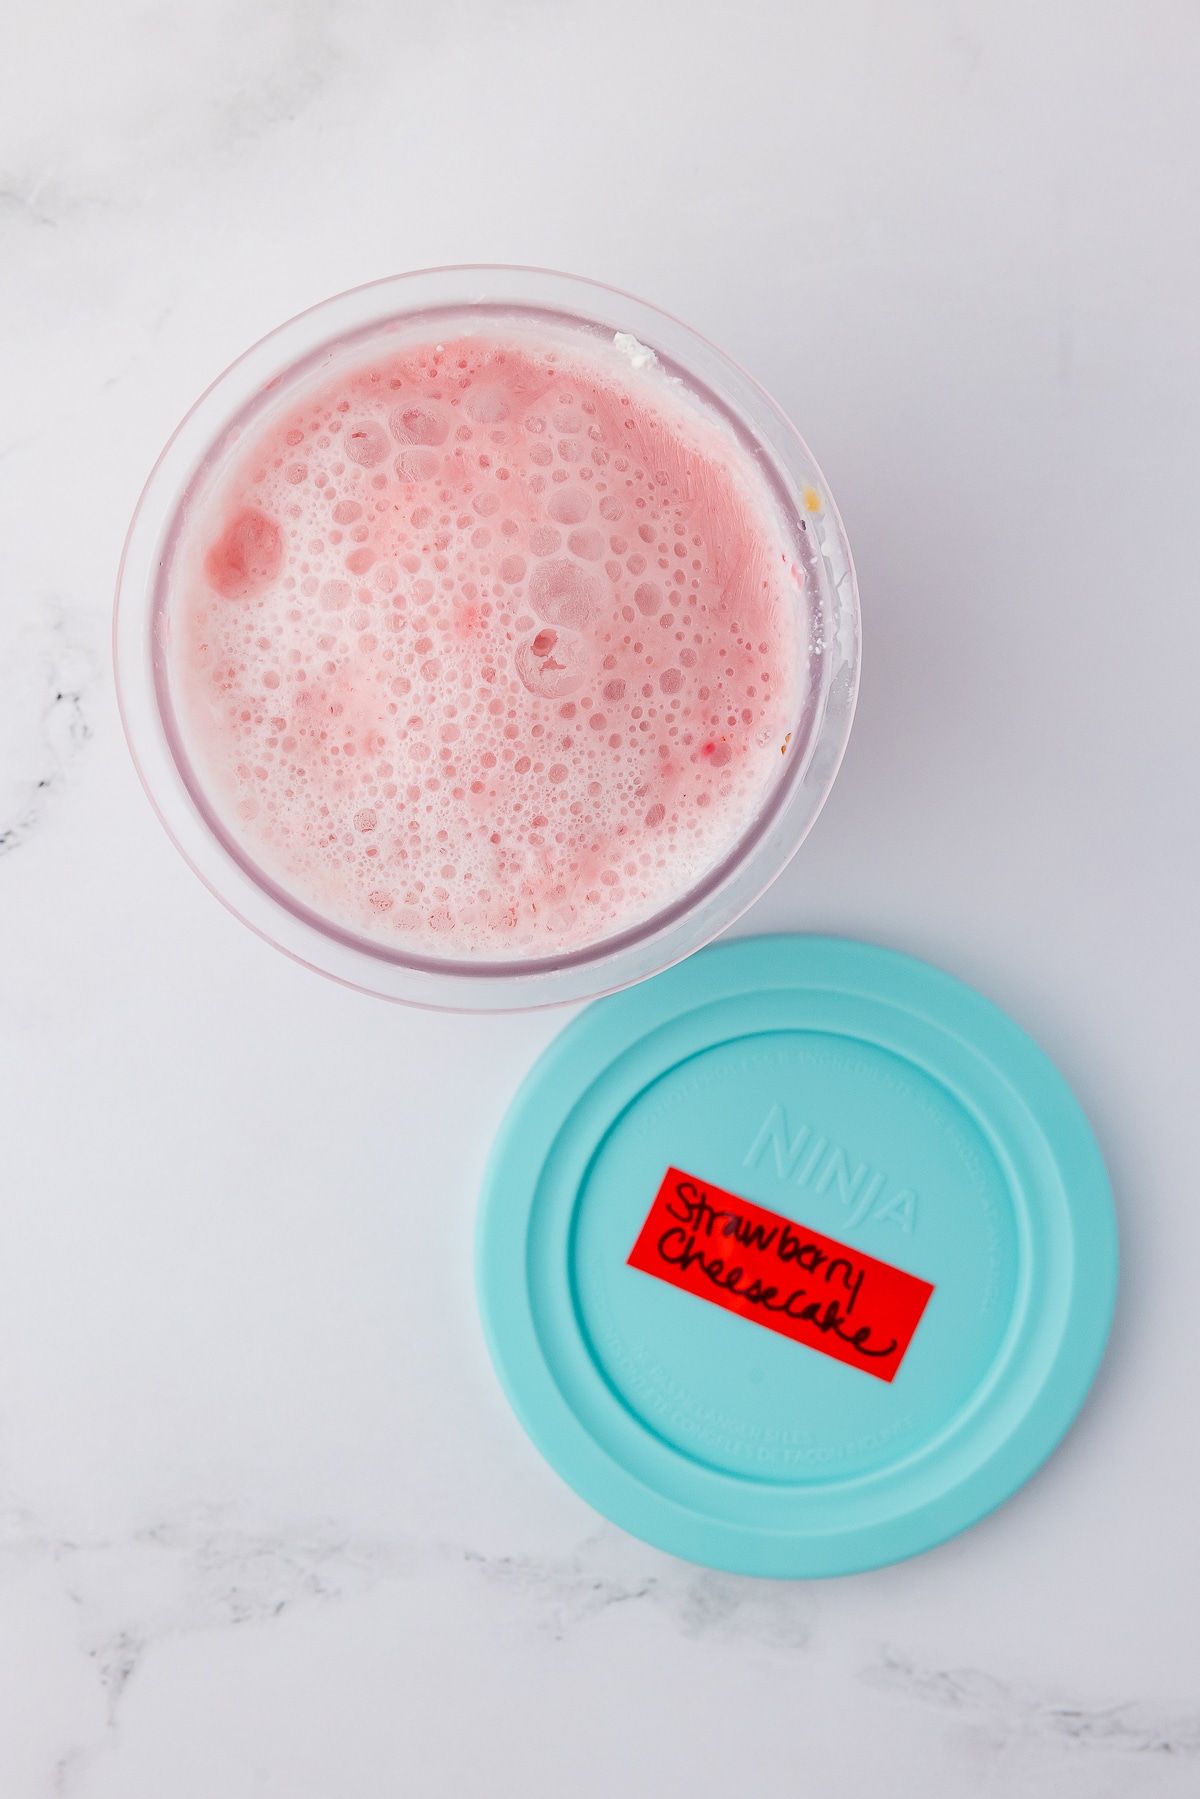
2. Pour and Freeze: Carefully pour the mixture into your Ninja Creami pint container. Remember not to fill it past the max fill line to avoid spills. Pop on the lid and place it in the freezer for at least 24 hours to create a solid ice cream base.
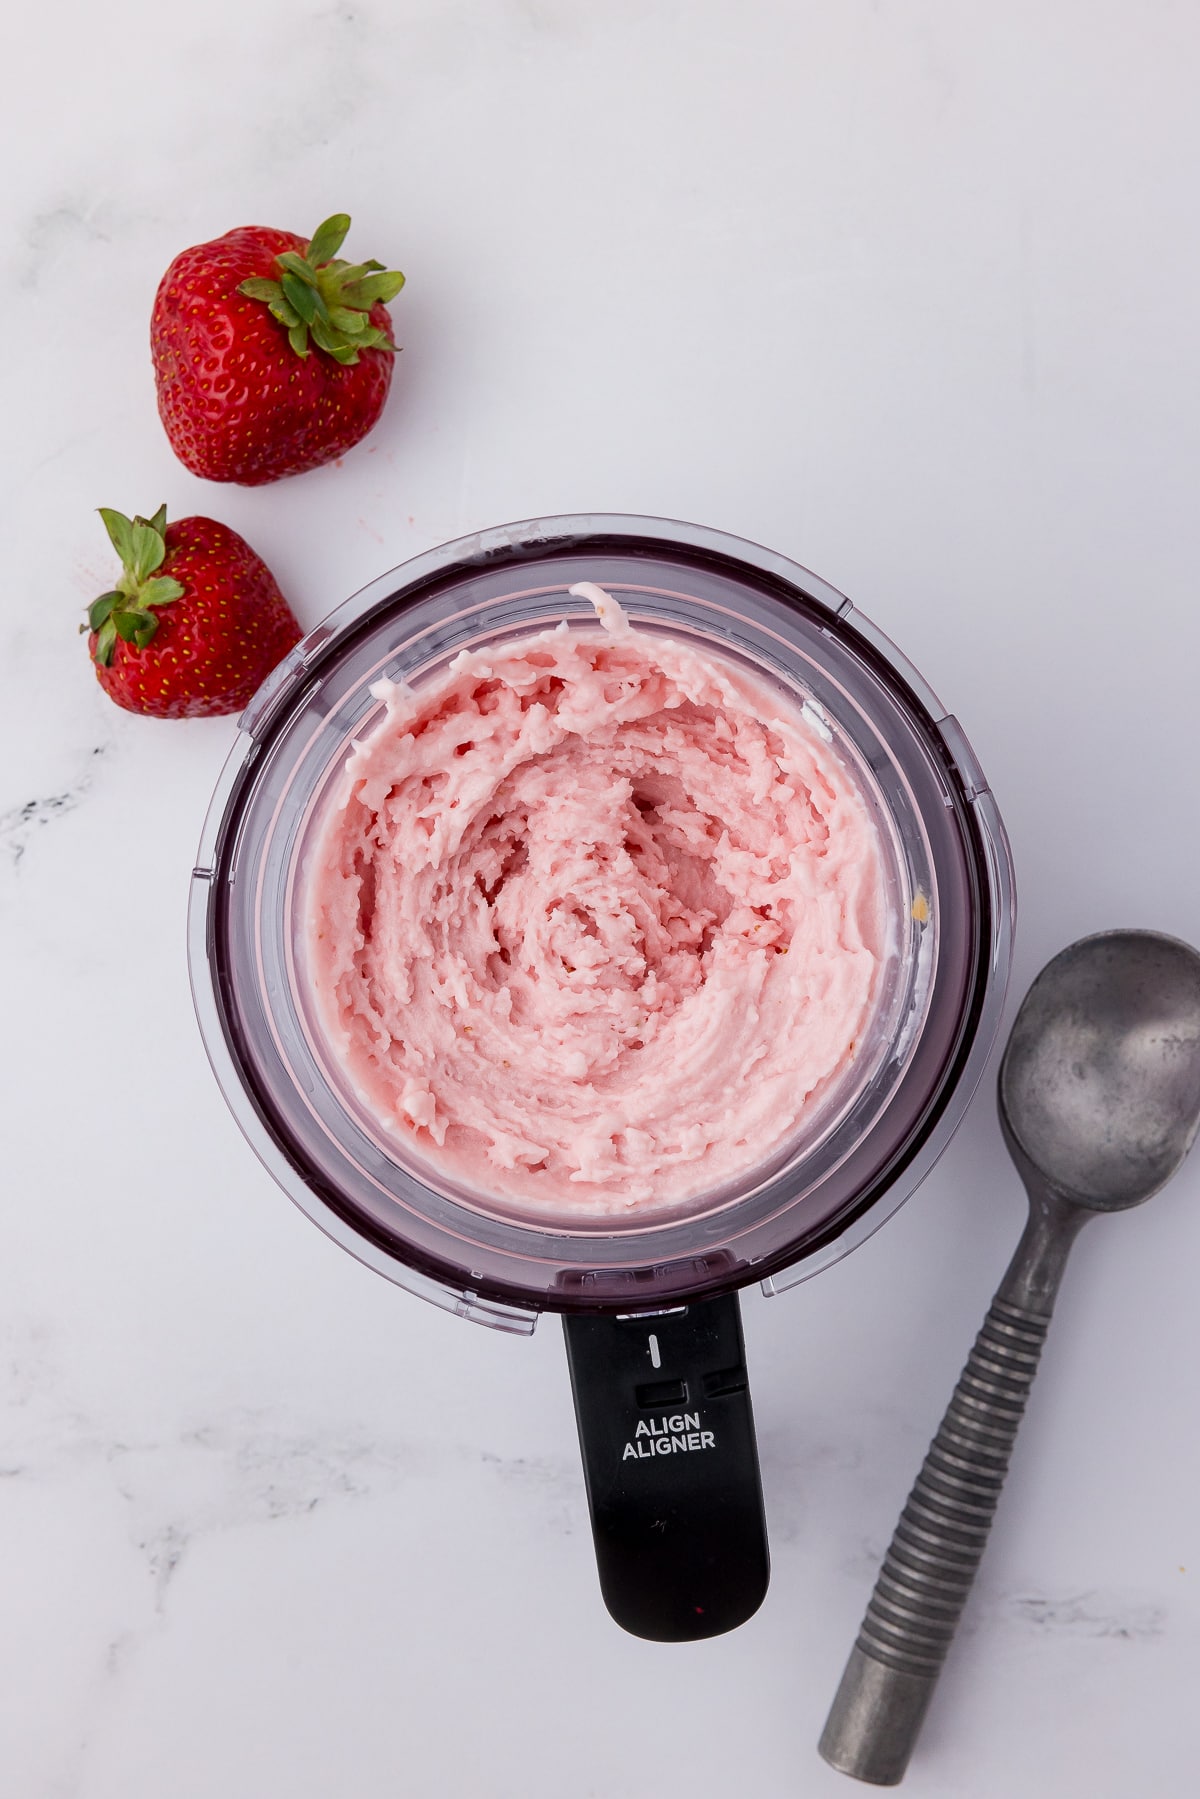
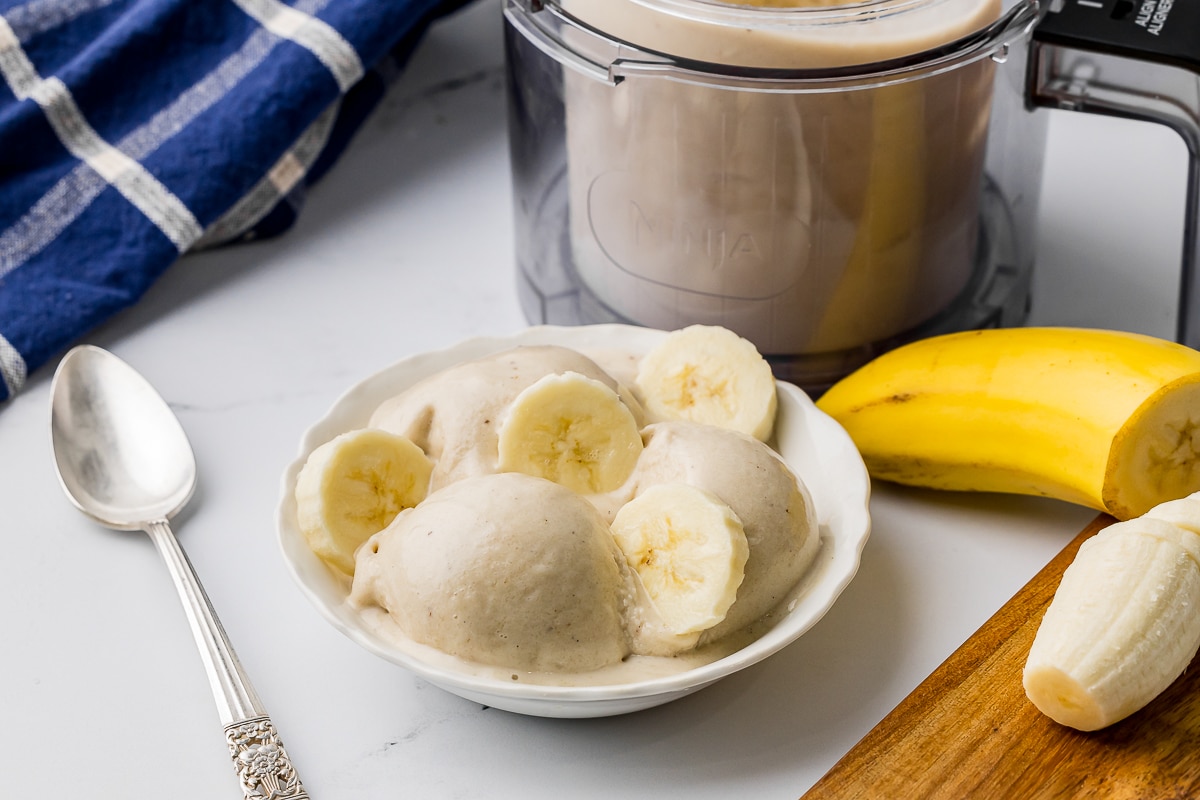
3. After 24 hours, take the pint out of the freezer and let it sit at room temperature for a few minutes to soften slightly. This will help the Ninja Creami work its magic more easily. Then, place the pint in the outer bowl, lock on the lid, and process it on the “Ice Cream” setting.
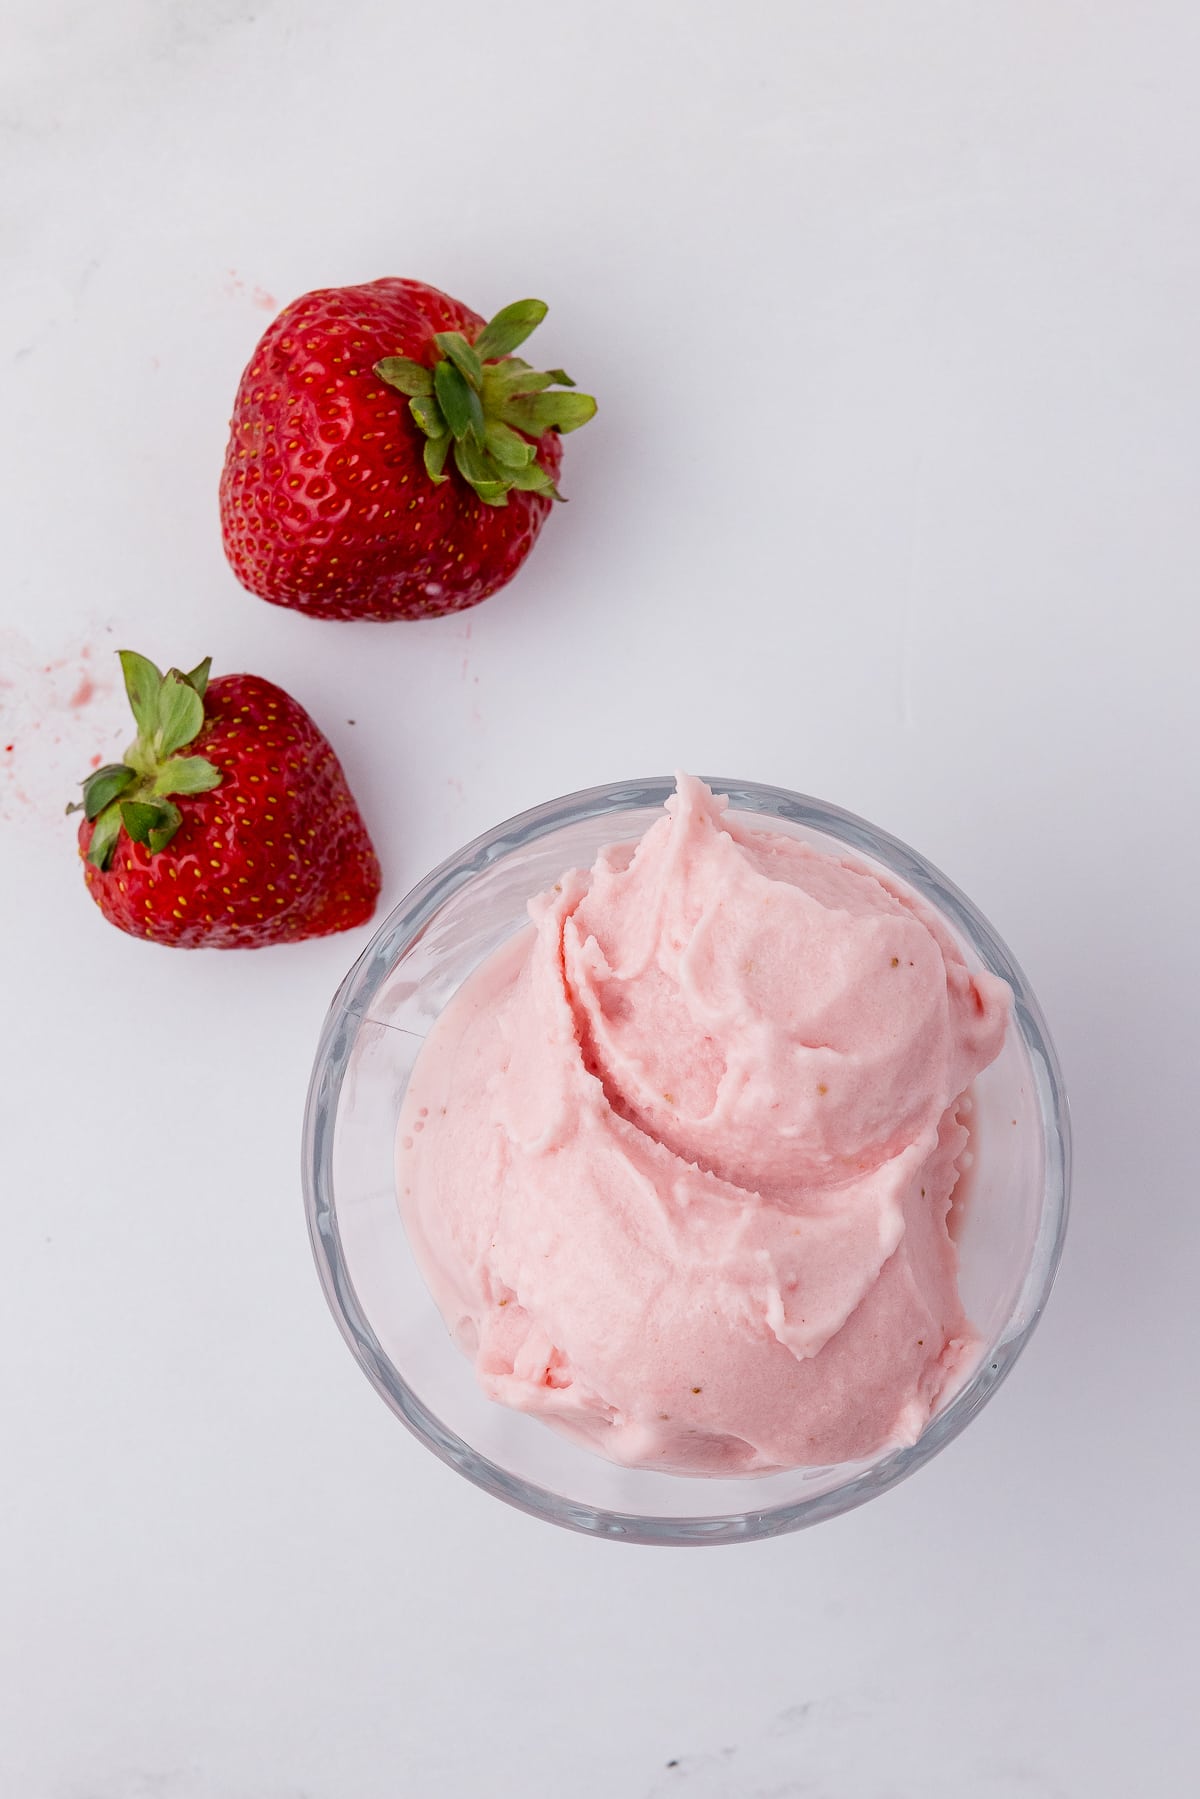
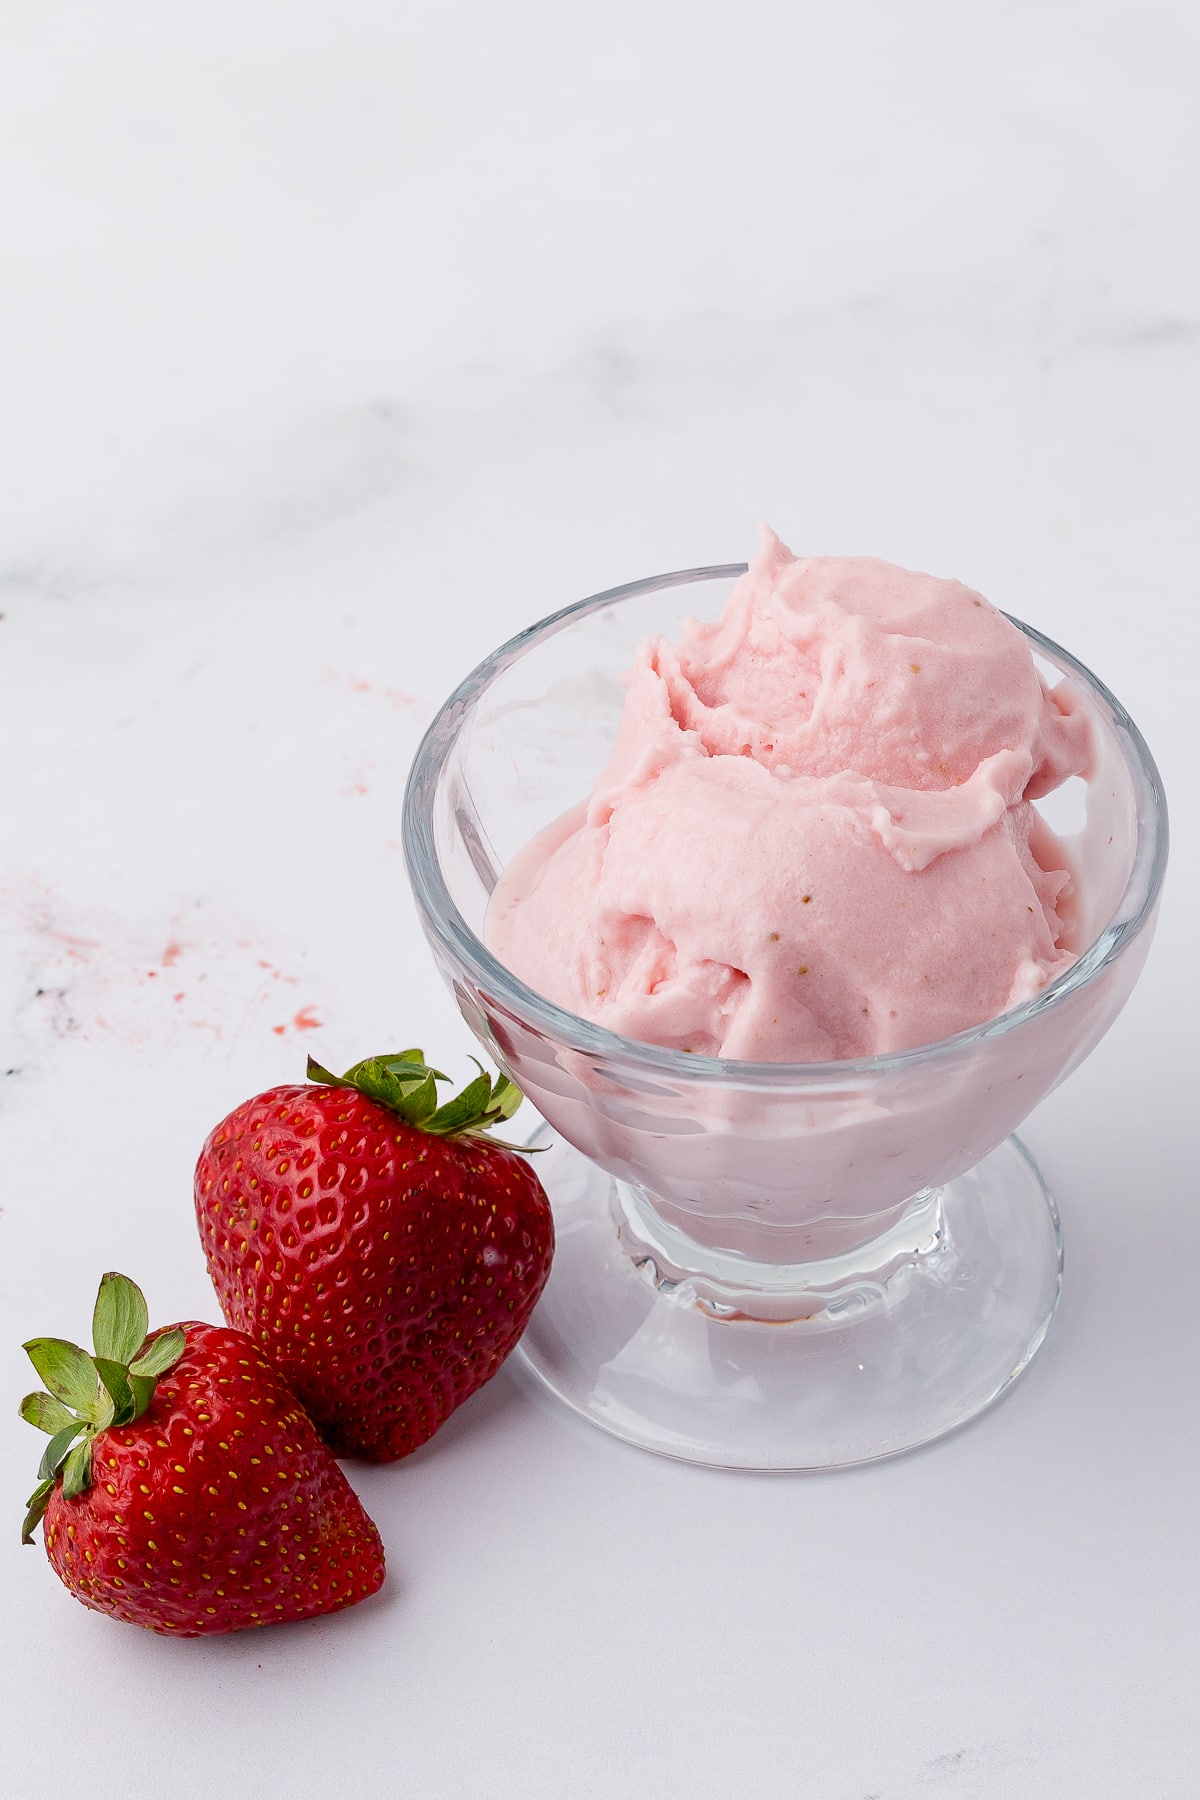
4. Now comes the fun part! Scoop the creamy strawberry ice cream into bowls. This base recipe is already delicious on its own, but you can also add mix-ins during the re-spin cycle or sprinkle toppings like graham cracker crumbs or fresh strawberries on top.
Storage & Serving:
Store any leftover ice cream in the Ninja Creami container (or another airtight container) in the freezer for up to 2 weeks. If it gets icy, simply re-spin it in the Ninja Creami before serving.
5-Minute Ninja Creami Strawberry Cheesecake Ice Cream: The No-Bake Dessert Your Summer Needs. Be sure to pin this recipe so it’s handy when the hankering hits and enjoy Your Creamy Strawberry Cheesecake Ice Cream.
Need more ideas to make with your Creami? Check out our Ninja Creami Mango Slushie, Ninja Creami Strawberry Lemonade Slushy, Ninja Creami Protein Ice Cream.

Ninja Creami Strawberry Cheesecake Ice Cream
I get it. We're busy. Life is a whirlwind of school drop-offs, grocery runs, and endless to-do lists. But sometimes, we need a treat, right? A little something sweet and indulgent without the fuss.
Ingredients
- 1 cup whole milk (or your favorite milk substitute like unsweetened almond milk, soy milk, or coconut milk)
- 4 oz cream cheese, softened (full-fat or low-fat, your choice!)
- 3/4 cup fresh strawberries or frozen strawberries (if frozen, let them thaw slightly)
- 1/2 cup granulated sugar (adjust to your sweetness preference)
- 1/2 teaspoon vanilla extract
- Squeeze of fresh lemon juice (just a touch to brighten the flavor)
Instructions
- For the Ice Cream Base, in your blender, combine all the ingredients listed above: milk, cream cheese, strawberries, sugar, vanilla extract, and that little squeeze of lemon juice. Blend until smooth and creamy, making sure there are no lumps of cream cheese.
*If you're using frozen strawberries, you might need to pulse a few times to break them down. The Ninja Creami community is full of tips for getting the perfect texture, but a good, high-powered blender will make a huge difference here. - Pour and Freeze: Carefully pour the mixture into your Ninja Creami pint container. Remember not to fill it past the max fill line to avoid spills. Pop on the lid and place it in the freezer for at least 24 hours to create a solid ice cream base.
- After 24 hours, take the pint out of the freezer and let it sit at room temperature for a few minutes to soften slightly. This will help the Ninja Creami work its magic more easily. Then, place the pint in the outer bowl, lock on the lid, and process it on the "Ice Cream" setting.
- Now comes the fun part! Scoop the creamy strawberry ice cream into bowls. This base recipe is already delicious on its own, but you can also add mix-ins during the re-spin cycle or sprinkle toppings like graham cracker crumbs or fresh strawberries on top.
Notes
- Cream Cheese: It's crucial that the cream cheese is softened to room temperature before blending. This will ensure a smooth and creamy ice cream base.
- Frozen Fruit: If using frozen strawberries, a few extra pulses in the blender will help break them down for a smoother texture.
- Flavor Variations: For a strawberry cheesecake protein ice cream twist, add a scoop of your favorite vanilla protein powder. Want a lighter option? Try low-fat cream cheese or substitute some of the whole milk with unsweetened almond milk.
- If your first spin results in a crumbly texture, don't worry! Just add a splash of milk and respin. Most Ninja Creami recipes recommend 2 re-spin cycles for optimal creamy texture.
- Ninja Creami Mix-Ins: The possibilities are endless! You can add chopped strawberries, crushed graham crackers, or even a swirl of cheesecake flavored instant pudding mix during the re-spin cycle.
- No Ninja Creami? While a Ninja Creami is the easiest way to make this recipe, you can still achieve a delicious frozen treat using a traditional ice cream maker. However, the Ninja Creami is definitely the shortcut savant's best friend!


3 Comments